
Last weekend David and I recorded our latest tutorial, “How to Photograph a Difficult Subject” for LearnPhotoNow. [warning]
****SPOILER ALERT****
You may want to watch the video before reading the rest of this…
Be sure to join our mailing list. More videos like this will go straight to your inbox!
[/warning]
You may have photographed a difficult subject before, like a pet or a screaming child, but a Zombie? That is a whole different can of worms! David and I were talking last Thursday about how funny it would be to do a photo shoot with a zombie in a post-apocalyptic world. Ironically, this fit the theme perfectly for this month’s HDR Concert.
The Prep Work
I looked into how to do the make-up that night and all day Friday was spent running around Kansas City looking for everything we would need to make a bang up Zombie costume. To expedite the process, I setup the garage on Friday also so Saturday could be all about shooting the video. Did I mention we were on a time crunch? We had to leave for our Photo Walk by 4 PM!
The costume cost breakdown:
| Zombie Make-up Kit |
$4.00 |
| Make-up Kit & Extra Grey |
$8.00 |
| Liquid Latex |
$3.00 |
| Choc Syrup, Caro Syrup, Food Coloring (Fake Blood) |
$8.00 |
| Chains and Rope |
$22.00 |
| Shirt from thrift store |
$3.00 |
| Steak & 6 Pack of Beer |
$15.00 |
|
TOTAL |
$63.00 |
I marinated the second steak that was in the pack, so don’t think we were too wasteful with the steak. We fired it up on the grill and ate it shortly after the making of the video. It did turn my stomach a little bit, but it was good so I got over it quickly!
The Make-Up
As soon as we woke up on Saturday morning it was game on! We played the video tutorial provided by the folks of “The Walking Dead” and applied all the gelatin, latex, make-up, and blood necessary to make a killer (no pun intended) Zombie Costume. It was a lot easier than I thought it would be and only took us about an hour to do the make-up. Most of the make-up was store bought with the exception of the blood which was a healthy mixture of Corn Syrup, Chocolate Syrup, and red food coloring. The Chocolate syrup really helped darken the blood up and give it a rustier appearance.
Lights
The lighting setup was quick and simple. We didn’t want to make it too complex, because we wanted people to know that it doesn’t take $3000 worth of lights and light modifiers to make a decent lighting setup. We were going to use a soft box for the main light but we wanted the light to be even without being too complex. After all, if you were photographing a zombie, I think the last thing you would want to do is put your light source close to your subject and constantly be bothering with it. The Gary Fong Lightsphere is the perfect option in that case.
As for the Continuous Light source, well, it was three light bulbs rigged up to a stand pointing into an umbrella. If you had a helper they could just as easily hold a reflector rather than use a continuous light source like the one shown in the video. After we recorded the video we did some shots with a soft box that created some really awesome, dramatic looking photos.
There were plenty more lights! What you did not see in the video were the lights that were on David. There were 5 70 Watt light bulbs, the overhead garage light, and a 160 LED camera light pointing toward him. It takes quite a bit of light to produce a decently lit video!
Camera
We used David’s Nikon D7100 to shoot the video and my Canon EOS 6D to shoot the images. One recommendation, charge your battery before shooting video for 4 hours! We mistakenly forgot to plug David’s only battery in the night before the shoot. We were almost done filming when the red light of death came from the battery. We were able to get some fun shots in with the 6D and the soft box while the D7100 was charging.
Action
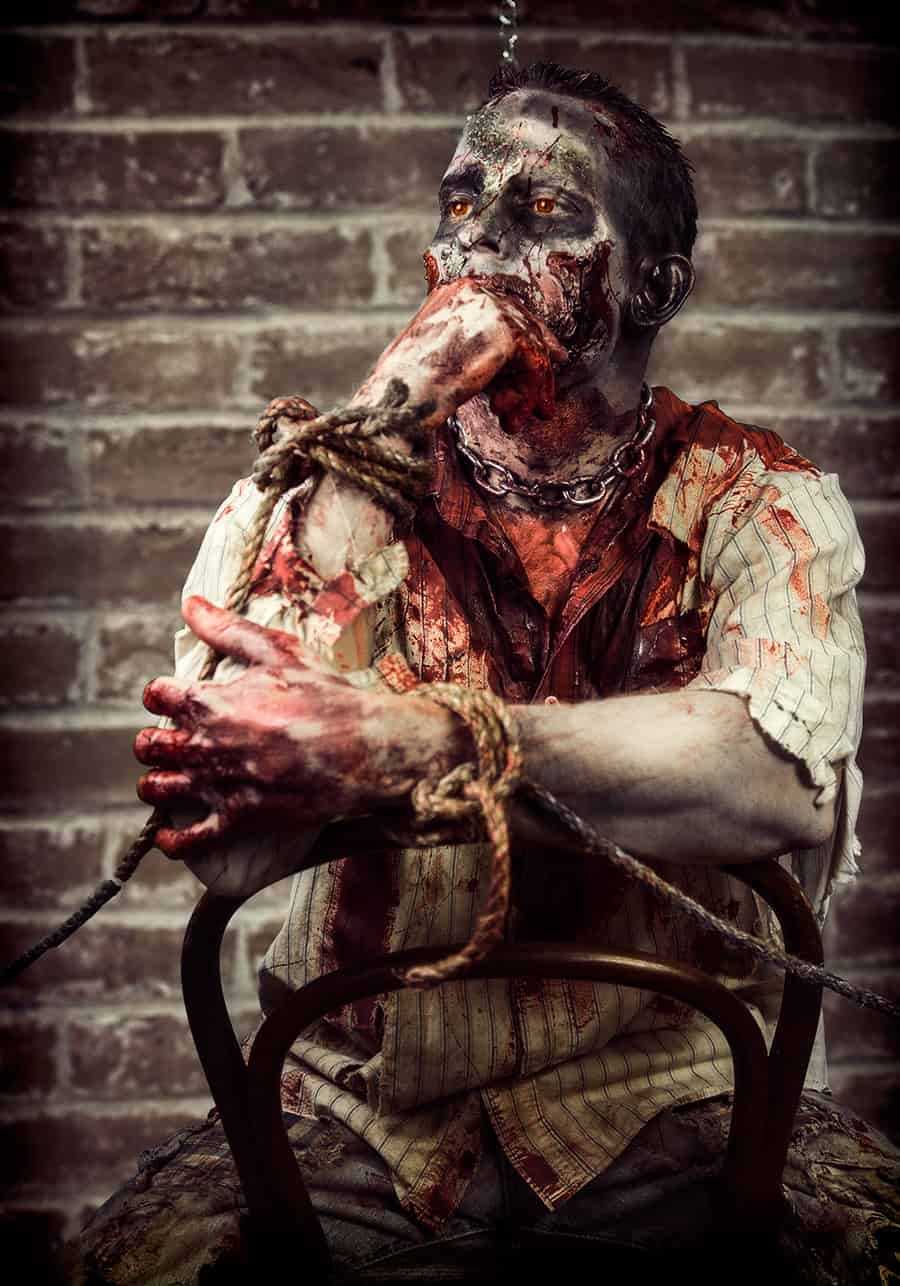
Playing a Zombie is a lot harder than you think! That chain was digging into my neck and really choking me. Most of the zombie sound effects are coming from the pain of being choked out by a chain! Not to mention the ropes, they were digging into my wrists every time I raised my hands, did I mention this took about 12-15 takes? I was covered in syrup for almost 4 hours!
We have to give it up for David. He played it pretty calm even though there was a Zombie hanging out in the garage! Some of the one-liners and facial expressions crack me up, like when he pauses for a second after talking about the Lightsphere, looks at me and slowly says, “…Face” or “Flesh on a Stick” that one always gets me too. He was a good sport, I dragged him into this and he pulled through with flying colors really making this video awesome and informative!
Here is a pic that didn’t quite make the video:

For Blake, it's all about the art and process synergy. He dives deep into complex topics and makes them easy to understand through his outside-the-box thinking so that you can use these tricks in your workflow today!


…words cannot describe how badly my stomach hurts after laughing this hard!! Your guys are OVER the top! Useful info as well…
P.S. I thought he was going to do a shot of the zombie termination at the end 🙂
Hahah! That is great Tal, thanks for the feedback! We were going to “end” it that way, but it didn’t seem right to put down your difficult subject!