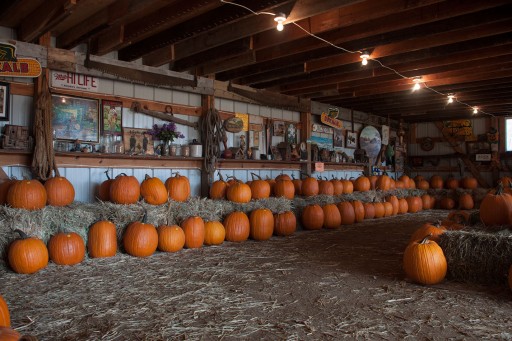
Nick Marzinski was gracious enough to supply us all with these brackets for HDR Concert #9. I had asked Nick what he thought the twist should be, he simply requested that the brackets be post processed with color in mind. Maybe a cross process effect, bleach bypass, hue shift, saturation adjustment, or a pop art effect.
It was harder than I thought it would be, drop a bomb like “play with color” when the predominant color orange got stuck in my head. I found it difficult to separate the orange from the pumpkin as many others may have as well. Here are the submissions!
Starting with the man who provided the brackets!
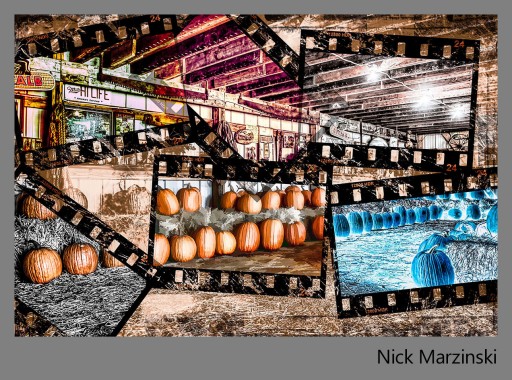
Nick Marzinski
Location: Milwaukee, Wisconsin, USA
Started with digital photography seven years ago, a few months before my oldest daughter was born. Macro, landscape, abstract, and HDR photography are particular interests. I shoot with a Canon Rebel T1i, and currently use Lightroom 4, Photoshop CS6, Photomatix, and a bunch of Topaz plug-ins.
Processing Highlights:
- Used Photomatix for HDR processing with some basic panel slider adjustments in Lightroom before and after.
- In Photoshop, used two curve adjustment layers to boost contrast on the walls and floor and an overlaid black and white gradient map to globally boost contrast. Then did another detail boost in Topaz Adjust.
- Built the film negative using shape and text layers as a new file in Photoshop, flattened it, and dragged six copies onto the HDR image.
- Ran the effects within the Negatives using a variety of methods–masked adjustment layers for the bottom left and upper left negatives, Topaz Simplify for the bottom center, and Topaz Adjust for the top center (cross process), top right (bleach bypass), and bottom right (color negative) negatives. Each effect was masked inside of its negative box. Negatives that overlapped one another were partially masked.
- Used a sepia gradient map on the “non-negative” part of the image, and aged it using black and white grunge brushes on separate layers. Grunged up the edges of the negatives by painting black on layer masks .
- Cropped the final image in Lightroom to get rid of the less interesting section on the bottom.
Where You Can Find Nick: G+
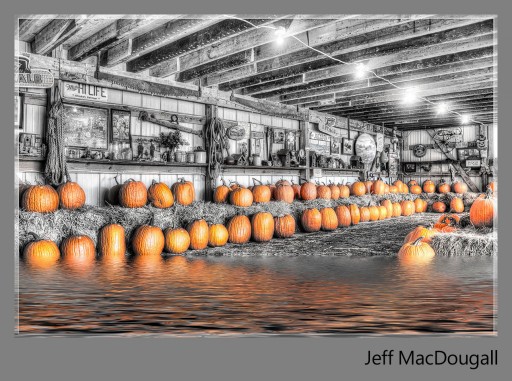 Jeff MacDougall
Location: Henderson, NV USA
I started out about ten years ago only wanting to photographically catalog my various and extensive collections. Since then it’s snowballed… becoming a creative outlet that has taken over my life.
Processing Highlights:
-
Imported the 3 brackets into Adobe Lightroom 4.
- Deployed Photomatix Pro to create a tone mapped image. Re-imported default image into Lightroom without any additional manipulation in Photomatix.
- Edited tonemapped image in Nik Color Efex Pro focusing on detail extraction and tonal contrast.
- Converted to B&W in Nik Silver Efex Pro. Employed selective adjustment control points for selective coloration, as well as fine-tuning tones and contrast.
- Created frame in Photoshop CS6, and then back into Lightroom.
- Exported to jpeg using Nik Sharpener Pro output sharpener.
- Employed the Flood Plug-in to the final image to fill the scene with a water effect.
Where You Can Find Jeff: Flickr
Jack DeWitt
Location: Eureka, Montana
I have been an avid photographer and artist since the early 70’s. HDR has opened new doors in creativity and artistic pathways. At 66 years old, I still love to get out and get that “perfect shot”.
Processing Highlights:
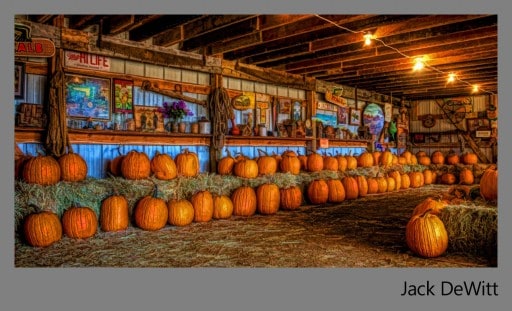
- Photomatix Pro 4
- Camera Raw
- Topaz Adjust
- Photoshop
- Topaz Simplify
- Cropping the image to enhance the space and color
Where You Can Find Jack: Smugmug
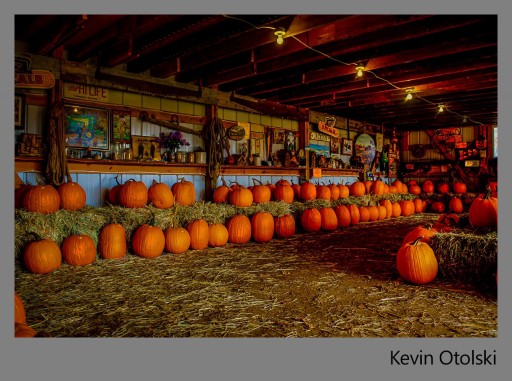
Kevin J. Otolski
Location: Evansville, IN USA
I mostly, for the past few years, have been shooting High School Sports, and now I am having more time to try other areas of interest. I only have about 6 months experience with post processing images and I am always looking for ways to better myself and what better way then seeing how others edit the same picture.
Processing Highlights:
- Processed in Photomatix and saved as a TIFF.
- I did not like the light bulbs so I played a little with knocking the color down a bit.
- Brought the Photo into Lightroom and did a little more exposure and color edits.
Where You Can Find Kevin: Flickr
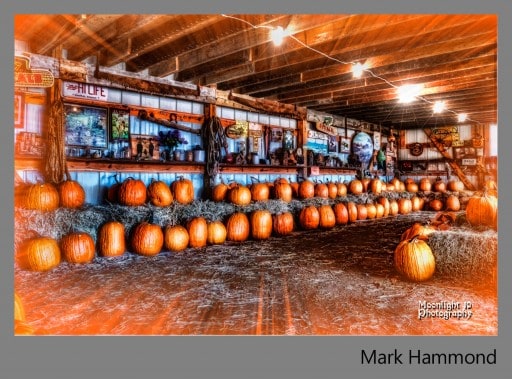
Mark Hammond
Location: Sedalia, MO
I think this is my 3rd or 4th concert I’ve participated in and it is always awesome to see how different people can take the same brackets and each one always go in a different direction
Processing Highlights:
- Merging and tone mapping in photomatrix with an increase in the orange saturation
- Topaz adjust to get some pop in the colors
- Saturation layer in photoshop to bring out some more color
- Layer mask to blend original rafters back in
- Brightness adjustment layer to bring it down a bit
- Topaz clean to enhance some of the details
- Layer mask to again bring back original rafters
- Onone to put on the frame with color
- Finally small amount of blur to smooth the whole thing out
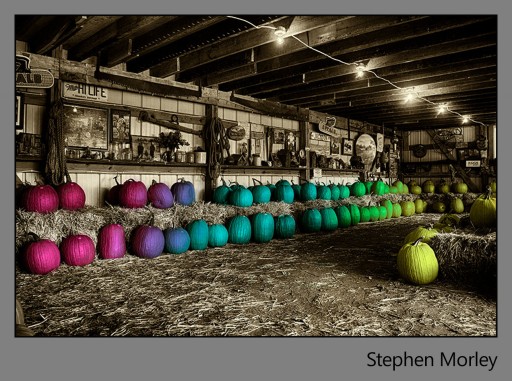 Stephen Morley
Location: Southern Ontario, Canada
Longtime amateur photographer who enjoys the journey as much as the destination.
Processing Highlights:
- Converted Images in Silver Efex Pro2.
- In Photoshop cropped pumpkin range and used Select Color Range to isolate the pumpkins.
- Converted this selection to a layer mask. On the isolated Pumpkins applied a “rainbow” gradient.
- Duplicated Layer and converted to a monochrome image using Silver Efex Pro2
- Applied a Hue Sat layer clipping layer and adjusted to taste
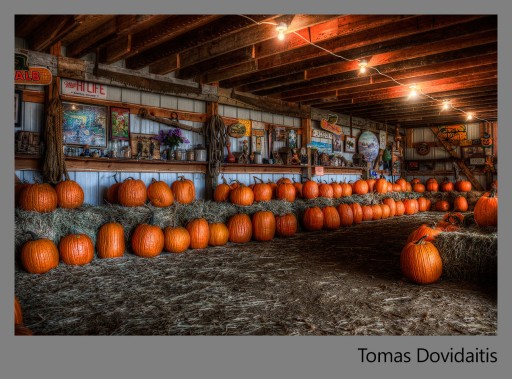
Tomas Dovidaitis
Location: Norway
30 years. Beginner in photography. I usually take landscapes and I love HDR photography…
Processing Highlights:
- Started with Photomatix Pro and then PS 5.
- Cropped edges.
- Used tonal contrast filter (Nik software – Color Efex Pro).
- Pro contrast (Color Efex Pro).
- Midnight (Color Efex Pro).
- Sharpener pro (Nik software).
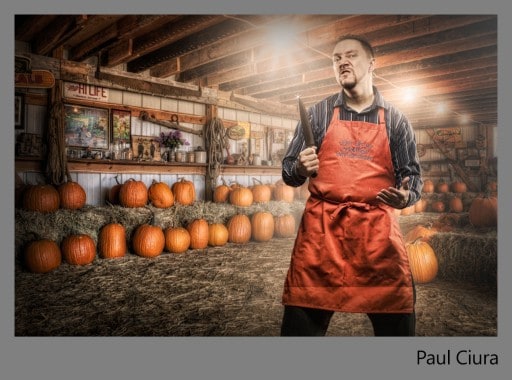
Paul Ciura
Location: McHenry, IL
Proud father of 3, husband to 1. IT by day, photography by night. When I am not doing photography, you can find me doing some DIY around the house, cooking and spending time with my family.
Processing Highlights:
- Just started to learn the compositing technique. Insipred by Joel Grimes and Calvin Hollywood
- Photomatix for the initial tonemapping of the supplied 3 bracket shots
- Next up is Photoshop to get the details out and get some color and contrast
- Some NIK plugins, stacked and adjusted with layer opacity as needed
- Prepare the composite in separate file using quick selection tool and then refine edge
- Bring in the composite in and resize as needed
- Bring out some details and desaturate a bit with different layer adjustments and NIK plugins
- Add some lighting effects via Calvin Hollywood techniques (www.photoshopfreaks.com)
- Try to give it an all around color adjustment to marry it all up, add vignette
Where You Can Find Paul: Paul Ciura Photography
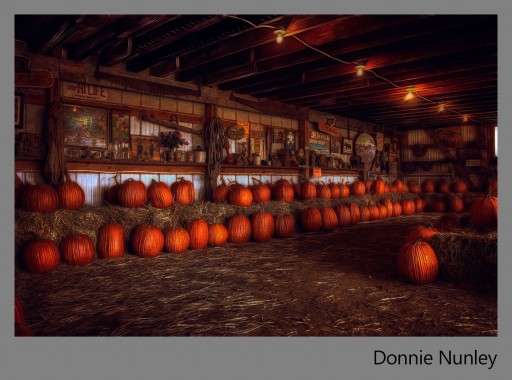
Donnie Nunley
Location: Boones Mill, VA
I’m an amateur photographer located in the mountains of Southwestern Virginia. I use a Canon 60D and a Canon 17 to 24 mm F/1.4 lens most of the time. I’ll shoot anything that I think is interesting to view and give it my own spin in post processing. My favorite subjects recently have been interiors and trains
Processing Highlights:
- This was a beautiful set of brackets – well composed and crisply focused. I didn’t want to go too wild on the colors but I did think it could be interesting with more shadow and with a deeper and warmer color base.
- I processed it in Photomatix Pro 4.2 with the intent of keeping the lighting looking as natural as possible.
- I do post in Photoshop CS6.
- I did color contrast work to bring out the orange and add a little warmth.
- I used the Vecchio filter in onOne Perfect Effects 4 to add warmth and darken the image.
- I used Fractalius and Topaz Clean filters, painted in, to stylize the detail in the image and to strengthen the lines.
- I finished it with some dodging, burning and curves work.
Where You Can Find Donnie: 500px, Flickr, Tumblr, G+
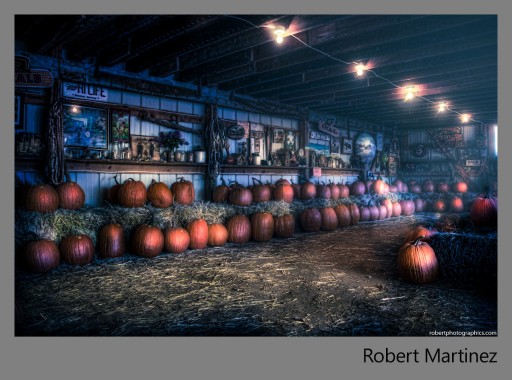
Robert Martinez
Location: Chicago, Illinois
I enjoy HDR photography and stylized photography. And photo walks! www.chicagoareaphotowalks.com
Processing Highlights:
- For this photo I decided to give it a night time movie lit feel to it, by introducing some blues and contrasting with the tungsten yellow of the bulbs I also wanted to add some atmosphere to it as well.
- Processed in Lightroom 4, Photomatix, Photoshop CS 5 and Topaz plugins.
- The blue look was helped by using Lightroom 4’s split toning with the shadow slider set to blue.
- I added a haze of light coming from the window with some brushes and layers set to screen in CS 5.
- The dimensional fog was applied by first duplicating a layer to which I applied the fog effect using Topaz Lens effects and then in Photoshop I created a mask for that layer and selected the gradient tool. I swipe across the image to create a fog effect that diminished towards the front of image and also used a regular brush tool to remove some of that effect as well on the front portions of image.
- I had a great time on this image and learned a lot!
Where You Can Find Robert: Robertphotographics
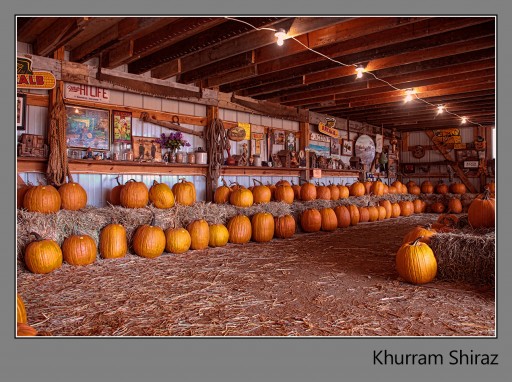 Khurram Shiraz
Location: Chicago, IL
Just a hobbyist, haven’t done any professional photography. Most of the work I learned was through video tutorials and some from the everydayhdr.com website.
Processing Highlights:
- Used the supplied bracket photos with Adobe Photoshop CS 5, used the 32 bit work flow described here on EverydayHDR.
- Adjusted minor details with Adobe Camera RAW.
- Used Topaz Adjust 5 to boost the details.
- Used Topaz Adjust 4 for tonal range details.
- Used Topaz DeNoise to local adjustments.
Where You Can Find Khurram: Mostly use facebook and G+ under Khurram Shiraz name.
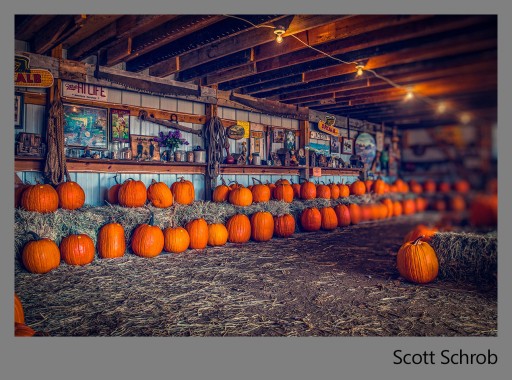
Scott Schrob
Location: Princeton, NJ
Still pretty new at the whole post-processing part of photography and HDR. However I did just start to try out the On One Software Suite, so I am pretty excited to get into that. This is my second HDR Concert. You can usually find me on Google+ with me linking to 500px for some of my better pieces.
Processing Highlights:
- Merged to HDR in Photoshop CS 5 from Lightroom
- Lightroom adjustments (Highlights, Shadows, Clarity, Vibrance and Saturation)
- Import to Perfect Effects by OnOne Software – Added a Fall Enhancment Layer to the Pumpkins, Tonal Contrast to the entire image, Finally added a Split Tone Blue Effect to the entire image
- Imported to Focal Point to blur the right hand portion of the image
- Added a Post Crop Vignette in Lightroom to finish it off
Where You Can Find Scott: G+
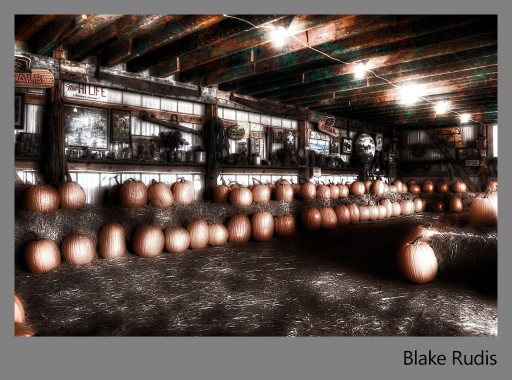
Blake Rudis
Location: Kansas City, MO
Creator and host of EverydayHDR. I have been at photography for about 13 years now starting out with an old Canon AE-1 in the high school darkroom! I went to college for Printmaking and Sculpture with a strong interest in Painting. Bought a DSLR in 2007, fell in love with HDR in 2010 and haven’t stopped bracketing since!
Processing Highlights:
- Started in Photomatix, dragged the brackets straight in and made a mild tone mapped image to have a good baseline to start with, not too light, too dark, or too stylized.
- Brought it into Light room made some minor adjustments in the basic channel but was very happy with the Vibrance slider dropped to the floor. It brought out everything that was yellow and left the other colors behind.
- Several selective adjustments for the Highlights, Midtones, and Shadows using Tone Curves.
- Repainted the rafters with orange and a variation of it’s compliment, that bluish color.
- Did some serious dodging and burning on a 50% gray layer.
- Applied the Dreamscape Action from the Tidbits of Awesomeness Actions Package to the final image.
Where You Can Find Blake: Here every Monday Wednesday and Friday!

