
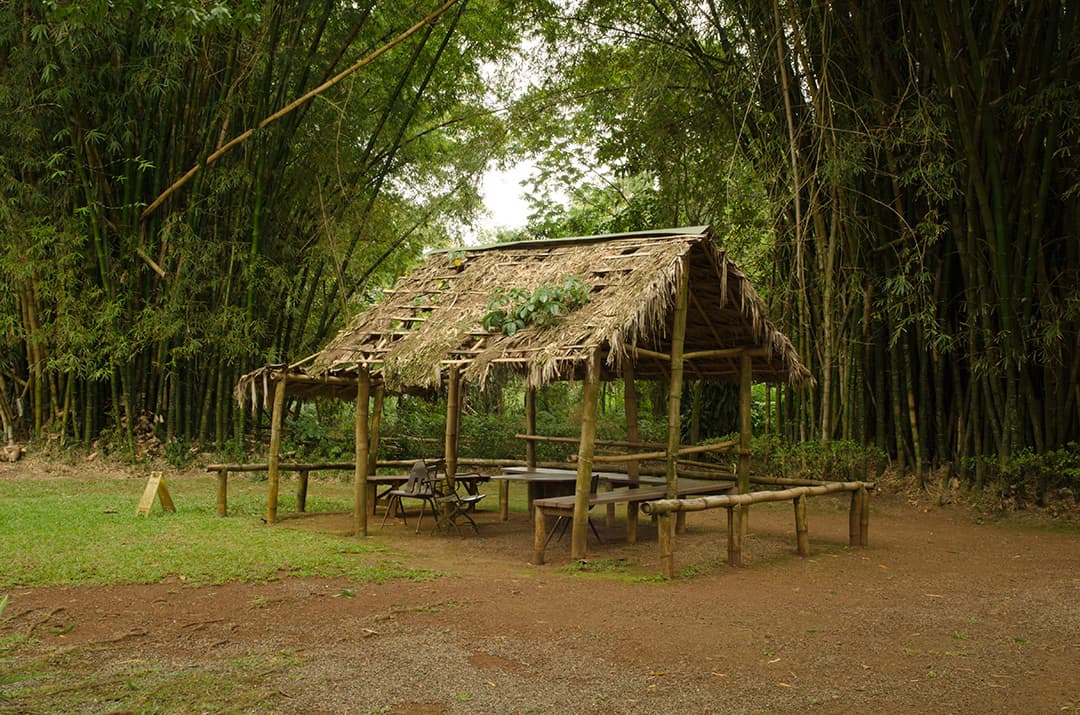
HDR Concert #12 was not as big of a hit as I had expected. This had nothing to do with the wonderful brackets that were supplied by Damien Parker. The image and brackets were very easy to work with and practically flawless, I thought the “Caution: Wet Floor” sign was awesome by the way!
With these Concerts I try to break people out of their mold, make them try something new, and maybe even try a technique they are not comfortable with. It seems when the stakes are a bit higher by making the rules a bit more challenging, the people do not show up.
The last Concert filled in less than 24 hours because the rules were pretty simple, use your imagination. There will not be anymore of those broad rule Concerts, they will all contain a set theme with a certain technique in mind. This will continue to weed out the mice from men I am sure!
After all, these Concerts are not about filling up fast, competition, or who is the best. These Concerts are about learning from one another, trying new things, obtaining inspiration from those who are very talented and looking at more of their work. Who knows, maybe even make a personal connection or two.
The individuals listed below have proven they are man worthy, no mice here!
In the order they were received:
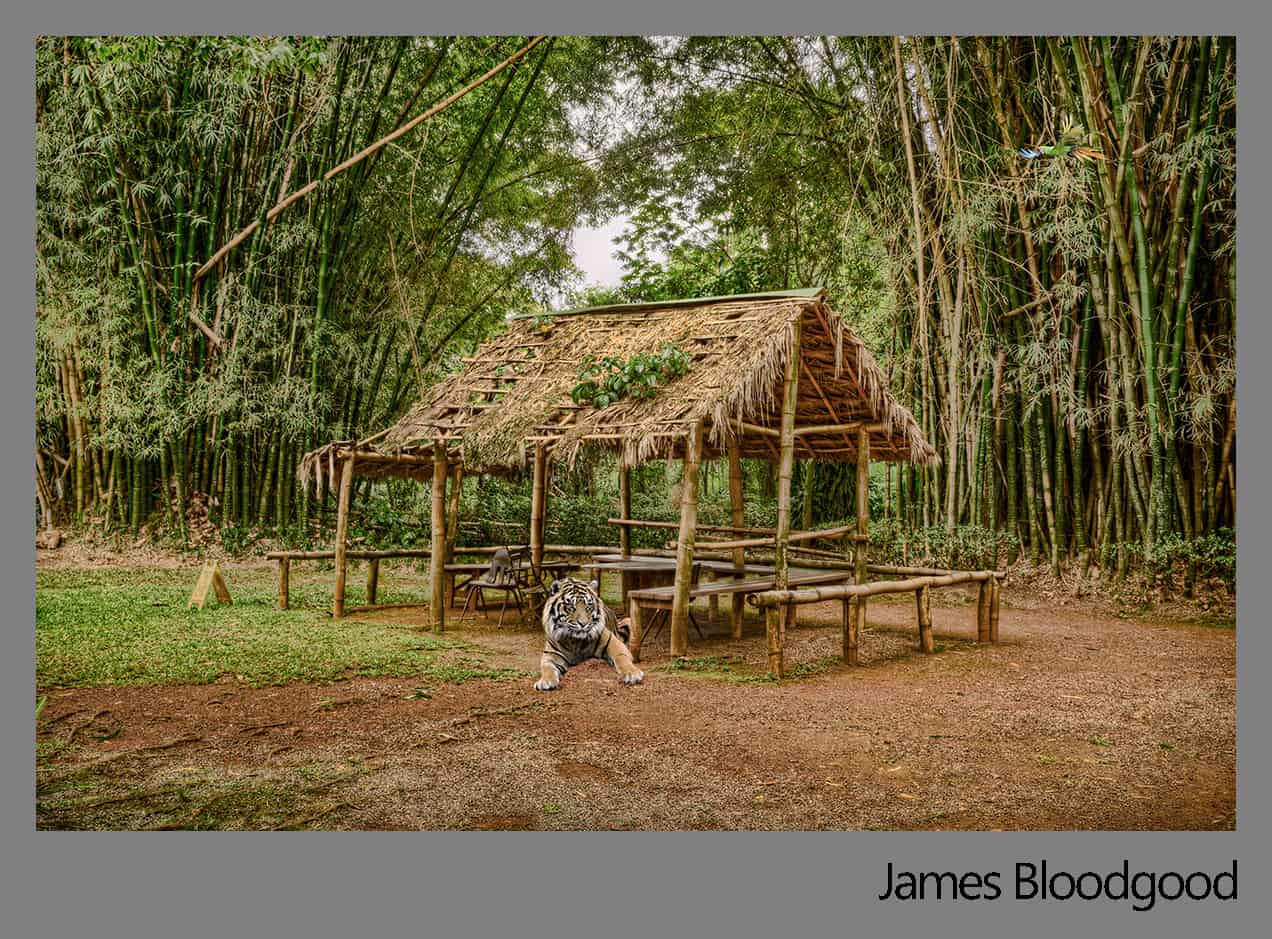
James Bloodgood
Location: San Antonio, TX
I’m an IT Security guy in my day job but also truly enjoy photography. I was first turned on to HDR photography just a couple of years ago and was fascinated by the results. I’ve just recently started using more photo editing software and am really enjoying the level of detail I’m able to pull out of HDR images.
Processing Highlights:
- I tonemapped the brackets in Photomatix using the “shadow map” method.
- The processing was done with Photoshop Elements including defringing all those leaves in area with sky.
- Found the images of the tiger and macaw and processed them separately then added them in.
- Attempted to create some shadows around the tiger to make it look like it fit with the burn tool and some masked brightess adjustments.
- I used Topaz Remask to separate the animals from their original backgrounds.
- Did some sharpening and high-pass smoothing to direct eyes to the areas of interest.
- I finished it off with a couple filters from Topaz Adjust primarily adjusting contrast and some color.
Where You Can Find James: Flickr, G+
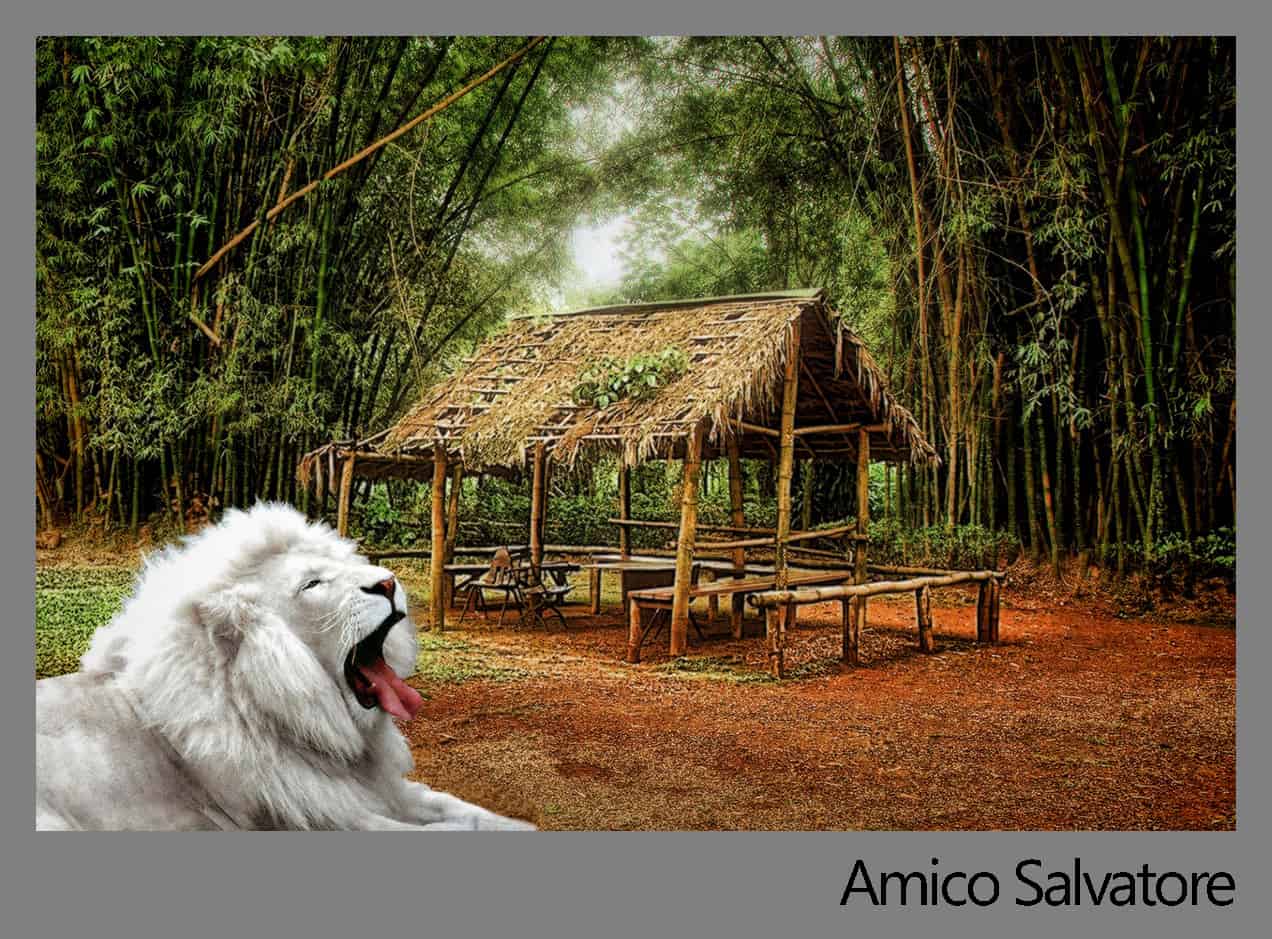
Amico Salvatore
Location: Boulogne-sur-Mer, FRANCE
Photography “amateur” for 40 years, from the darkroom to the digital darkroom. I discovered the HDR world 4 years ago and tried various software since. Photography is the real goal of every travel and HDR helps me to unveil all the wealth and beauty contained in the world and in each picture.
Processing Highlights:
- I used HDR machinery 2.5 to merge and tone mapped the 3 files, with the preset warehouse
- I add the lion in a layer after using Topaz Remask 3, in Photoshop, with a blur for the edges
- I used the clarity preset with a slight diffusion from Topaz Adjust 5
Where You Can Find Amico: salvat17@gmail.com

Johnny Santiago
Location: Redondo Beach, CA
I’ve been a Freelance photographer for about 12 years now shooting mainly coastlines, Sunsets etc. I love shooting long exposure pictures at night. I like HDR photos if they are done right. I’m trying to perfect the photo realistic look. I’m hoping I can fine tune my skills with this website. My Camera’s of choice are Nikon.
- Merged photos into Photoshop CS6 HDR Pro and converted to 32 bit file. Opened the photo in Lightroom 4
- Slight adjustment to exposure, shadows, white balance, vibrance and clarity. Then color tweaks to enhance the green tones.
- Back to photoshop to remove the sign on the right with content aware remove and mask in the animals found on the internet. Apply shadows and color correct the animals.
- Using OnOne’s Perfect Effects 7 detail brush match the details of the animals to match the rest of the picture. While still in Perfect Effects apply the Add Color brush to the animals (about 20 TO 30%)
- Back in photoshop use the Topaz DeNoise plug-in (Awesome plug-in)
- Apply slight vignette in photoshop.
Where You Can Find Johnny: fotostooge@yahoo.com
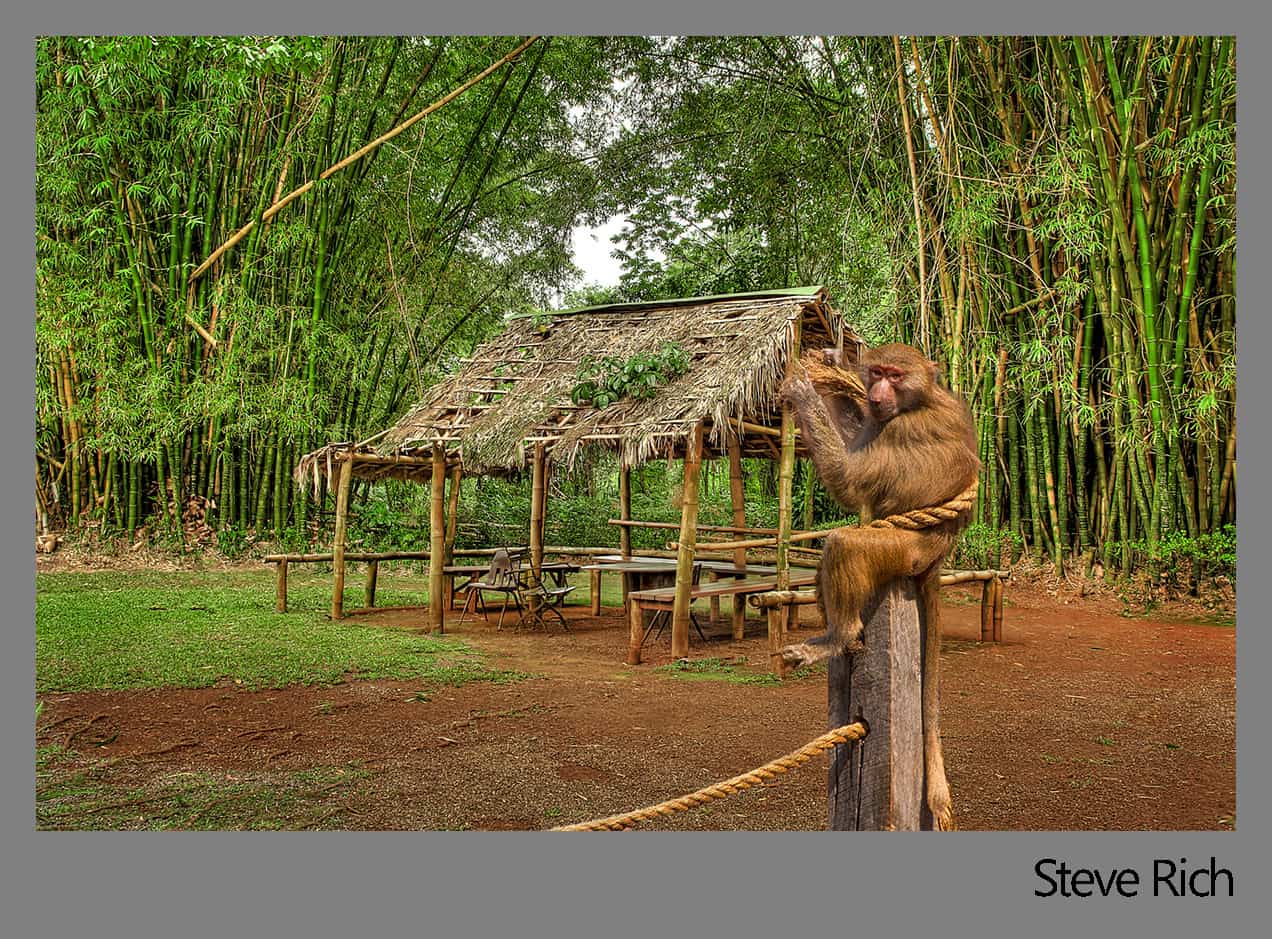
Steve Rich
Location: Aiken, South Carolina
Love camping, boating and the great outdoors when I’m not processing photos. Grandfather, married 30+ years with two daughters who are both married, educated and are a huge help when called on. 5+ years HDR Experience.
Processing Highlights:
- Bracketed image imported into Photomatix Pro
- Tonemapped image then imported into Lightroom for lens correction.
- Image was then sent over to Photoshop CS6, Noise Reduction and using the spot healing brush removed a sign from in front of the hut.
- From Photoshop image was imported into Perfect Effects 4 for stylizing.
- From Perfect Effects 4, image was imported back into Photoshop CS6, using Topaz Remask, I removed the monkey for another image and placed on the HDR image.
- Merged all layer, cropped and saved as Jpeg.
Where You Can Find Steve: Aiken HDR

Tim Burgess
Location: United Kingdom
I’m a freelance Animator and Compositor . Photography has always played an important part in my work. In the past couple years photography and HDR has become more of a passion and i’m constantly looking to improve
Processing Highlights:
- 3 Raw files processed in Lightroom 4 and imported into Photomatix
- Tone mapped and re-imported into Lightroom
- Stock image of Dinosaur by Hatestock loaded into photomatix to tonemap.
- Both images were loaded as layers in Photoshop
- Dino taken out of it’s background
- Dodged and burned to help blend images together
- Color lookup layers added to color blend images together.
- Lens correction filter used to distort image, and field blur filter to BG.
- High pass sharpen to parts of Dino
- Copy of dino then motion blurred and mouth blended into final composite to give a feel of movement.
- Merged together, copied, blurred and mashed for final effect…
Where You Can Find Tim: Redbubble
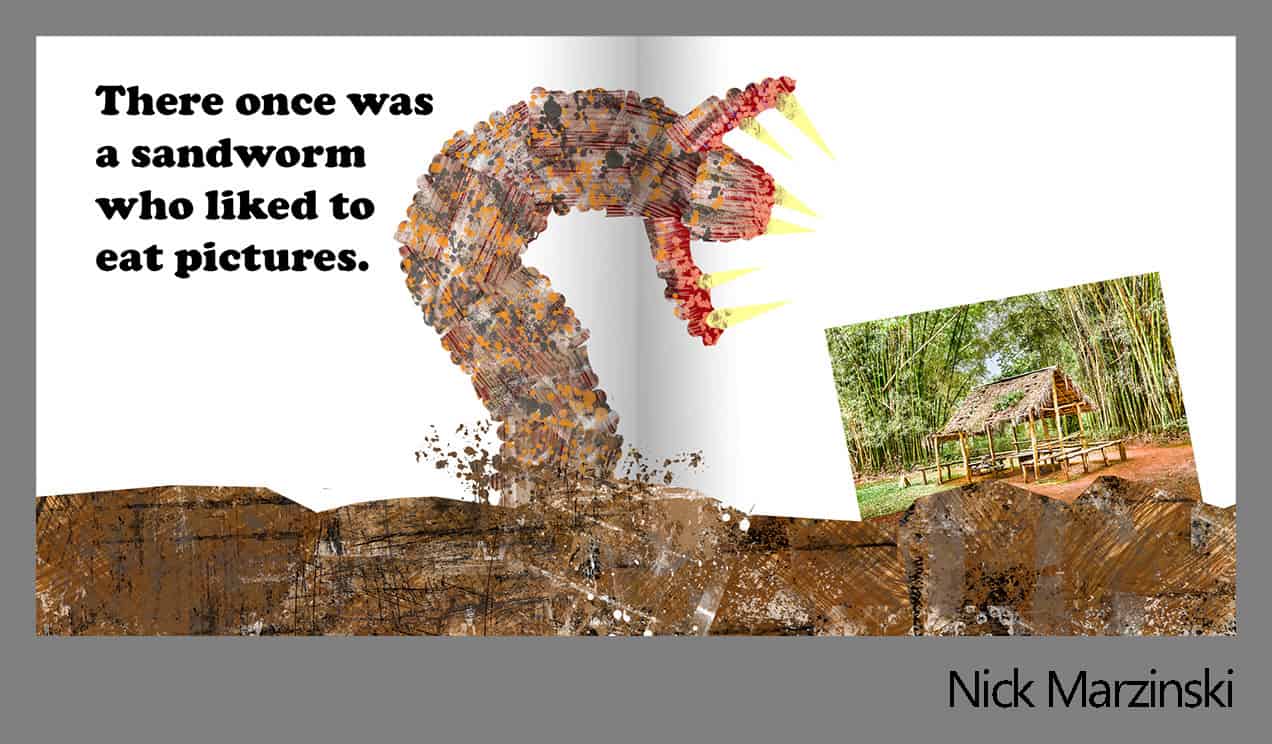
Nick Marzinski
Location: Milwaukee, Wisconsin, USA
Started with digital photography eight years ago, a few months before my oldest daughter was born. Macro, landscape, abstract, and HDR photography are particular interests. I shoot with a Canon Rebel T1i, and have an unhealthy obsession with using Lightroom 4, Photoshop CS6, Photomatix, and a bunch of Topaz plug-ins to wreck perfectly beautiful pictures. As of a few days ago, I became the proud owner of a photoblog. The inspiration for this entry was Eric Carle, the children’s book author, and (naturally) the sci-fi novel Dune.
Processing Highlights:
- Tone-mapped the image in Photomatix with some slider fiddling.
- Dodged and burned and applied masked curve layers in Photoshop. Then I brought it over to Topaz Adjust to pop the contrast. Then back into Photoshop for a high pass filter.
- The “ground” on the storybook image was one long brown rectangle shape layer, with spattered paint applied to additional clipped layers. I used lasso selections while painting to make the edges abrupt so it looked collage-y. Those layers were grouped and then masked to make the ground uneven. The worm’s “explosion” from the ground was done with a layer mask and splatter brushes.
- The worm consisted of several red rectangles (shape layers) that were moved and rotated into place and then covered in spattered paint on clipped mask layers. The sides of the rectangles were masked to give the worm the segmented look. Each of the teeth was a skewed triangle shape layer. Looking at it now, I wish I’d’ve added more teeth. Sandworms can never have too many teeth.
- The HDR image was brought in and placed, and then I played with the layout to make space for the text, which was a simple text layer.
- Finally, I added two masked gradient filters in the middle of the image. It’s sort of subtle, but the idea was to make it look like the pages of a kid’s storybook.

Where You Can Find Nick: Trapping Light, G+
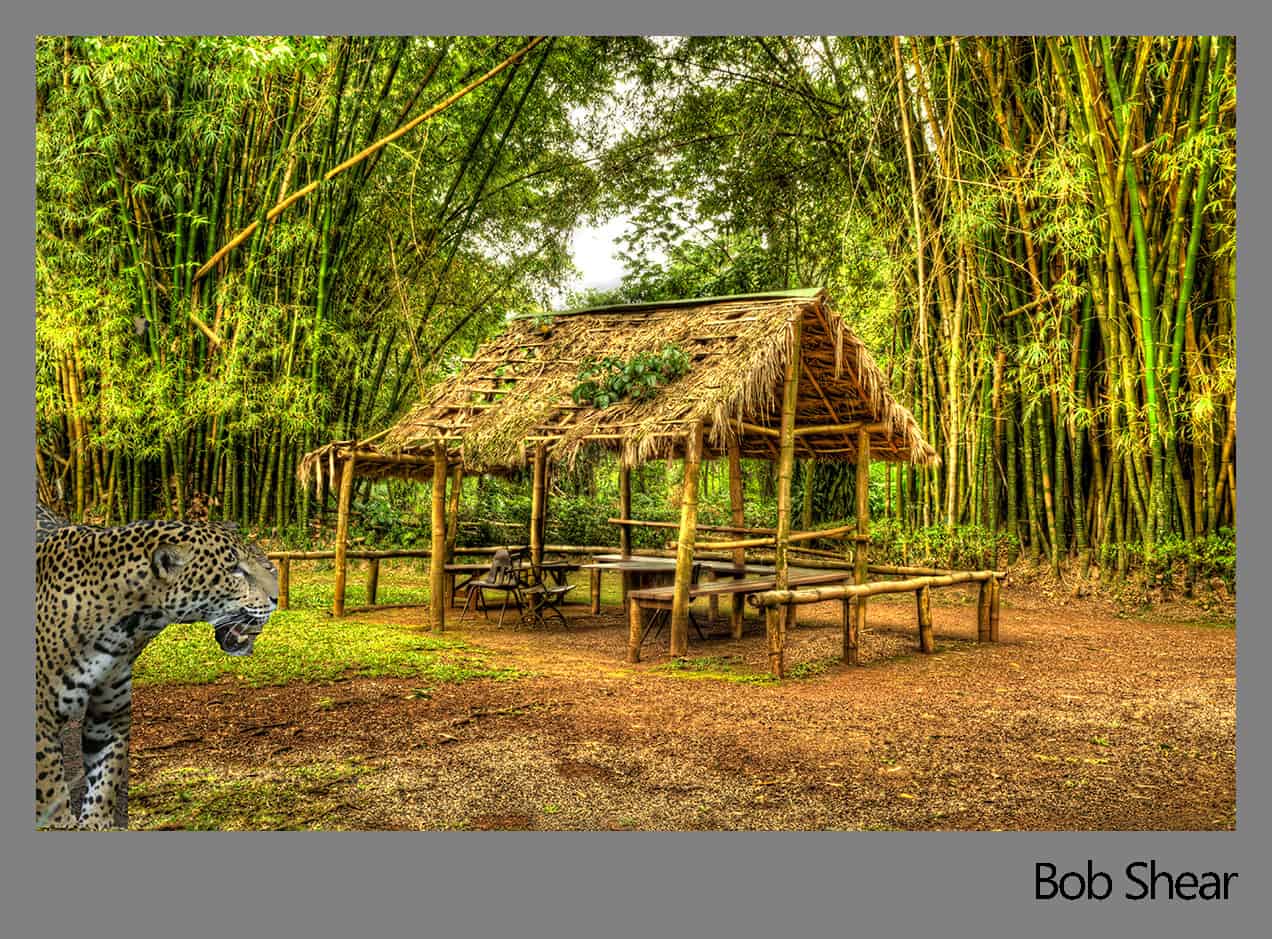
Bob Shear
Location: Merritt Island, FL
Old photographer. Started with a Spartus Press Flash when in high school and went downhill from there! Have been retired for about 10 years and loving every minute of it. Just getting feet wet with digital editing, etc.
Processing Highlights:
- Opened in PhotomatixPro.
- Tone mapped with a “Painterly” preset.
- Opened in Photoshop Elements 10 to insert big cat image into shot.
- Learned a lot in the process!
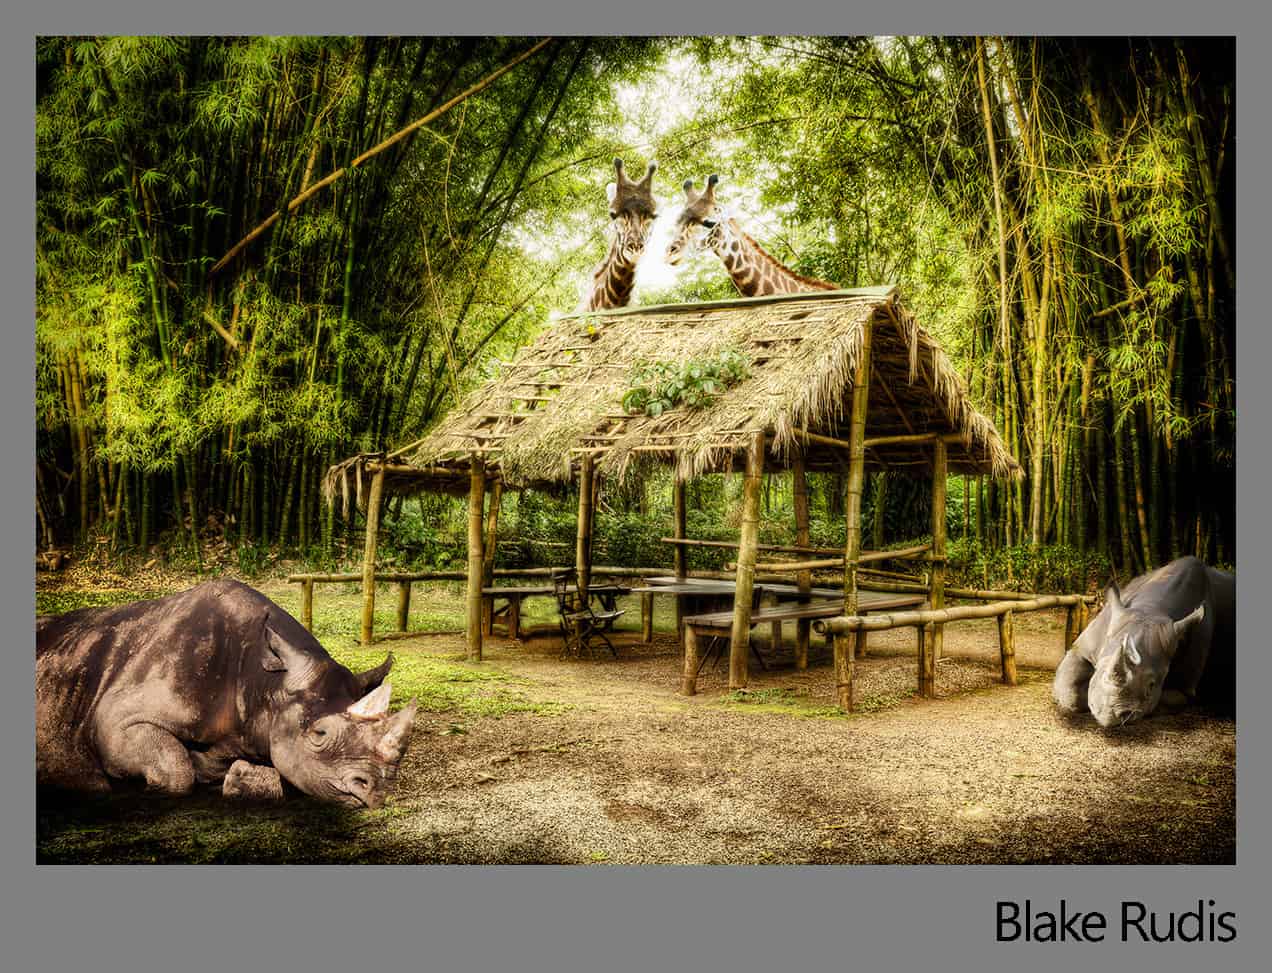
Blake Rudis
Location: Just Outside of Kansas City, MO
I am Blake and I love HDR. I have been at it for quite sometime now and I eat and breathe this stuff in my sleep, wait a minute, I may have botched that one up a bit, but it sounded good eh?
Processing Highlights:
- Drag all 3 RAW files into Photomatix.
- Tone Mapped it moderately, really just brought out the details but did not stylize it too much.
- Brought it into ACR, modified the Exposure, Shadows, Highlights, Whites, Blacks, Noise, Clarity, Contrast, yeah just about everything but the kitchen sink.
- Opened it in Photoshop, I started out by adding the giraffes, I put an Inner Glow effect on them to try and get the glare around them as the light source is coming in hard from behind them.
- I added the rhino’s, they are my favorite animal at the zoo. I tried to match the shadows as best I could to the structure in the middle.
- I clone stamped the chair out, the one that looked like it belonged in a High School cafeteria.
- Did some dodging and burning.
- I added a vignette but dodged the rhinos in the process.
Where You Can Find Blake: EverydayHDR.com!
