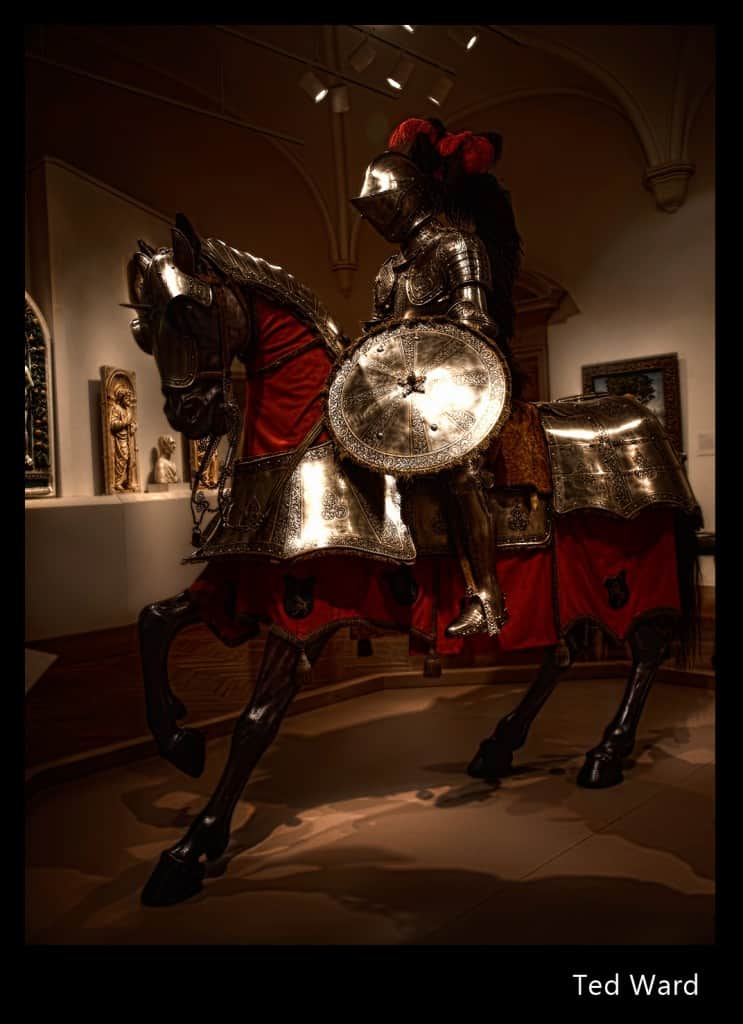
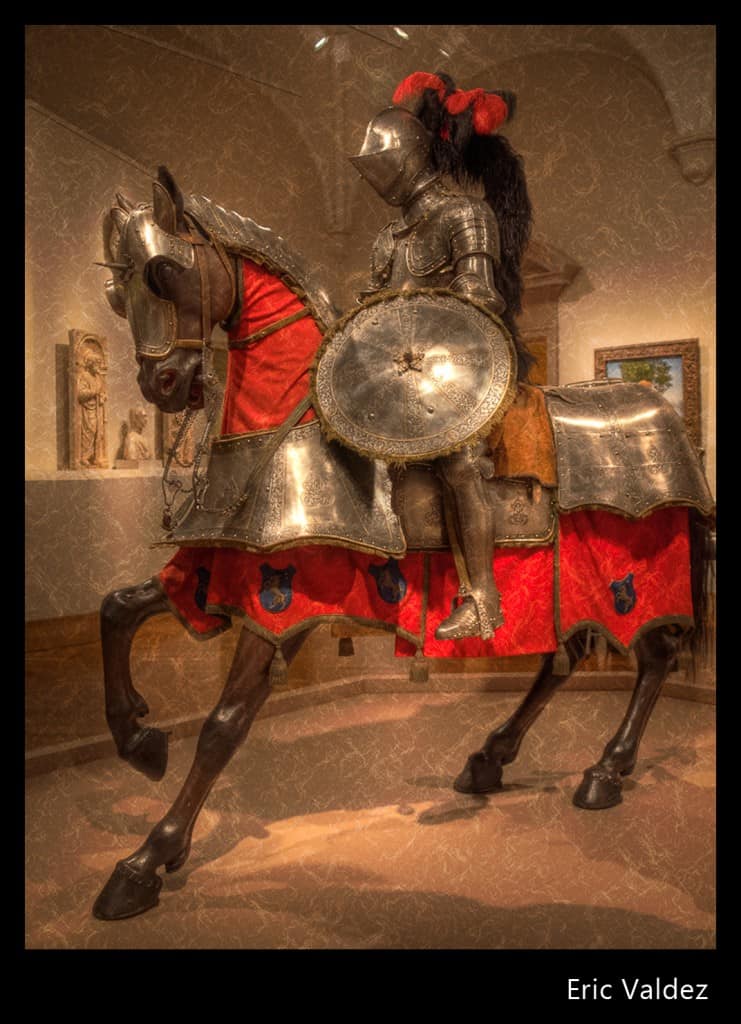
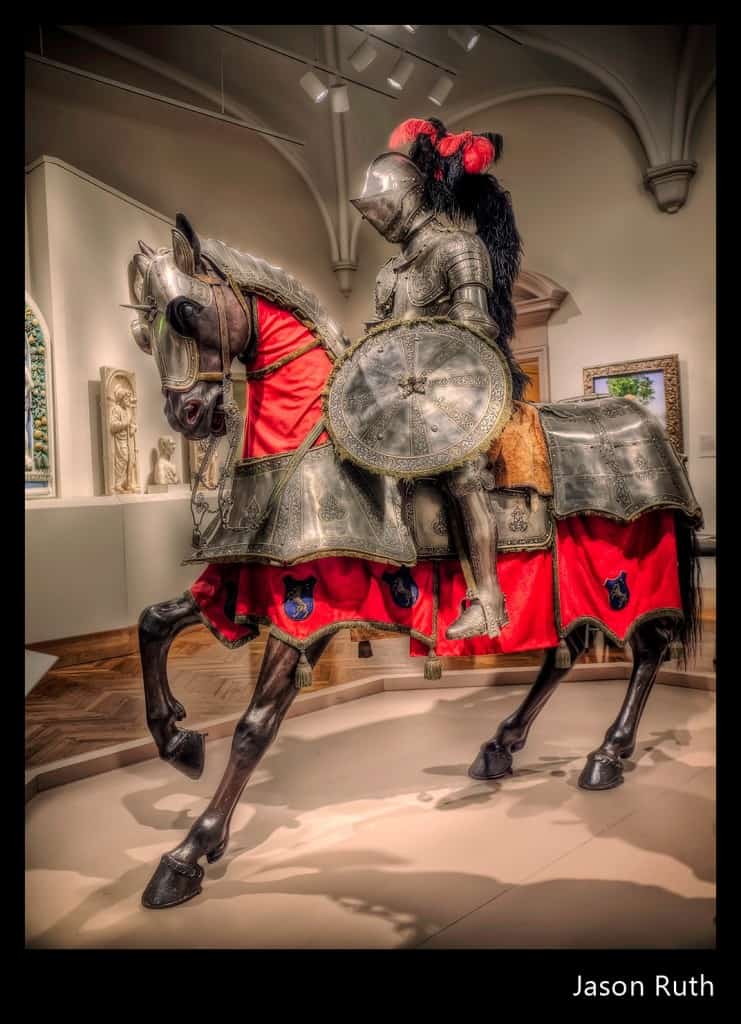
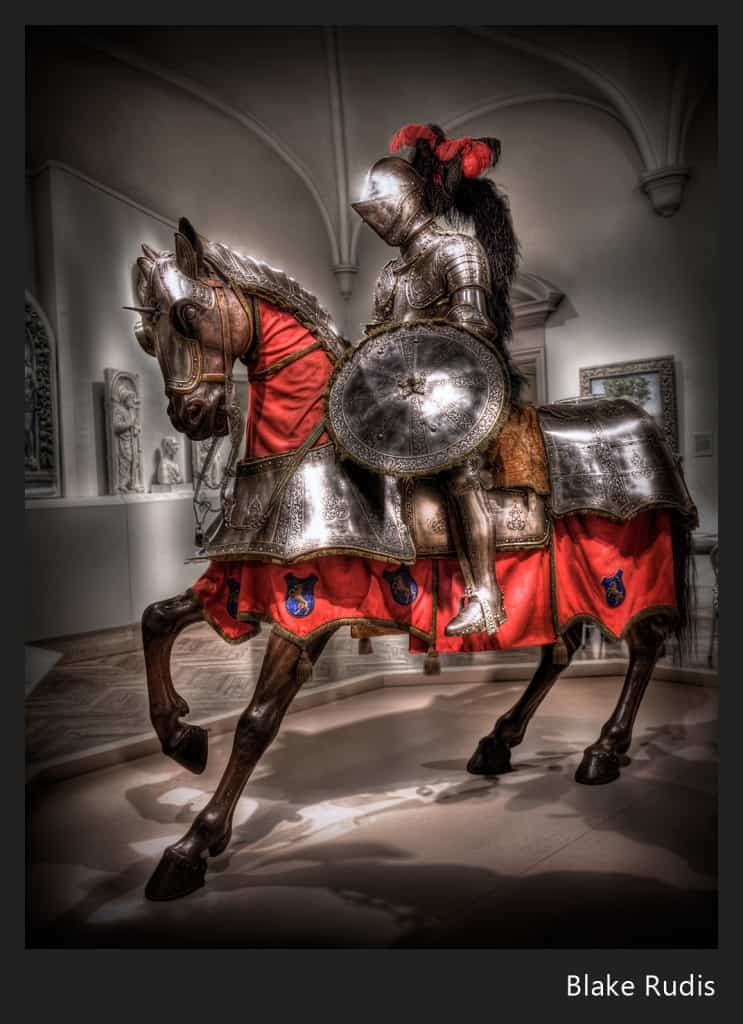
The image brackets came from the Nelson Atkins Museum in Kansas City. I had been yearning to do something with them when I took them and somehow I forgot about them. I went searching for the first subject matter for the first HDR concert and thought, “what an awesome image to break the mold”. Not a landscape, not an urban scene of graffiti and destruction, a pristine suit of full armor! The minute I selected it, I knew we had something we could make some music to! Without further ado, let the concert begin!
In The Order They Were Received
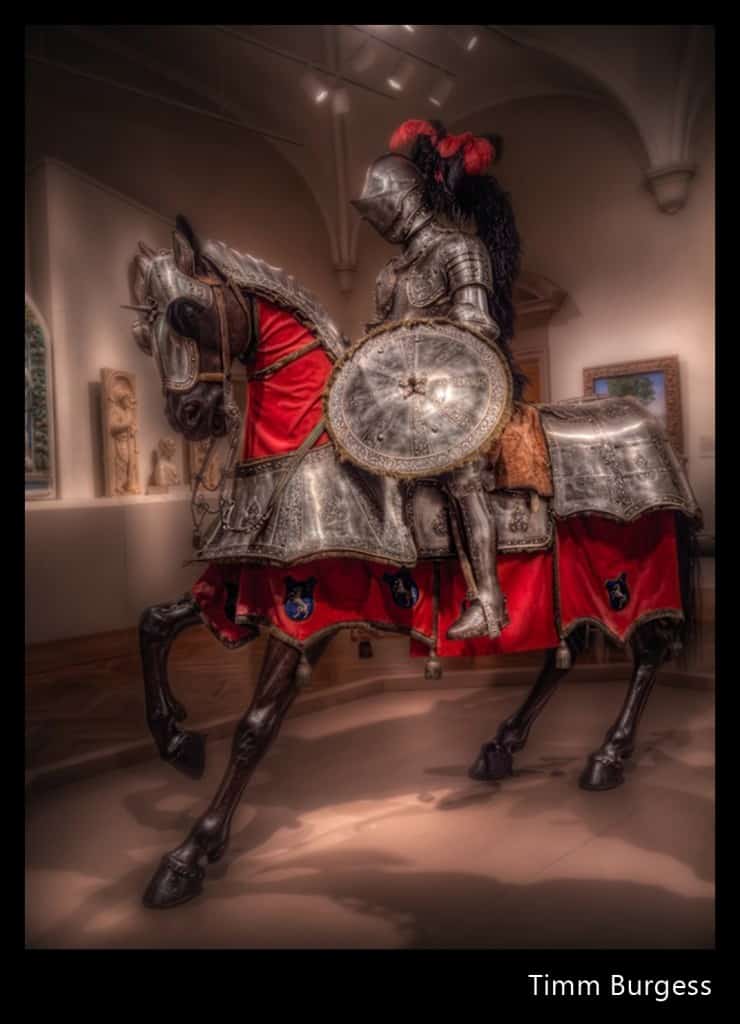
Timm Burgess
Location: United Kingdom, Grays
I’m a freelance Animator and Compositor working in the film and TV industry for over 20 years. Photography has always been an important part of my work but over the last 3 to 4 years photography and HDR has become more of a passion. I’m constantly looking to improve and expand my work.
The 5 raw images were taken into Lightroom 4 to color correct, add clarity and reduce saturation. They were then exported into Photomatix 4 to tone map and re-opened in Lightroom to tweak exposure and color, then loaded into Photoshop CS5 as a smart object. Copy smart object open in raw get rid of the color and alter the Luminance. Set the blend mode to luminance and mask in to the suite of armor. I used Calvin Hollywood’s method of sharping and again masked selected areas. There are a lot of curve adjustments and color correct layers with masks with. I finished it with a Glamor glow based on a tip from RC Concepcion and a darkened level vignetted over final image.
Where you can find Timm: 500px, Google +, Redbubble
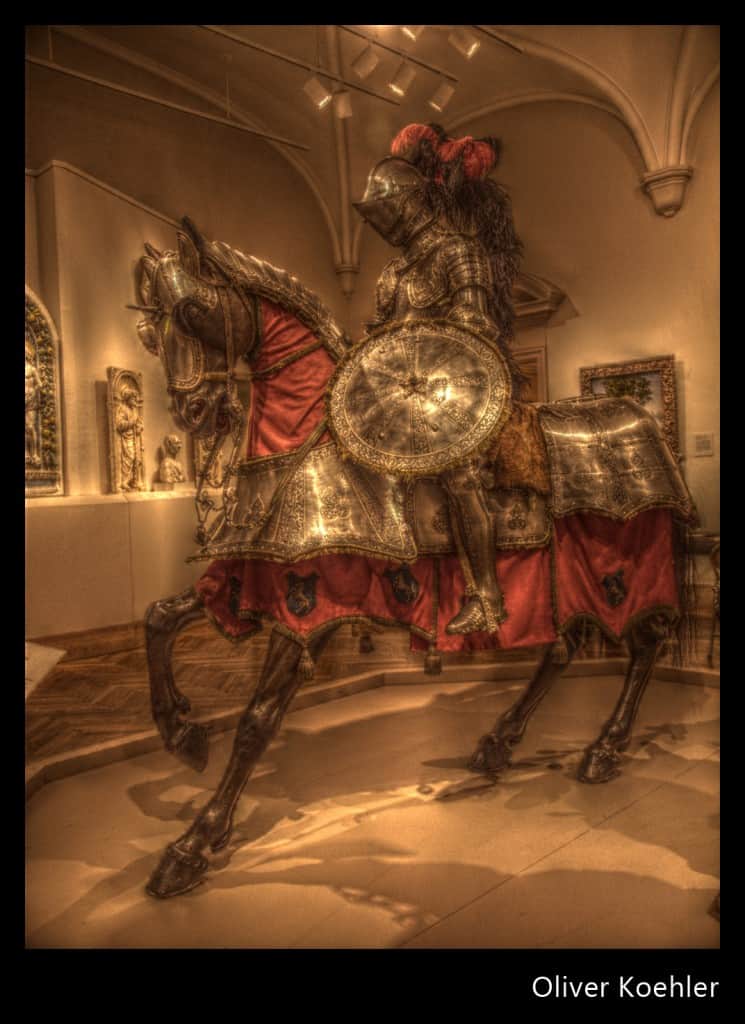
Oliver Koehler
Location: Germany
I am a 37 year old software-engineer living in Germany. In my spare-time I am photographing my environment and looking for interesting places to take pictures there.
I’ve processed your original images with a tool called qtpfsgui (aka Luminance HDR). A variety of prebuilt operators let you manipulate the images and allows you to “ldr” it.
My favorite operators are called Mantiuk and Fattal as they produce unrealistic pictures on purpose. Other operators produce more realistic images.
I used Fattal for this one that can be manipulated by three parameters:
- The first is a threshold indicating which derivatives to be amplified or to be decreased.
- The second one sets the effectiveness of the algorithm.
- The third one the sets the saturation.
The author recommends good results with first param: 0.1 second between 0.8 – 0.9 and the third between 0.4 – 0.6.
Where you can find Oliver: Website, Google +
Location: Edmonton, Alberta
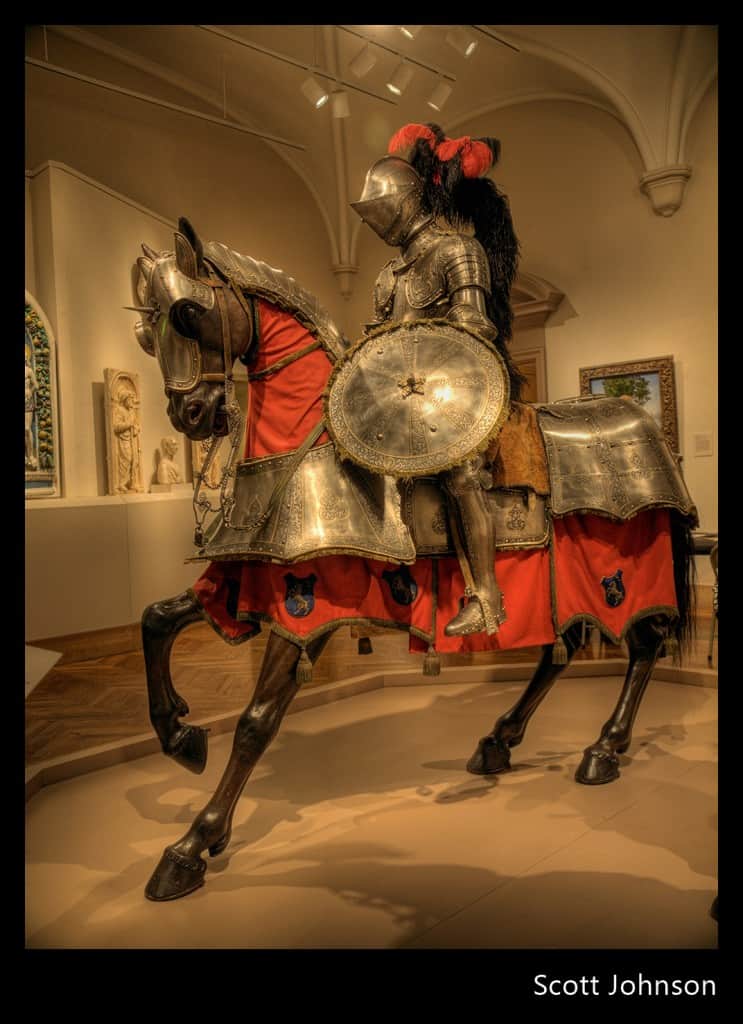
What a great image to work with, thanks for setting this up and sharing these brackets with us, Blake! There were definitely a few key aspects of this photograph that jumped right out at me. I wanted to really bring these elements to life, if possible, through our post-processing.
The shadows cast by the strong figure of the horseman really added so much interest to the shot, great composition here. Also, the wonderful rich tones in the fabrics were another element that just added so much. When you start out with great brackets, the post-processing becomes much easier.
I really enjoyed working with the group here on this project this week! Hope to do some more!!
Where you can find Scott: Scott writes for the awesome blog Lightstalking.com, Google+, Toad Hollow Photography
Location: England
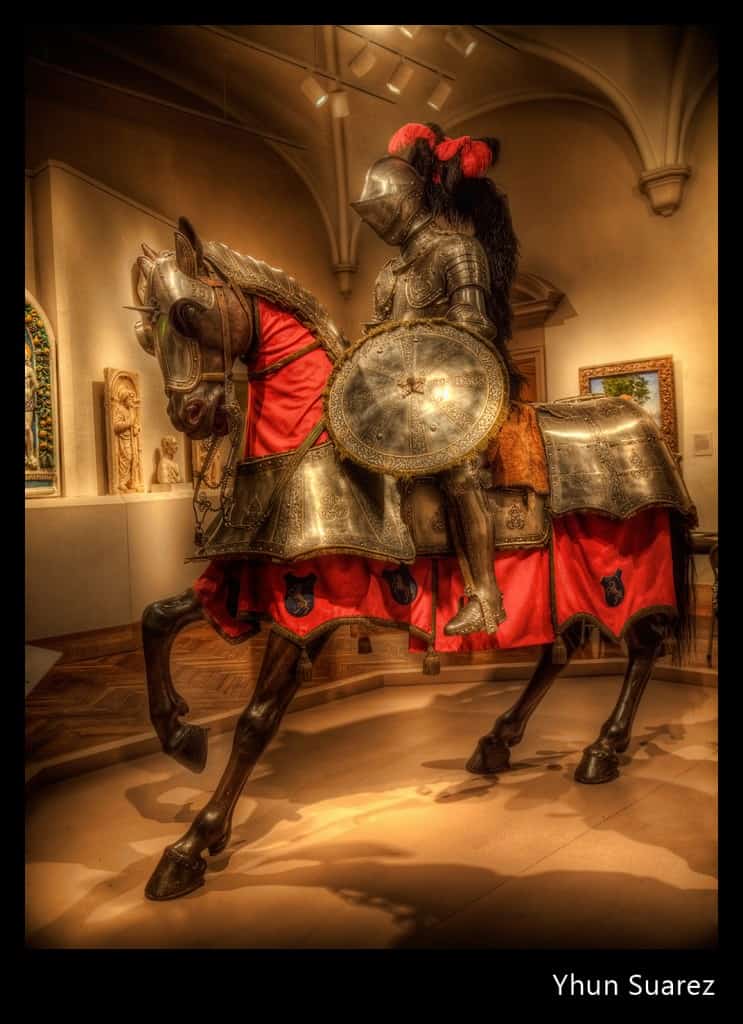
Yhun was the first featured artist on EverydayHDR.com.
Post Photomatix:
- Selective de-noise using topaz adjust – mainly on the ceiling where noise is prominent
- Unsharp mask layer – sharpening the knight and the horse
- Levels adjustment – midtones slightly darkened
- Linear curve adjustment
- Removal of unwanted spots and areas using clone stamp tool and healing brush tool
- Slightly de-saturated the warm gold colours by a hint of cool filter layer.
Where can you find Yhun: Google +, 500px, Redbubble, Flickr
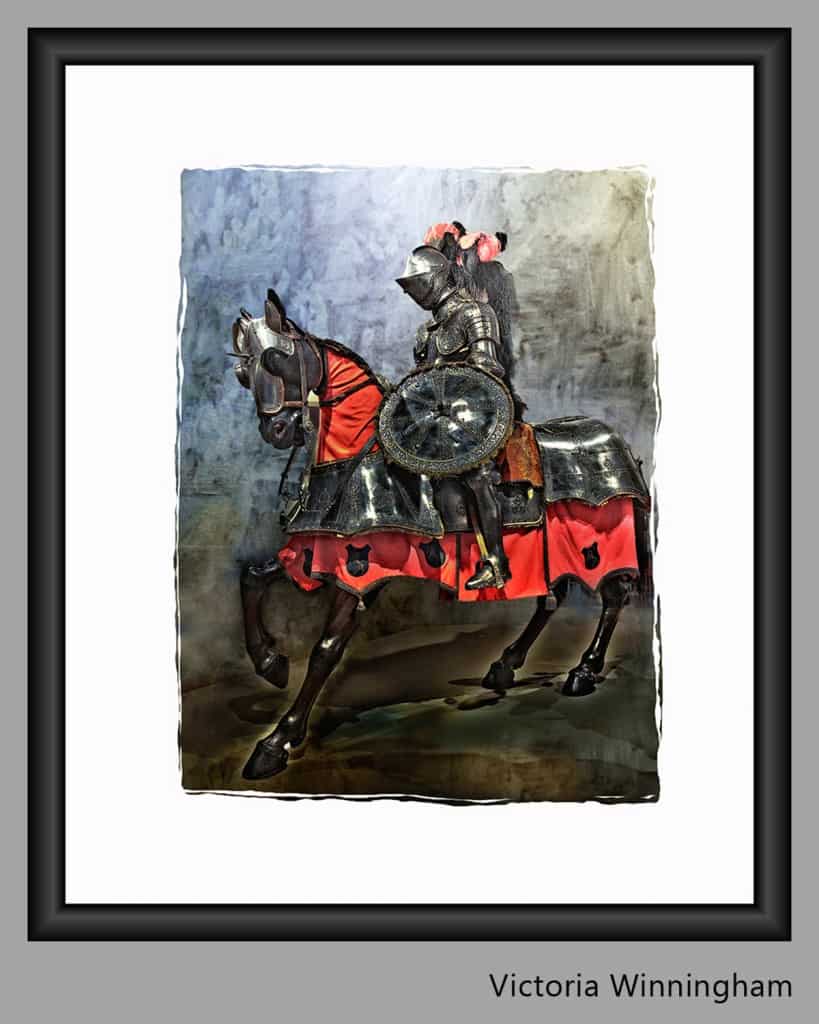
Victoria Winningham
Location: Ohio
I started out at an early age with a love of photography. I spent two years during high school and one year in art college learning photography as well as other forms of medium such as pottery, drawing, watercolor, etc. I also interned for a summer for a relative who owned a professional photo advertising company. It is only recently, after many years of going in other directions, that I am once again finding time to pursue this passion.
My initial thoughts about this set of photos was, “Wow, this will be fun, but also a real challenge.” I used Photoshop CS5 initially for the HDR processing. I added some sharpening and textures to get rid of the undesirable background. Then, I took it over to Lightroom 3 for some minor color and contrast adjustments and finished it off in Color Efex Pro by adding a little vignette, more color adjustments, toning, and finally a frame. My desired result was to have the beauty and details of the armor stand out without overwhelming the picture as a whole. I also wanted to create a mood that would resonate with the time period and therefore I gave it a darker look overall.
Where can you find Victoria: Google +, Website
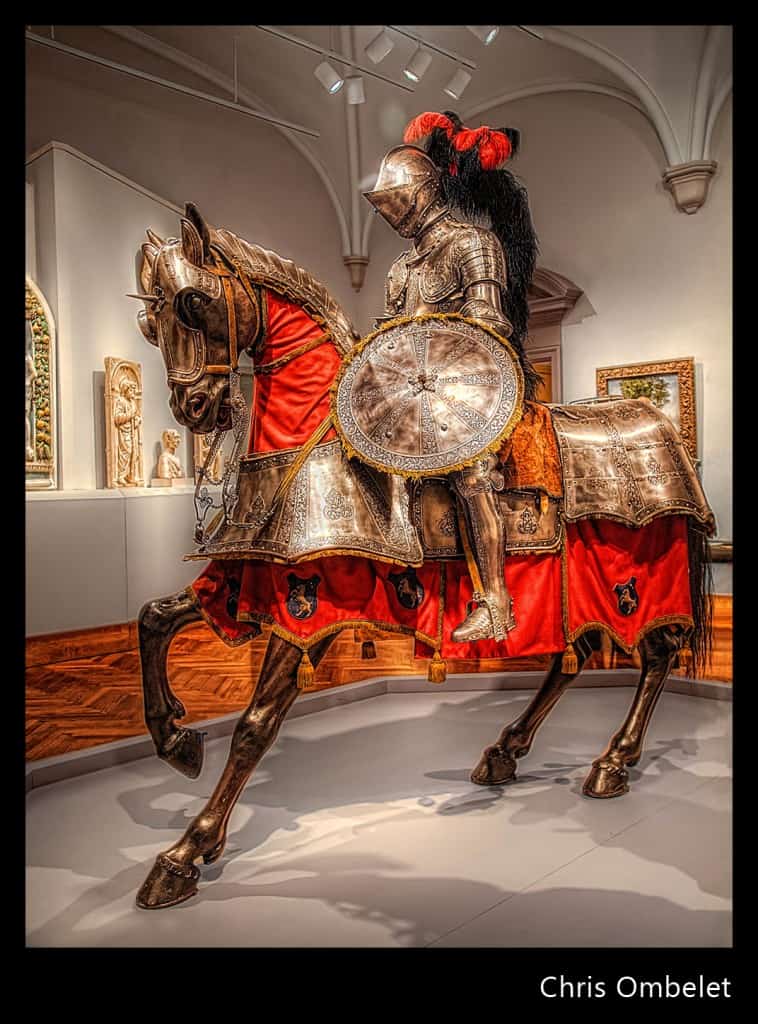
Chris Ombelet
Location:
I’m a Dutch amateur photographer who loves to do landscape, night and most of all, HDR. Sadly I find way to less time for my hobby, that’s why I don’t have any website. I just post some on Face book and Google+ and find some great Joy in my hobby.
- My goal was not to overdo the tone mapping, just let the colors and details pop.
- First I color corrected the files in Lightroom, and saved them out as Tiff’s. After de-noising the Tiff’s
- I tone mapped them using Photomatix. I did this twice, one for the room and one for the knight/horse and wooden Floor.
- I post processed in CS5 with help from Topaz adjust and Remask. The most time went in masking parts of the image and selective adjusting the parts.
- At this stage I did some cleaning up and rotated the photo a little.
- The end product was given some selective punch with tonal contrast from Nik’s Color Efex 3.
- Finally, I ran Glamour glow twice, subtle on the entire image and more heavy as a Vignette.
I went for a very dark feel for this image. I wanted it to look like the museum was dark because that’s what I image most museums to be. To give a dark mysterious feel to draw you in to look closer to the image, while the armour glitters in the light.
For my interpretation of your knight, I used Photomatix Pro 4.1 to tone map the 5 images. Ironically I began with a personal preset of mine that I created after touring an aviation museum. Maybe the lighting was similar. I did tweak it slightly to keep the saturation down.
Next I did some noise reduction in Lightroom. I also adjusted the curves to bring out some more blacks. I then cropped and straightened the image slightly to remove the blue/green sculpture that was to the left of the horse’s head. I found it a little distracting. The last thing I did in Lightroom was to add some black vignetting.
Lastly I applied a “molten lava” texture in Photoshop CS5 with an opacity of 25%. I felt the swirls gave it a richness like reading a vintage copy of Chaucer’s “The Canterbury Tales”. It also seemed to accentuate the feathers on his helmet.
I hope you do this again. It was a good exercise for me as I typically shoot landscapes and try to keep things as natural as possible.
Where you can find Eric: Website, Google +
Jason Ruth
Location: Hornsby, Australia
Check out Jason Ruth’s interview here on EverydayHDR.
- Opened RAW images with Camera Raw, changed white balance (picking what I hoped was a white point) and only adjusted the Highlights slider.
- Images opened into Photoshop, noiseware filter applied and images saved as TIFF files.
- Using the -2ev image a -3ev and -4ev image was created.
- All 7 images processed and tone mapped using Photomatix, HDR/tone mapped image then saved as 16bit TIFF file.
- Tone mapped, 16bit TIFF file opened in Photoshop, along with the -3ev image. Both images moved into the one file with the tone mapped image being layered over the top of the -3ev.
- Mask applied to tone mapped layer allowing some of the -3ev through for the blown highlights, and to darken the ceiling area.
- Created a new layer from results and applied noiseware, then created another new layer to clone out the green flare above the knights helmet.
- Another new layer, this time a smart object and some NIK software applied, Viveze first (brightness, contrast, structure), Colour Efex Pro (vignette).
- Still not happy with the contrast range, did the Scott Kelby grey point method (layer with 50% grey, layer blend of difference, and adjust slider from 1 up until you start to see some black parts, then shift eyedrop a point to be used next).
- Add a curves layer and pick grey point, and some very mild curves adjustment and pull in the white levels a little.
- Image felt cold, added a warming filter at 25% opacity.
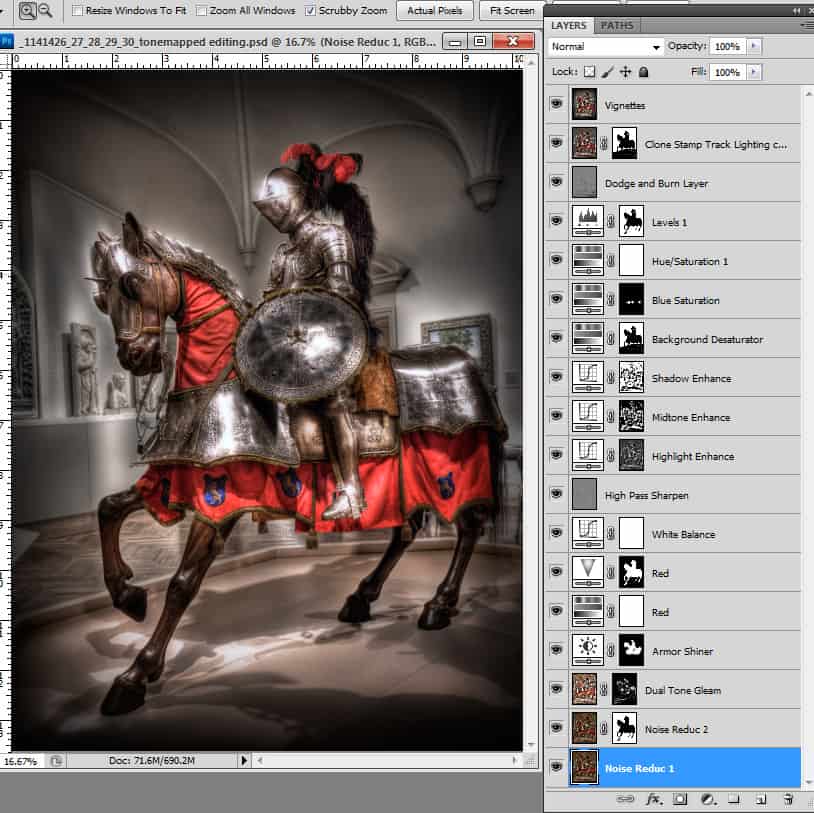
- Noise Reduction
- Curves adjustment for white balance
- Brightness / Contrast for armor
- Added just the highlights from the double tone map to the initial tone map and slightly lowered the opacity.
- Hue / Saturation for more vibrant reds and blues.
- I then stamped the image and secluded the highlights, shadows and mid-tones with luminosity curves adjustment layers.
- Added a dodge and burn layer to burn in the areas around the ripples of the cloth to make them slightly more dramatic.
- Slightly de-saturated the background with a screen blend mode duplicate and masked out the knight
- I then clone stamped the crap out of the ceiling to get rid of the track lighting
- I finished it off with Lens Correction vignette and a more dramatic box vignette to really target the focal point.

