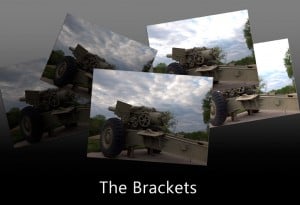
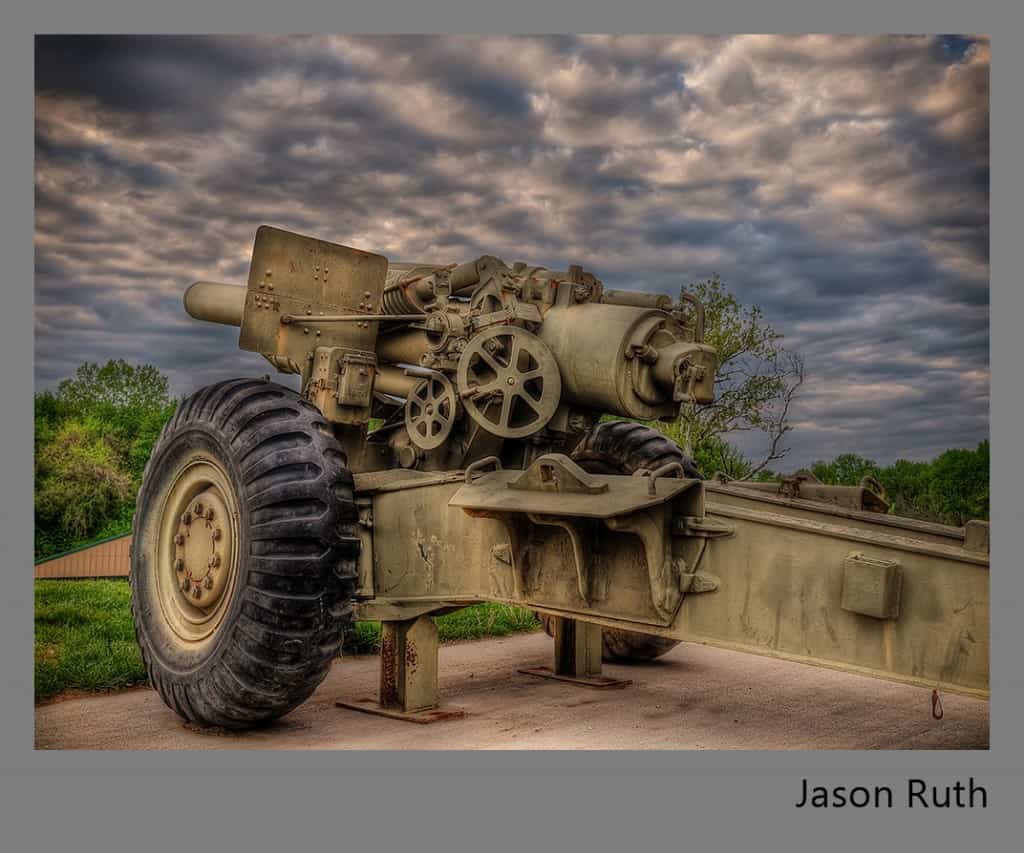
The longevity of the Howitzer cannon has definitely stood the test of time as it has appeared in many battles over the last Century. This Howitzer appears to be a 155mm M114a2, which had it’s hay day in World War II. It currently stands on display in my quaint little town of Platte City guarding the downtown park. This incredible piece of machinery may have seen countless hours of battle, but did it ever think it would be the star of the 3rd HDR Concert? Take a look at how the individuals of this Concert have paid tribute to such a bittersweet piece of machinery. Without further ado,
In the order they were received:
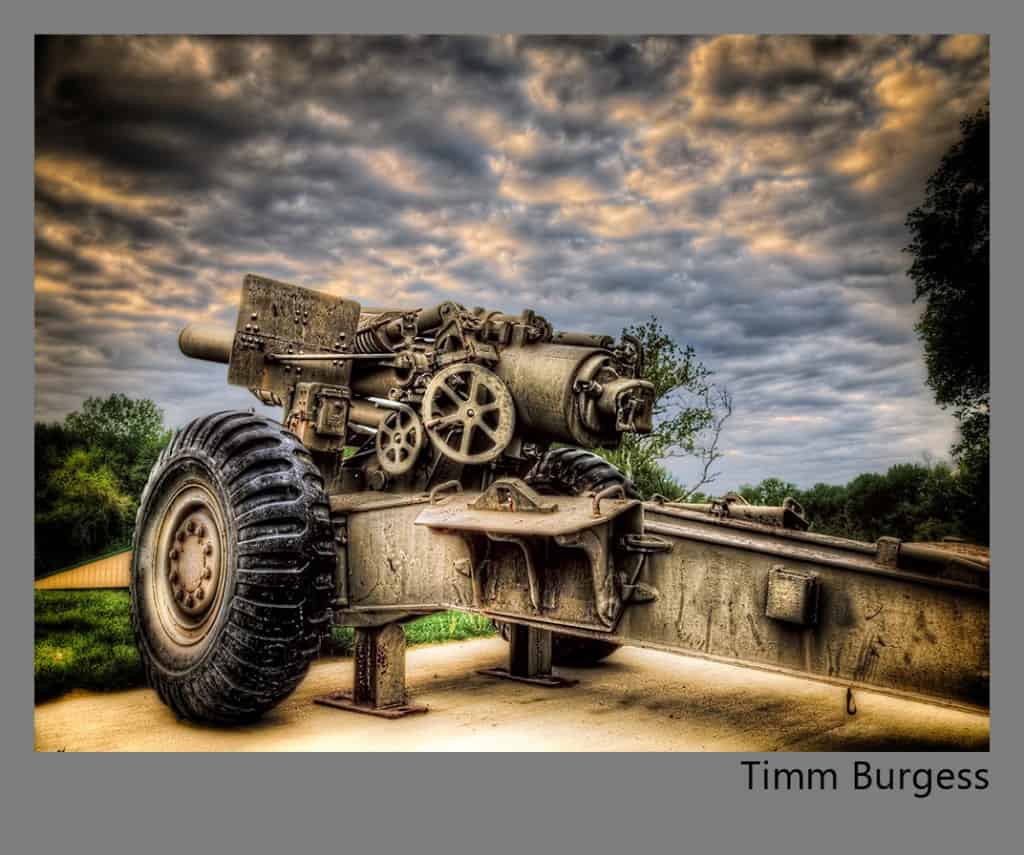
Timm Burgess
Location: Grays,Essex,United Kingdom
I’m a freelance Animator and Compositor . Photography has always played an important part in my work. In the past couple years photography and HDR has become more of a passion , I’m constantly looking to improve.
Post Processing Highlights:
- Raw files processed and tone mapped in Photomatix.
- One process for the sky another for the Gun.
- Into Camera Raw for cleanup before taking into Photoshop.
- Color correction, Lots of dodging and burning.
- Calvin Hollywood Sharpening Technique and a Vignette to darken the edges
Where you can find Timm: Redbubble
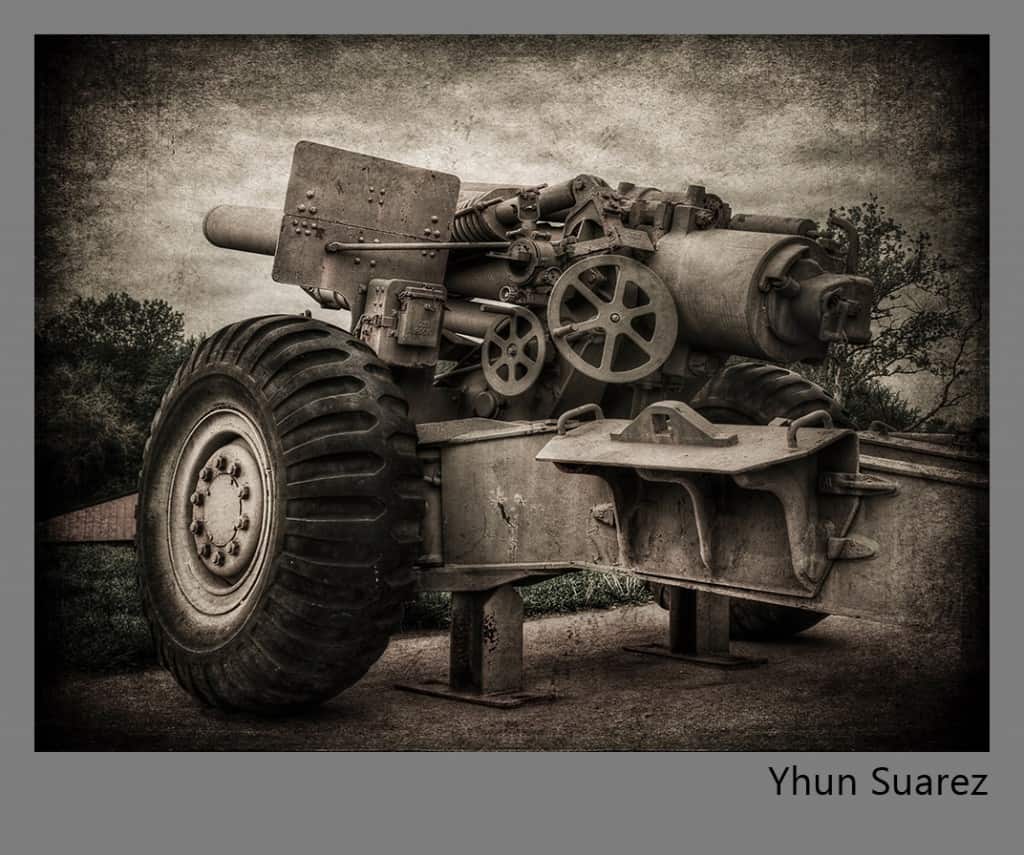
Yhun Suarez
Location: England, United Kingdom
I’m a hobbyist photographer with strong passion for HDR since discovering the technique in 2009. My love for art started at a very young age when I used to draw and paint a lot by hand. But it was only during the last 3 years that I use digital photography as my way of artistic expression.
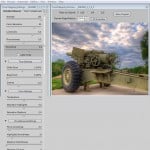
- Tone mapped in Photomatix (Please see settings on my screen shot)
- Photoshop: crop, levels, curves, un-sharp mask, texture layer, brightness & contrast, dodge & burn
- Lightroom: custom preset for an aged, monochrome look
Where you can find Yhun: Fine Art Gallery, Redbubble, Facebook
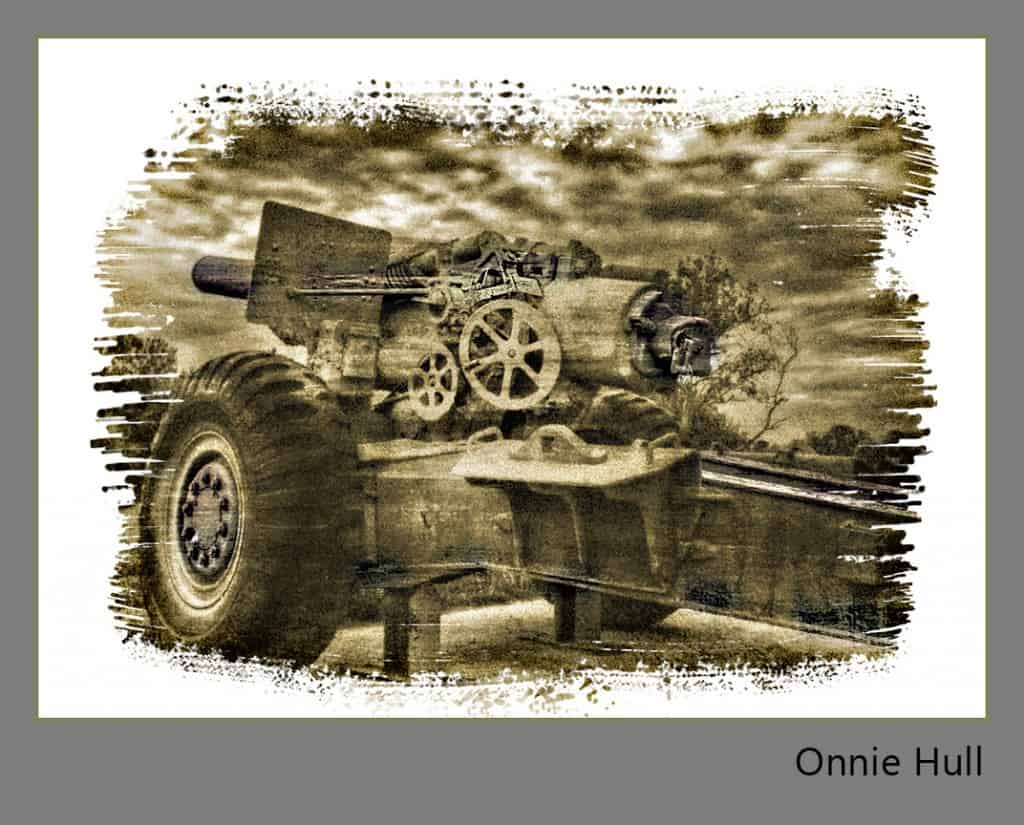
Onnie Hull
Location: Southern California
I have a passion for learning things about things and I follow that passion wherever it takes me. Currently my passion is photography which I have been doing for almost three years now. It joins my other passions which are: my husband, children, grandchildren and dogs (4) who feel like they live with paparazzi!
Post Processing Highlights:
- Tonemapped with Photomatix Pro
- Processed with some tonal contrast with Color Efex Pro 4
- Colorized in Photoshop cs5, added texture and grain, and painted effect border
Where you can find Onnie: 500px
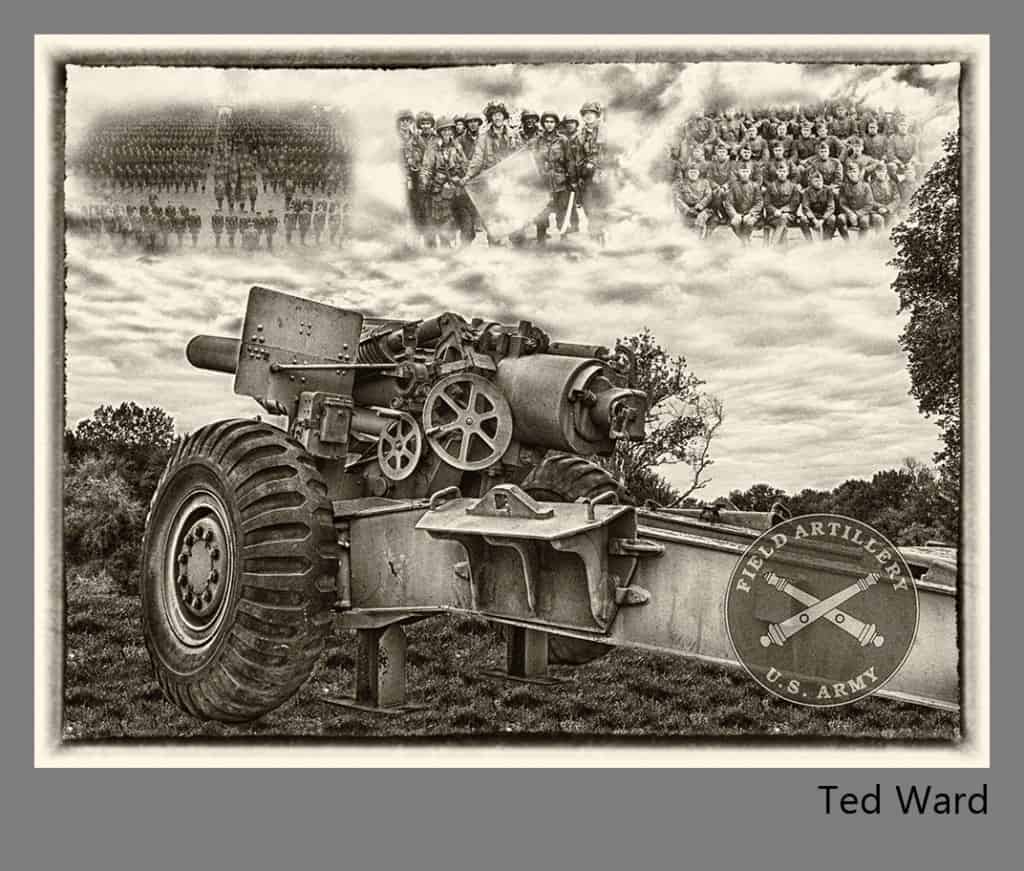
Ted Ward
Location: Wales, UK
I’m a 27 year old mature student currently on my third and final year of Architectural Technology. I have only recently started my photography adventures (started December last year). I tend to enjoy HDR work and long exposures.
Post Processing Highlights:
When I first saw the brackets I wanted to know more about the howitzer. What make was it? Who used it? When was it in service? I wanted to find this out because I believe that these types of monuments and installations are there for us to remember and never forget the wars and lives lost in the past. This sent me on a little history lesson to find out more. I found out it is a M198 howitzer, or an earlier version of the M119 (edited M114a2).
This allowed me to find out that it was used by the US Field Artillery and their emblem has been placed in the lower right corner they have been part of every active war the US has ever been in since the early 1900’s. Since they have been such a valuable asset to the US army, I thought it would be only fitting to make this image as a remembrance to past soldiers that would have served in the Field Artillery. I thought some images of past soldiers from the US Field Artillery should be included in the final image.
Once a few images where found, which were in the public domain and free to use, I set about processing the image. At first I used various filters and masked area’s to bring some detail out on the howitzer. I then removed the concrete and building in the background with the cloning tool. I placed the images of the soldiers behind the HDR image and masked them through bit by bit. When looking over the image at this point it reminded me of a very old painting my grandfather used to own, which was tanned by the sun and a little old looking. I tried to recreate that look.
The soldiers are included are as far as I know unknown, the photos on the left and right are from WW1, the middle one is from WW2.
Where you can find Ted: G+
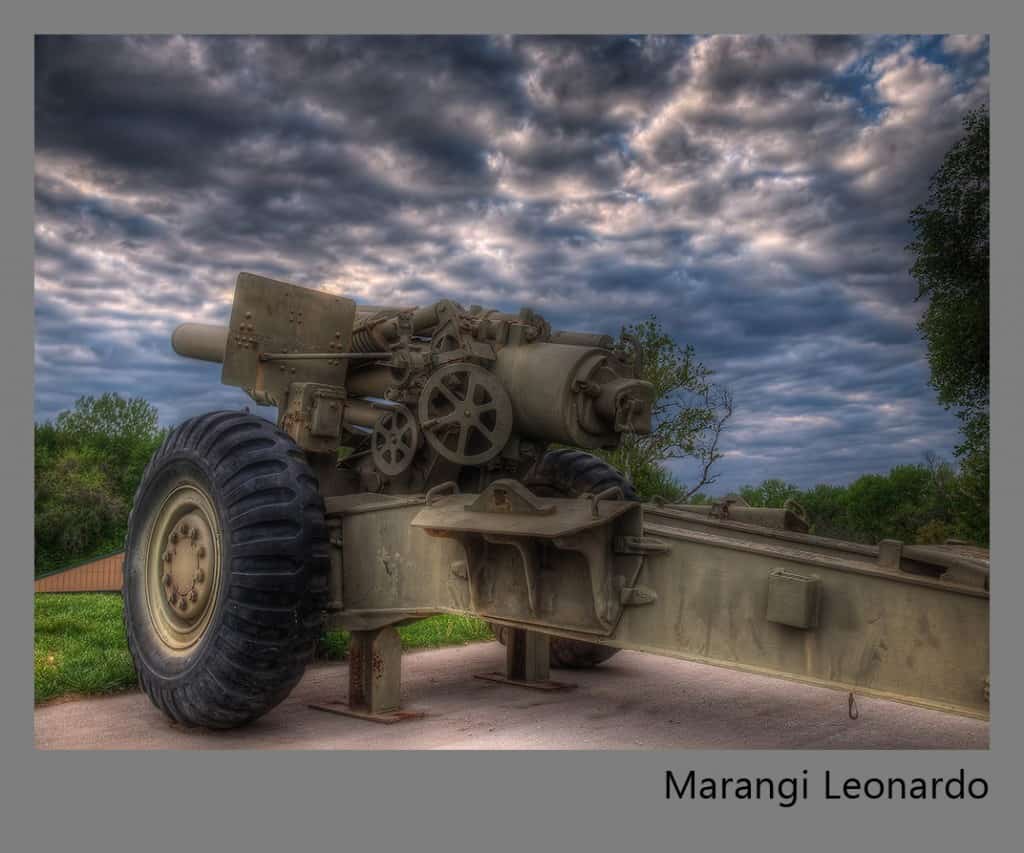
Marangi Leonardo
Location: Viterbo – Italy
Born on the 7 October 1963. I am an amateur photographer and conveniently I process HDR over 2 years.
Post Processing Highlights:
- Processed in Photomatix 3 and later in Photoshop 5
- With PS5 I removed noise, sharp,linear contrast added
- Then Efex Pro added bit low key and tonal contrast
- On the end I added a slight blur.
Where you can find Marangi: HDR Creme Profile
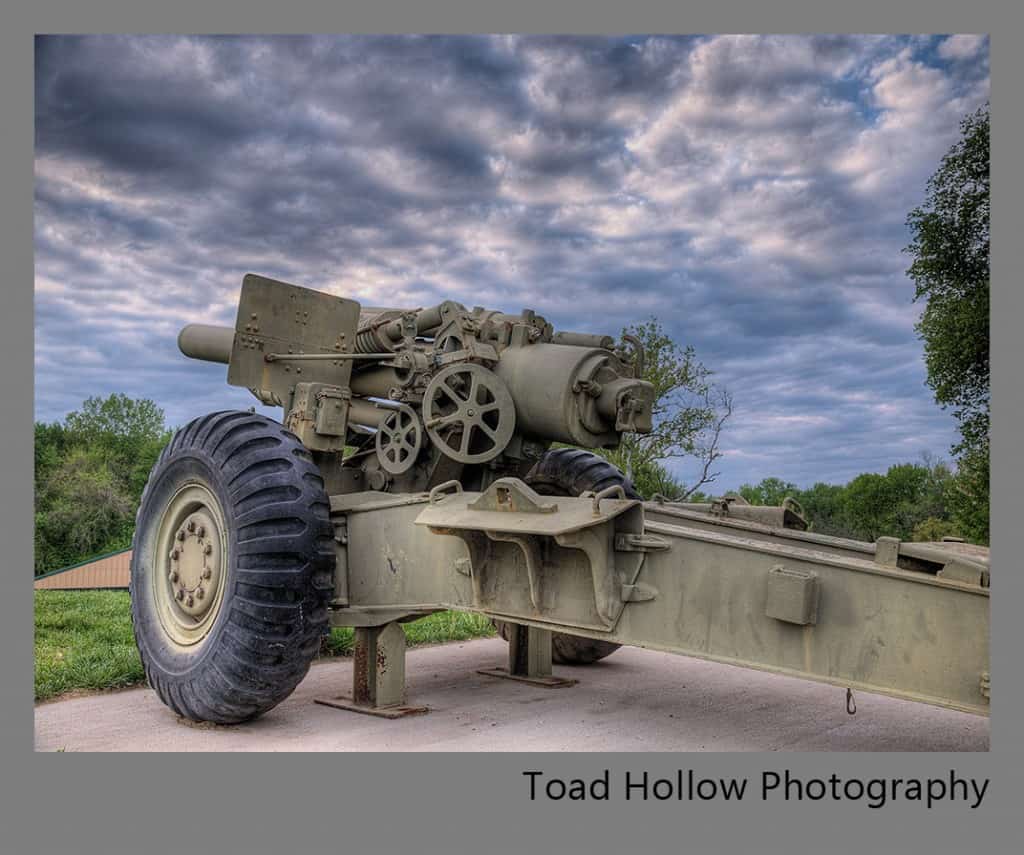
Toad Hollow Photography
Location: Duncan, BC, Canada
Toad Hollow Photography is a company that specializes in photographing and documenting historically significant buildings and artifacts using the latest HDR technologies. Our blog takes a sometimes whimsical look at our surroundings, focused on documenting and sharing the story of the island we live on.
Post Processing Highlights:
What an interesting photograph! We really enjoyed the composition used in capturing this and tried to bring a photo-realistic look to our post-processing. During the merge and tone-mapping phase, we were careful not to blow out any high or low-lights to allow for the full expression of the image in both the dark and light areas of the image. We also did a minor adjustment on color temperature to bring it a slightly blue tone which added to the feel we were going for. From there, we did our usual touch-ups in post-processing, but in this case we also ran an extra edge sharpening filter on the end result to make it pop out of the screen a little more. What a great photo, we really enjoyed working with it!
Where you can find Toad Hollow Photography: Toad Hollow Photo.com
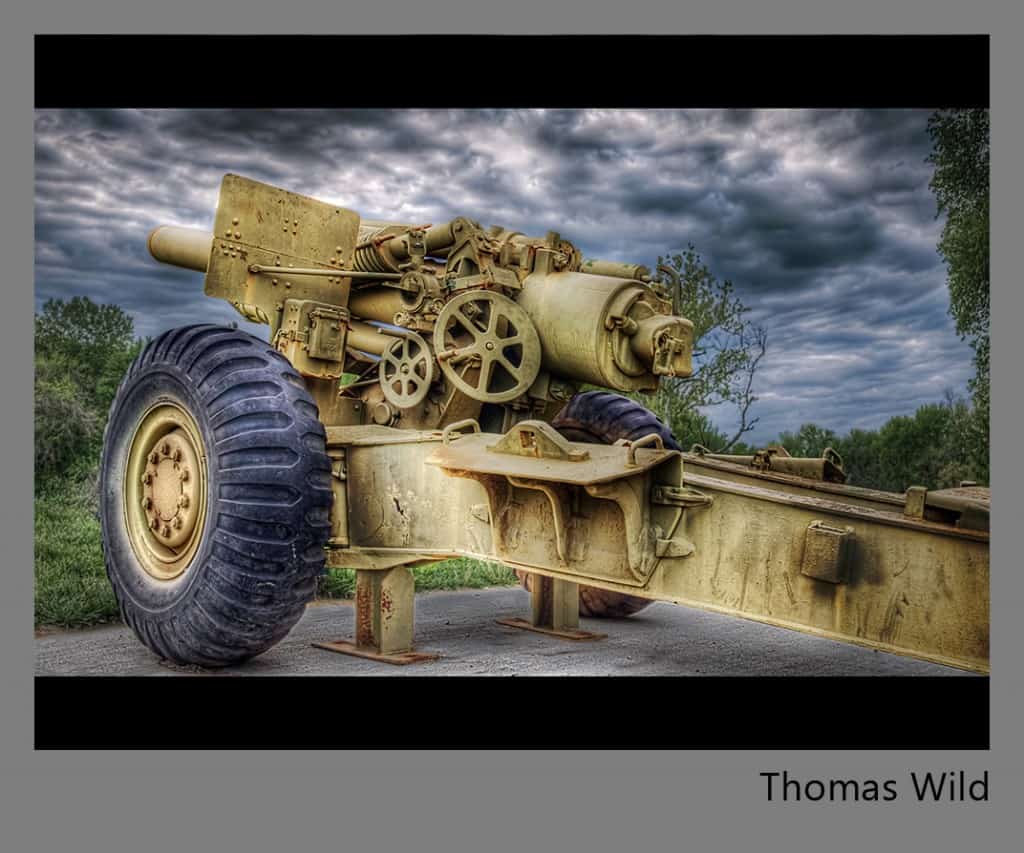
Thomas Wild
Location: Dresden (Germany)
I am a 39 year old engineer from Dresden (Germany), and do photography as a hobby. I have my DSLR since the summer of 2011 and am quite a novice in this area. I’m still hanging in the HDR photography, because I’m interested in the technology and, above all, the very different results. As to this page here. 😉 I practice it a few times more and more …
Post Processing Highlights:
- Developed the raw files with Lightroom to tiff-images then Topaz deNoise each tiff
- Input Photomatix Pro 4 (Detail Enhancer)
- Post-processed in Photoshop+Topaz Adjust many settings to get back the details and the colors
- Slight perspective correction + cropping
- Removed some parts like the roof in background
- Tone + Curves layer on the cannon
- Saturation layer on the cannon tone + Saturation + colors layer on the sky (desaturation)
- Tone + Saturation layer on the trees and grass and saturation layer on the ground
- Many layers on the whole cannon (fine-tune contrast)
- Global curves, saturation and levels layer for global fine-tuning and remove some yellow cast
- Layer for the vignette effect
- Different layers high-pass Filter for sharpening part by part the canon
- Bordered black
Where you can find Thomas: Homepage, G+, Twitter
Nick Marzinski
Location: Milwaukee, Wisconsin, USA
I took up digital photography seven years ago, a few months before my oldest daughter was born. Macro, lansdcape, abstract, and HDR photography are particular interests. I started getting serious about learning about post production techniques and HDR about a year ago. I shoot with a Canon Rebel T1i, and currently use Lightroom 4, Photoshop CS5, Photomatix, and Topaz Adjust.
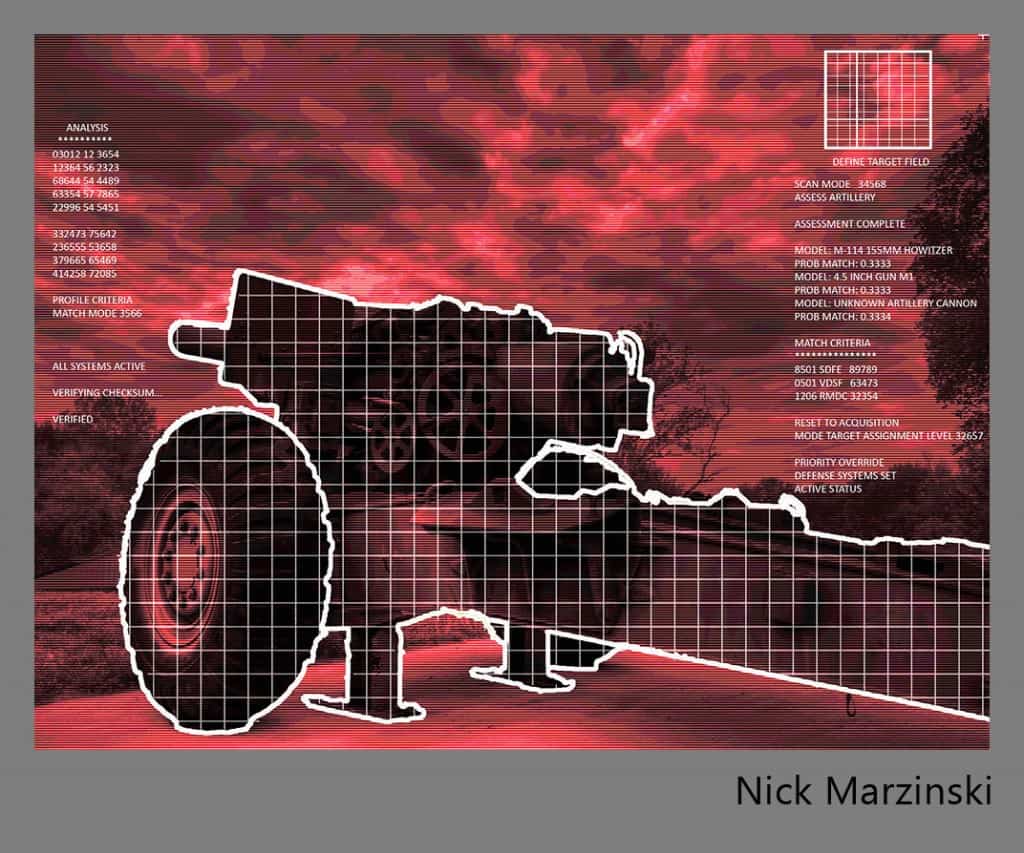
- Double tone-mapped the bracketed images in Photomatix: once for the cannon, again for everything else.
- Masked the two images together in CS5 and merged them.
- Ran a dynamic pop filter in Topaz Adjust. Cleaned up highlight blowouts with the clone stamp.
- Used a black and white gradient map layer set to Overlay to grunge up the image.
- Sepia toned the image to warm it.
- Merged layers again and high pass sharpened.
- Added two textures and set opacity and fill to taste.
- Finished with a little noise cleanup and clarity adjustment in Lightroom.
- The Termovision version got another gradient map layer with intermediate reds.
- The image was posterized to mottle the sky.
- Added some text boxes.
- Parts of the cannon were copied as separate layers and outlined using a stroke effect.
- Cannon white “scan” grid and television scan lines were done as pattern overlay layers with masking.
Where you can find Nick: G+
Terry Olsen
Location: Fort Smith, Arkansas, USA
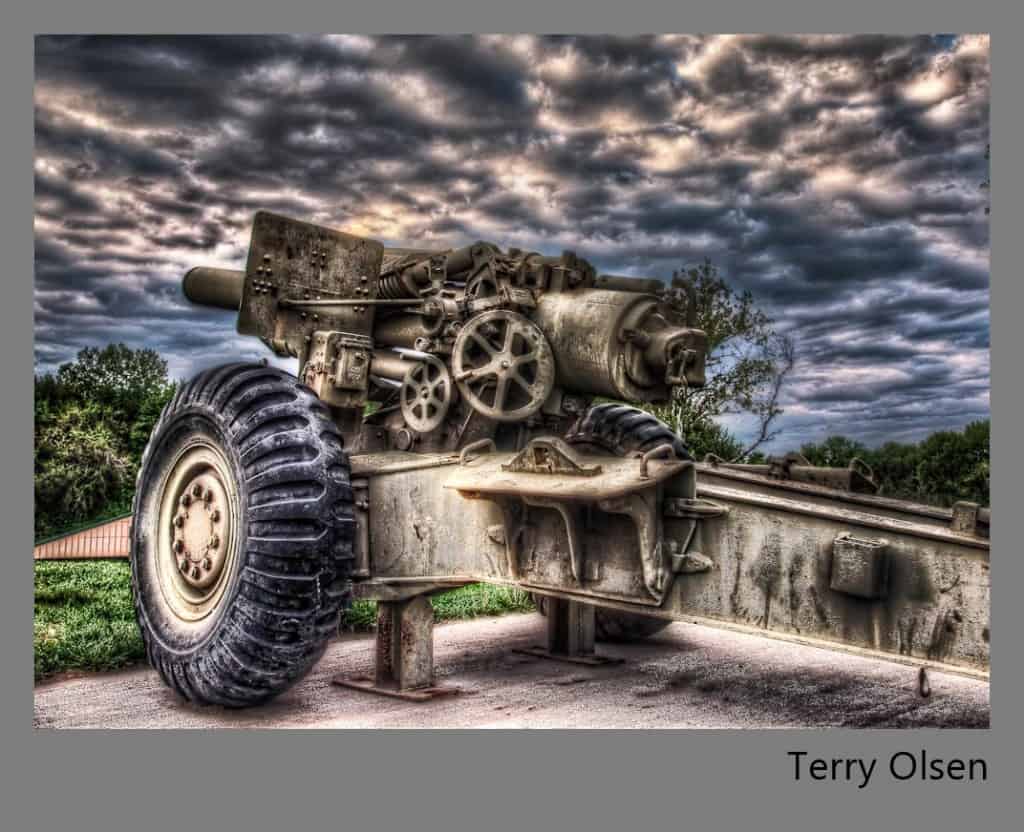
I am employed as a biomedical technician but my passion has been photography ever since I first picked up a 35mm SLR in 1990. In 2007, I switched to digital photography. Since then I have discovered that I enjoy post-processing almost as much as the actual photography. Lately, my processing interests are in HDR, black and white and textured images.
Post Processing Highlights:
- I processed the brackets in Photomatix Pro to a degree that seemed to suit the image. Then I tone-mapped the image a second time.
- I took that image into Photoshop.
- The double tone-mapping created a lot of noise so I used Nik Define to reduce the noise.
- I then used Nik Silver Efex Pro to create a black and white version using a “High Structure” preset. I blended this layer using the Luminosity blend mode at 68% opacity.
- I didn’t care much for the sky at this point so I used a layer mask and blended in a sky from one of the original brackets. (-1 I think).
- Next, I went to Nike Color Efex Pro and added the Brilliance/Warmth, Dark Contrast and Sunlight filters.
- My next layer was a curve adjustment to add some blacks especially to the tires of the cannon.
- The last adjustment was in Topaz Adjust 5 to give it a final tweak.
- I then did some slight cropping.
Where you can find Terry: Gallery, Flickr
Jason Ruth
Location: Hornsby, Australia
Check out Jason Ruth’s interview on EverydayHDR.
Post Processing Highlights:
- Open all images via Bridge/Camera RAW, correct chromatic aberrations
- Open as TIFF in Photoshop, apply noise reduction (Noiseware) and save as 16 bit TIFFs
- Create HDR from TIFF files using Photomatix (save 32 bit image)
- Tonemap using Photomatix. For this image there is two versions of tonemapping used, one with the clouds darker.
- Open the two tonemapped images in Photoshop, along with the -2ev TIFF file, moving all images into one file, as separate layers.
- Apply mask to Tonemap version 2 layer, leaving clouds a touch darker, and bringing the canon up.
- Apply mask to -2ev layer, mainly to around the small over-exposed patches in the clouds.
- Merge the 3 layers and masks as a new layer
- convert to smart object
- Time for some NIK Software….
- Noise reduction (Dfine 2.0)
- Viveza 2, for contrast, brightness, structure, a touch of warmth
- Color Efex Pro 4 for some lens vignette
- Another two exposure layers, one at +.25ev and the other at -.25ev, both with masks, all in my attempt to make the canon the focus of the image, but also keep some of the sky, just a touch darker.
Where you can Find Jason: G+, Flickr, Redbubble
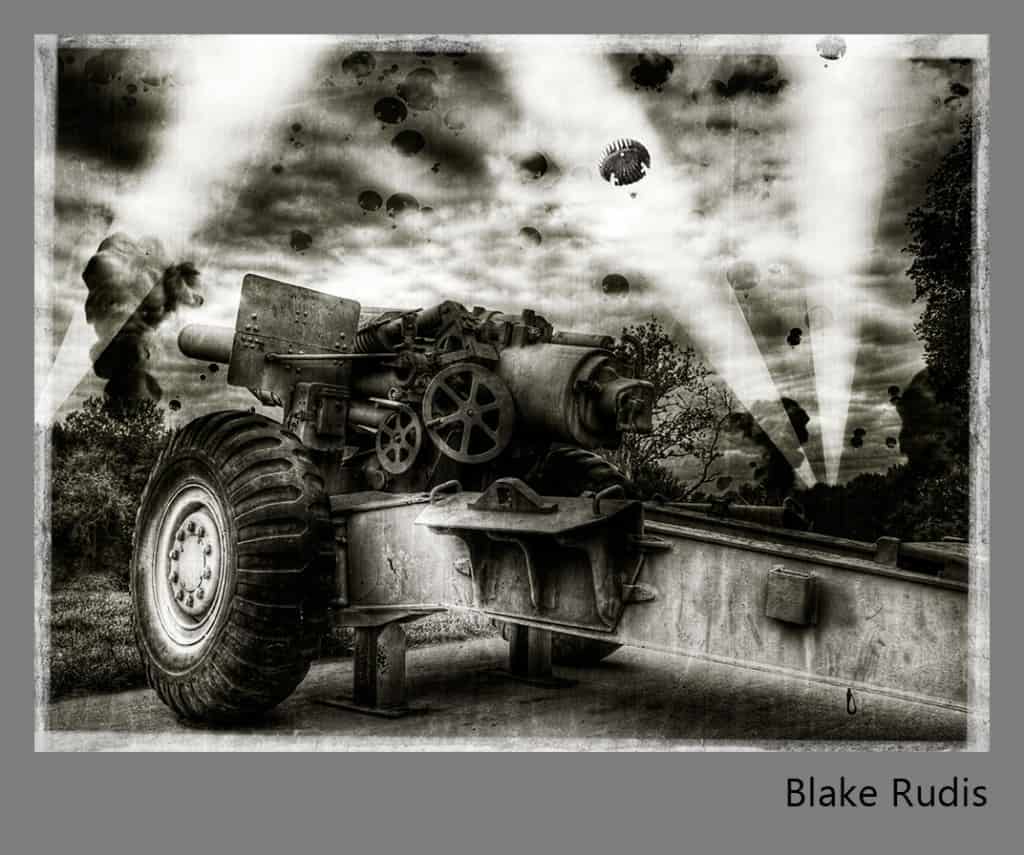
Blake Rudis
Location: Missouri
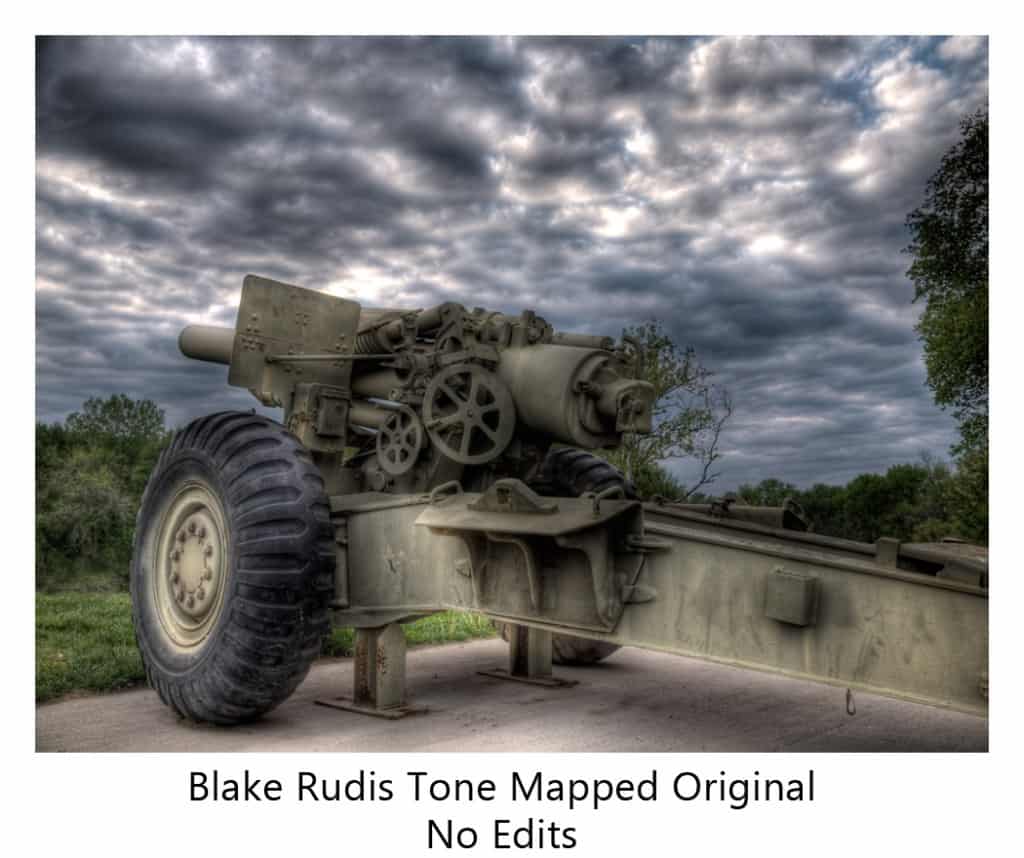
- I created a very mild tone mapped image in Photomatix Pro
- I then brought it into CS 5 and did the usual, Curves, Levels, Saturation, Contrast/Brightness, DeNoise, and High Pass Sharpen
- Then I had fun some fun… I made the search lights on several layers to include some dodging and burning.
- I made a brush out of a picture I took of some paratroopers a while back. I filled the sky with them and then used the actual image of the paratrooper in the search light.
- I needed and explosion but thought it would be next to impossible to make one in my living room. I don’t use stock photography other than my own, so I came up with the next best thing for an explosion… not a cloud… Shaving cream, believe it or not Colgate old man foamy shaving cream! Looks just like an explosion!
- I then ran some texture on it, made it sepia tone after a Grey Scale modification.
- The sepia was too much so I sandwiched it with yet another Grey Scale modification set to Color with an Opacity of 50% and Fill of 55%
- I finished it off with a grungy border to give it the old school effect, then I called it a night!
Where you can Find Blake: Right here on Everyday HDR, every post… That’s me!
Yet another extremely successful HDR Concert! I could not be happier with the collaboration that ensued by the artists shown here from around the world. Thank you everyone for your submissions and pushing yourself to get them in promptly. You have all done wonderful work with the brackets supplied. Pat yourself on the back and rise from you Concert seat! Until next month!

