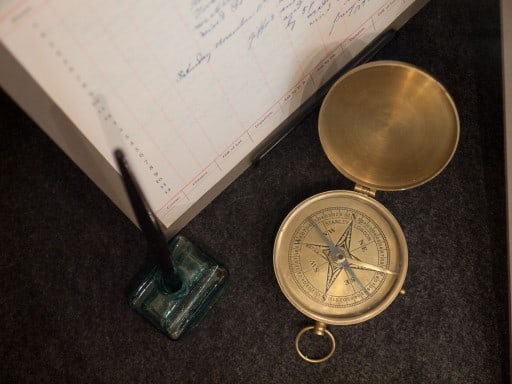
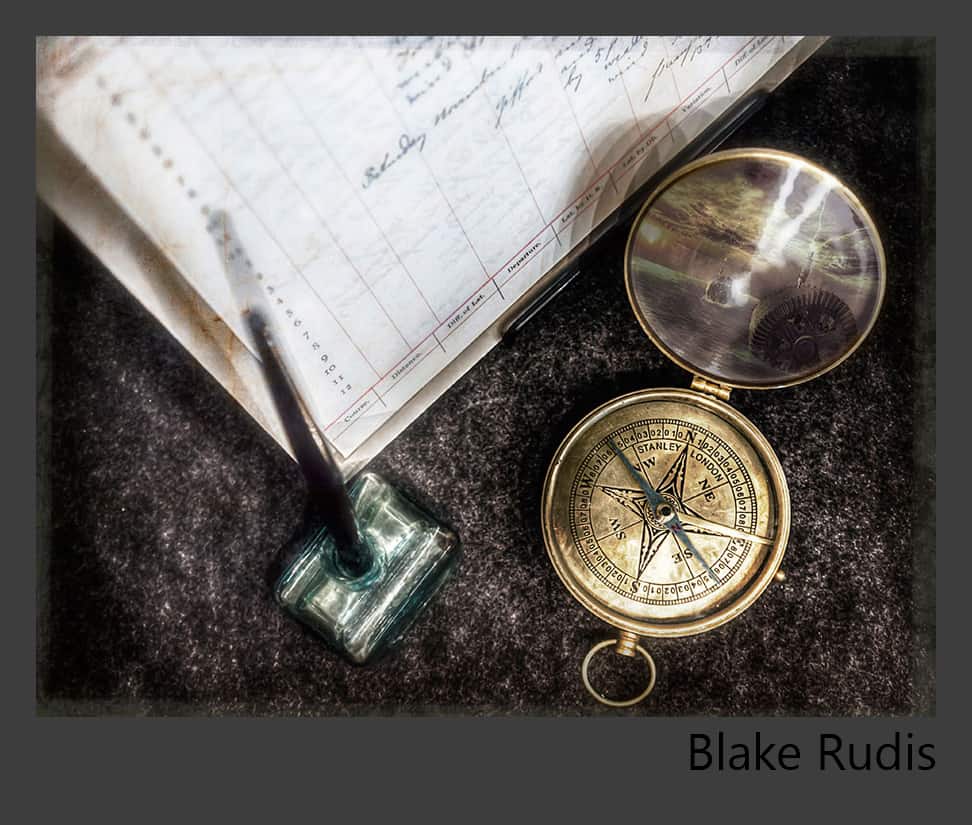
The directions were simple, take the single RAW file and extract the dynamic range out of it to make it an HDR image. I had a blast with this one as there were some technical aspects that had to be considered. First, how do I extract the dynamic range without losing too much information? Second, how am I going to keep the noise from being too pesky? And lastly, how the heck am I going to post process it once I am done to make it more interesting than the original image?
The following individuals answered all three of those questions with superb craftsmanship. I had a lot of fun working with this image, I hope the rest felt the same!
In the order they were received:
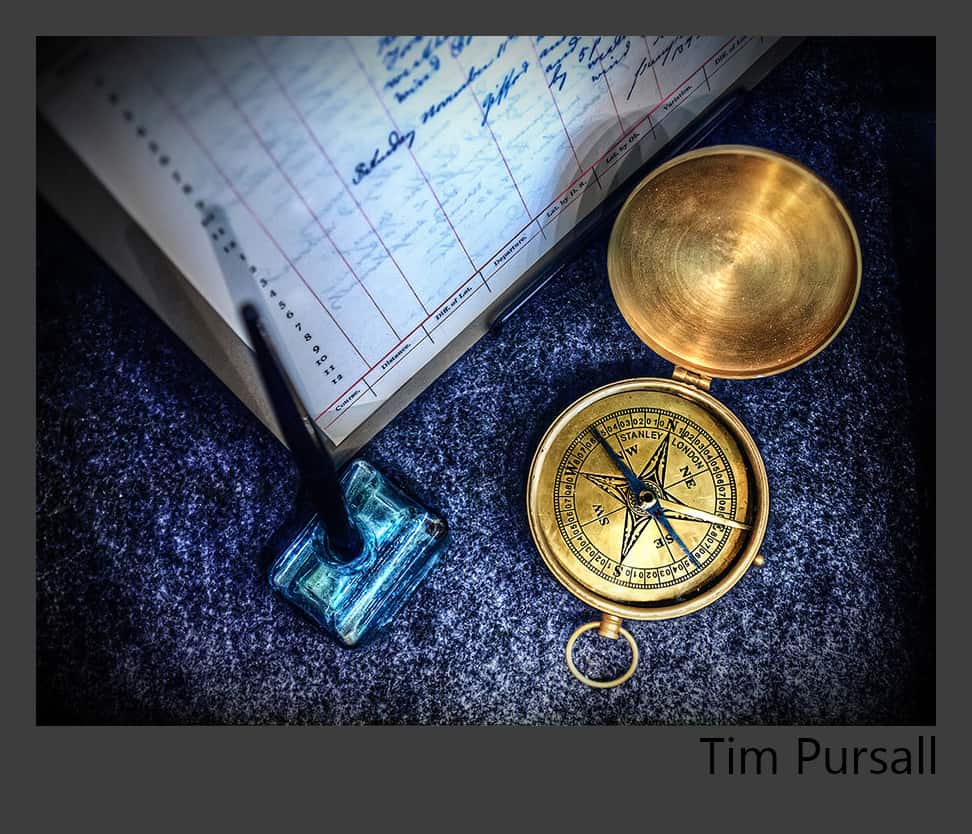
Location: Bristol, UK
Amateur Photographer based in South West UK. HDR enthusiast and loving my new Canon 5D MKIII. Regular blogger – find me at the link below! Always keen to learn!
Processing Highlights:
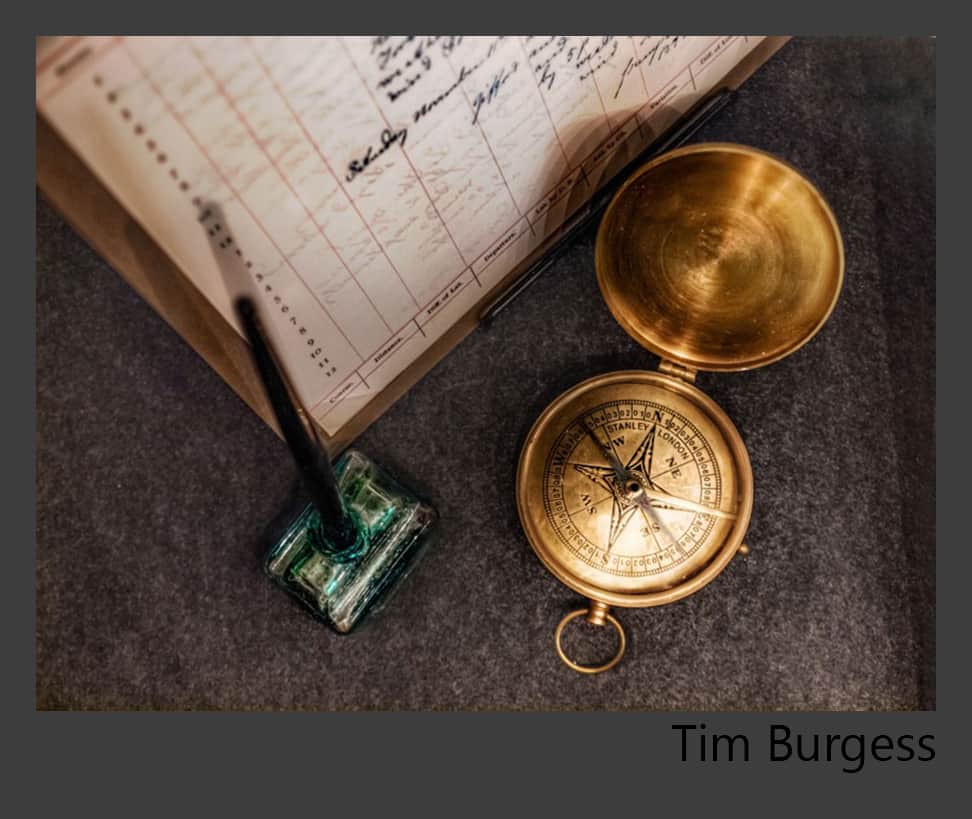
- Used action to create four other exposures from supplied file (+2, +1, 0, -1, -2).
- Tone-mapped these in Photomatix Pro.
- Global contrast layer in Photoshop.
- Masked in the watch face from one of the brackets (blown out in tone-map).
- Masked curves layer applied to boost colour and contrast in the ink holder.
- Masked curves layer applied to boost colour in the desk top.
- Some noise reduction applied, image sharpened and a subtle vignette applied.
Where You Can Find Tim: TP Images
Jeff MacDougall
What started out as a way of cataloging my extensive collection of diecast model cars has expanded and developed into a passion beyond my wildest dreams and expectations. In addition to studio work, I have expanded my interests to landscape and architectural subject matter. I also want to take a moment to show appreciation to Blake for providing us with this extremely enjoyable opportunity to develop our creativity and enhance our skills through the vehicle of these HDR Concerts. Thank you!
Location: Henderson, Nevada USA
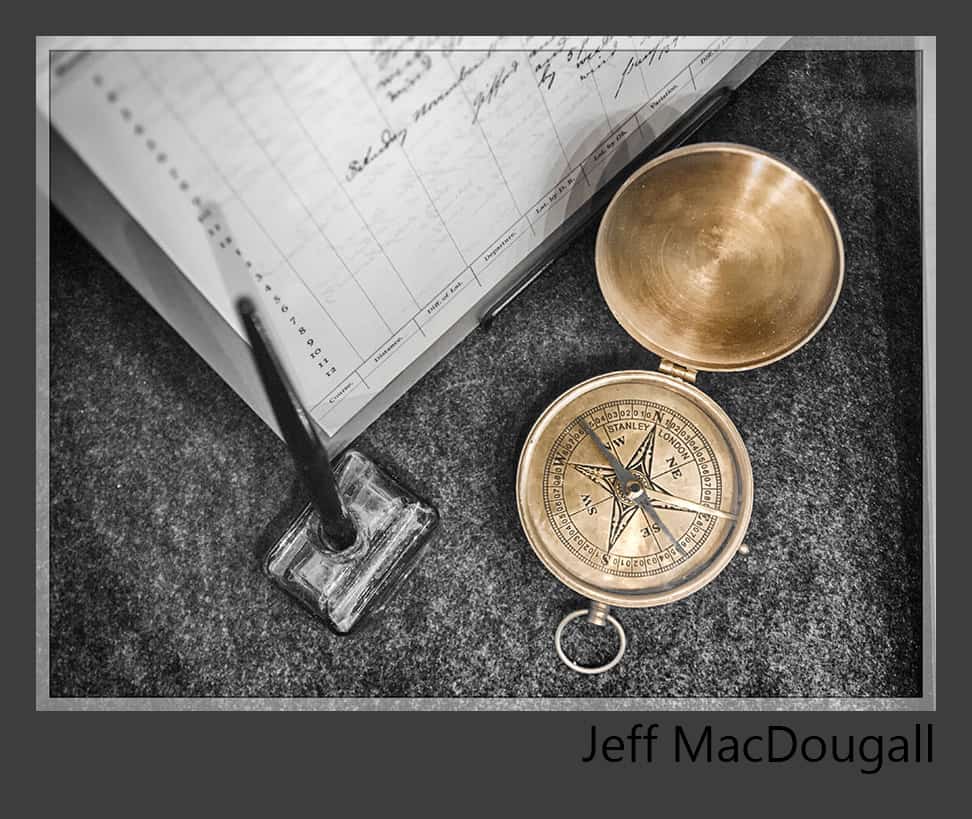
Processing Highlights:
- I imported the downloaded image into Lightroom 4 as a DNG, and after looking at the histogram decided it would be my zero shot. From it I created a 16-bit TIFF in ProPhoto RGB space which I denoised using Nik Define.
- Next, I re-opened the zero shot DNG in LR4 Develop mode and adjusted the exposure to the right so that the histogram almost, but not quite, clipped the highlights. (The LR histogram has a convenient setting that allows you to see if any of the channels are clipping.) This shot was also saved as a TIFF, after which I reverted the DNG back to zero shot parameters, re-opened for the last time in Develop, and adjusted the exposure so that the blacks were almost, but not quite, clipping. This, too, was saved as a TIFF… now I had three TIFFs.
- The three TIFFs were imported into Nik HDR Efex Pro 2 (I was dying for an opportunity to try out my newly upgraded program… thanks Blake!). I normally just use the default tonemapped image, but I am on a B&W kick lately, so I chose the B&W (realistic) preset as my starting point.
- From these beginnings, I proceeded to march through the right side of the HDR Efex Pro 2 interface from the top down, adjusting the tonality, adding selective control points to re-introduce color to the compass, adding a tone curve, and finishing up with a vignette. (So… what amazed me here was that I did this all with LR4 and the Nik plugin, bypassing Photoshop entirely… well, ALMOST entirely.)
- After saving, I opened the image in PS6 where I added a frame effect… so I guess I wasn’t completely PS-free, but I could have been! 😉 Finally, it was back into LR4 where I exported to jpeg by way of Nik Sharpener Pro for a touch of sharpening after the file had been converted.
Where You Can Find Jeff: Flickr
Rob Kerr
Location: Austin, TX
Interest in photography from late 1980’s. Travel, nature photography, IR and B&W are areas of most intense interest. I have been fortunate to travel and collect images from 98 different countries. Began HDR processing several years ago and continue to find it exciting
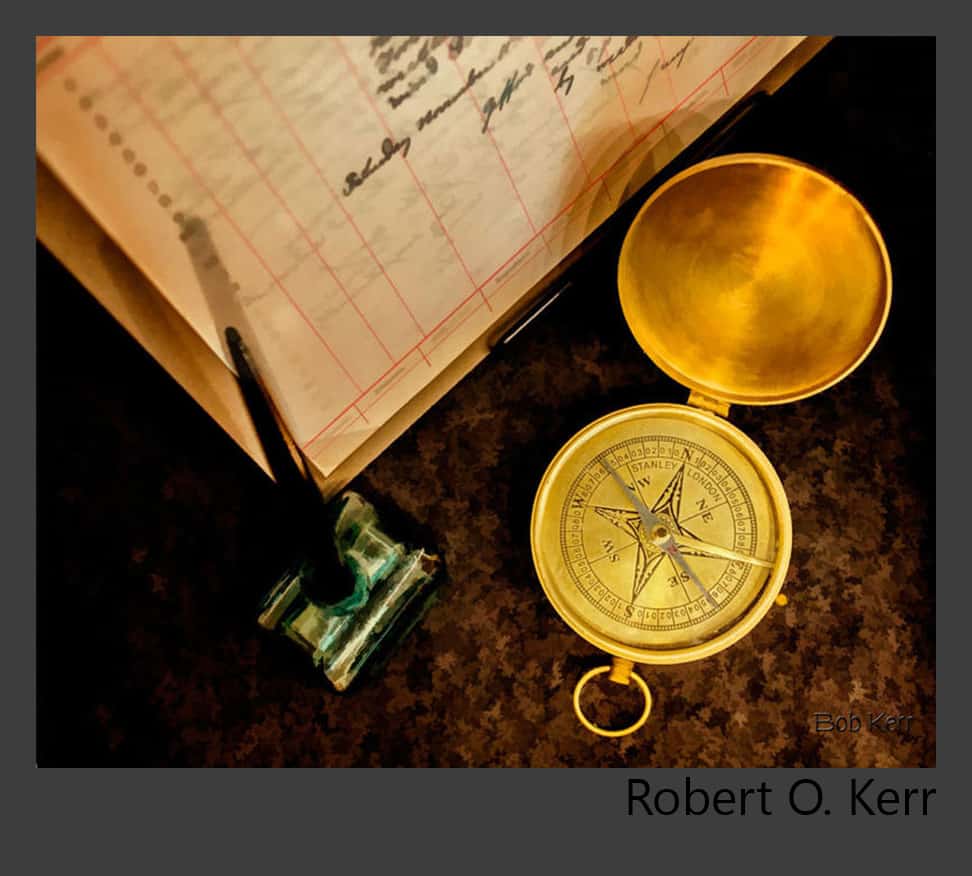
Processing Highlights:
- Produced 5 Tiff files (exposure -2,-1,0,+1,+2) in ACR with clarity at 93%
- Merged to HDR in Photomatix 4.2, tone mapped to photographic preset
- In PS CS6 used Viveza 2 to increase structure (30%) and contrast, Color Efex Pro 4(CEP4) pro contrast filter.
- Topaz Simplify 3 Buz Sim preset on one of above images and Topaz Denoise and Sharpen action on other.
- Saved both images.
- Opened above images in PS CS6 via Bridge, aligned layers and used mask on Topaz Simplify layer to reveal compass face. Merged layers and applied darken/lighten center filter in CEP4 with center on compass face.
- Cleaned pen handle with clone stamp tool after aligning above with 0 exposed original as layer and using mask color correct shadow.
- Applied Color Lookup adjustment layer (PSCS6) Smokey preset.
- Sharpened for display Nik Sharpener Pro 3
Where You Can Find Rob: Portfolio
Steve Rich
Location: Aiken, South Carolina
I am 54 years old, married and have two daughters. I have a grandson and now a grandaughter that has now arrived and is so much fun. I am a late bloomer when it comes to post-processing images using enhancement applications. For years I was a point and shoot with no post processing. With the birth of my grandson, this gave me a reason to learn something new. I use all the Adobe products, Topaz products, Nik products, OnOne and Photomatix.
Processing Highlights:
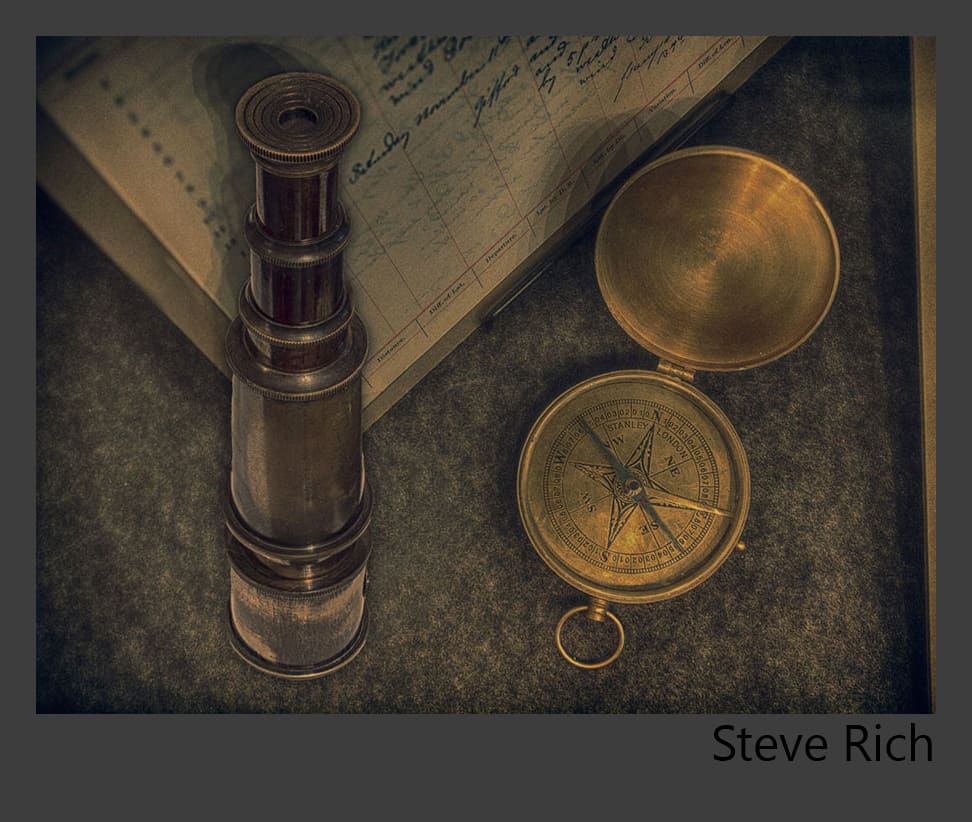
- Single image HDR or Pusedo
- Topaz HDR Heavy Pop Grunge, lowered the opacity
- Nik Glamor Glow
- I used Photoshop CS6 extract on old telescope I have. The telescope I felt compliemented the compass and the log. The real trick here was created the multiple shawdows as seen with the compass. I followed a youtube video on creating a drop shadow. I duplicated the shadows three times on their own layer and lowered opacities to various values.
- Here is the Youtube video I watched. http://www.youtube.com/watch?v=5vcqPuTHVm8
Where You Can Find Steve: Steve Rich Collectible
Simon Cotes
Location: Charlotte, NC USA
I am an Englishman now living in the USA having emigrated here in 2011. I have always had an interest in photography since my parents gave me a Polaroid Swinger II B&W camera when I was still in short trousers, followed by a Zenit 35mm film camera some years later. Life kind of curtailed my interest but now, a good few years later, I’ve inherited my wife’s Olympus E-500 and the passion’s back. I love exploring images in post-processing and am a recent convert to HDR.
Processing Highlights:
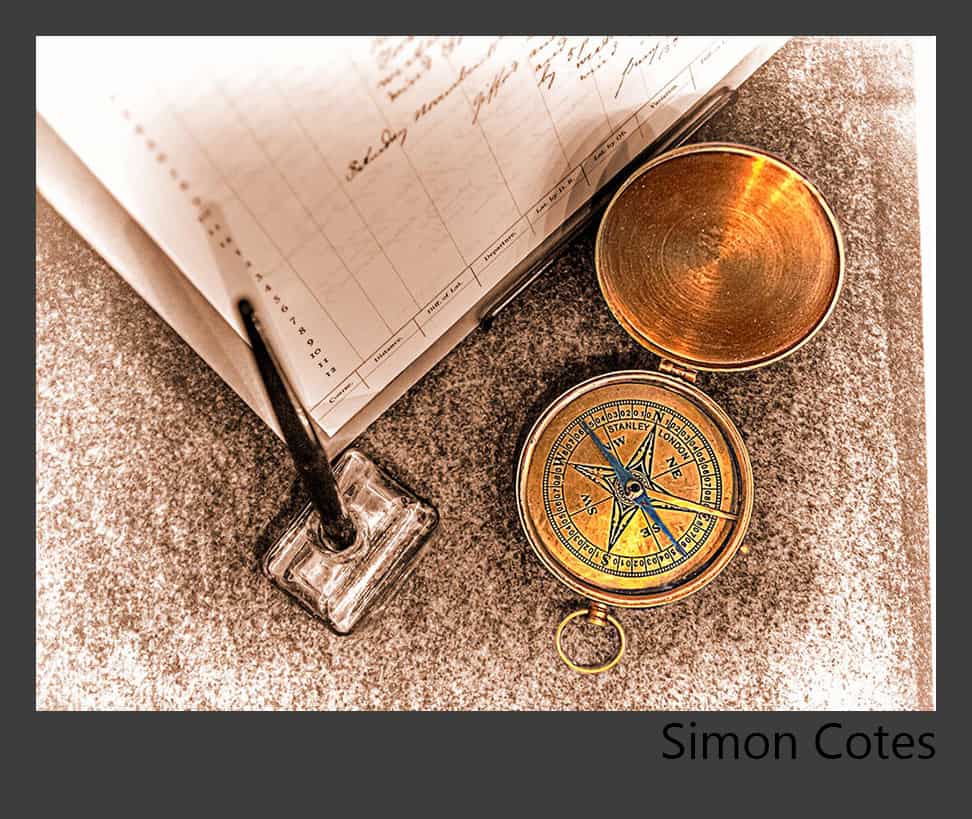
- Processed the original image in ACR 7 at 2EV intervals, including some minor tone adjustments and luminance noise reduction.
- Saved 3 versions as 16 bit TIF files which were then opened and tone mapped in Photomatix.
- Post-processed in Photoshop: reduced noise, duplicated background layer and added strong High Pass sharpen, selected the compass and saved to a new layer, added a levels adjustment layer to the compass layer, combined all layers to a new layer and ran Topaz B&W Effects, reselected the compass and revealed the selection in the B&W layer to allow the colour of the compass to show through.
- Finally, I duplicated the image and turned on Monitor RGB in Proof Colors, then flattend the layers, resized and added a lesser High Pass sharpen layer, then added levels, vibrance and hue/saturation adjustment layers to bring the image back (or close) to what my original vision had been. Before saving for web I converted to sRGB IEC61966-2.1.
- I took one look at the original photo and was reminded of John Masefield’s poem Sea Fever. “I must go down to the seas again, to the lonely sea and the sky, And all I ask is a tall ship and a star to steer her by … And quiet sleep and a sweet dream when the long trick’s over.”
Where You Can Find Simon: The Fifth Amendment, Flickr
Mitch Johnson
Location: Naples, FL
I have never earned a dollar on photography but love it as a hobby.
Processing Highlights:
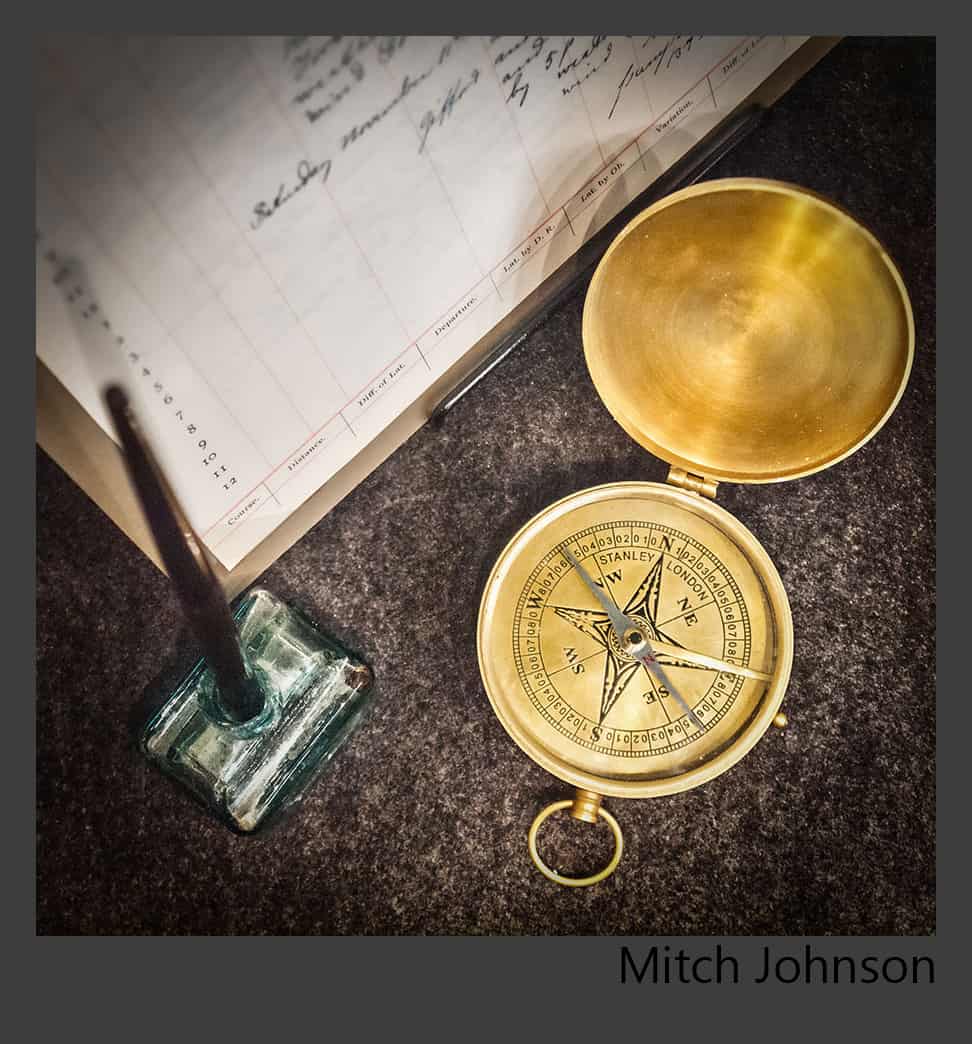
- Lightroom: made two duplicates at -2 and +2
- Oloneo Photoengine – tonemapped, tried to keep it from being too grungy which helped limit the color noise as well which was prominent on the surface which the compass and pen were placed.
- Topaz Adjust – gave it a soft color pop but masked out the compass to keep the detail there.
- Back to Lightroom to crop away a few elements that , to me, distracted the subject. Used my adjustment brushes to finish off!
Tim Burgess
Location: United Kingdom
I’m a freelance Animator and Compositor . Photography has always played an important part in my work. In the past couple years photography and HDR has become more of a passion and i’m constantly looking to improve.
Processing Highlights:
- 5 Tiff files made from original Raw image in camera raw at +2 NA -2,ev. STEPS.
- Loaded into Photomatix to make HDR image and tone map image.
- Tone mapped image, loaded into Camera Raw to color correct and save into Photoshop as smart object.
- Super-sharpen as taught by Calvin Hollywood.
- Replace Bg from 0 EV Image
- More sharpening, blend with softened and saturated copy.
Where You Can Find Tim: Redbubble
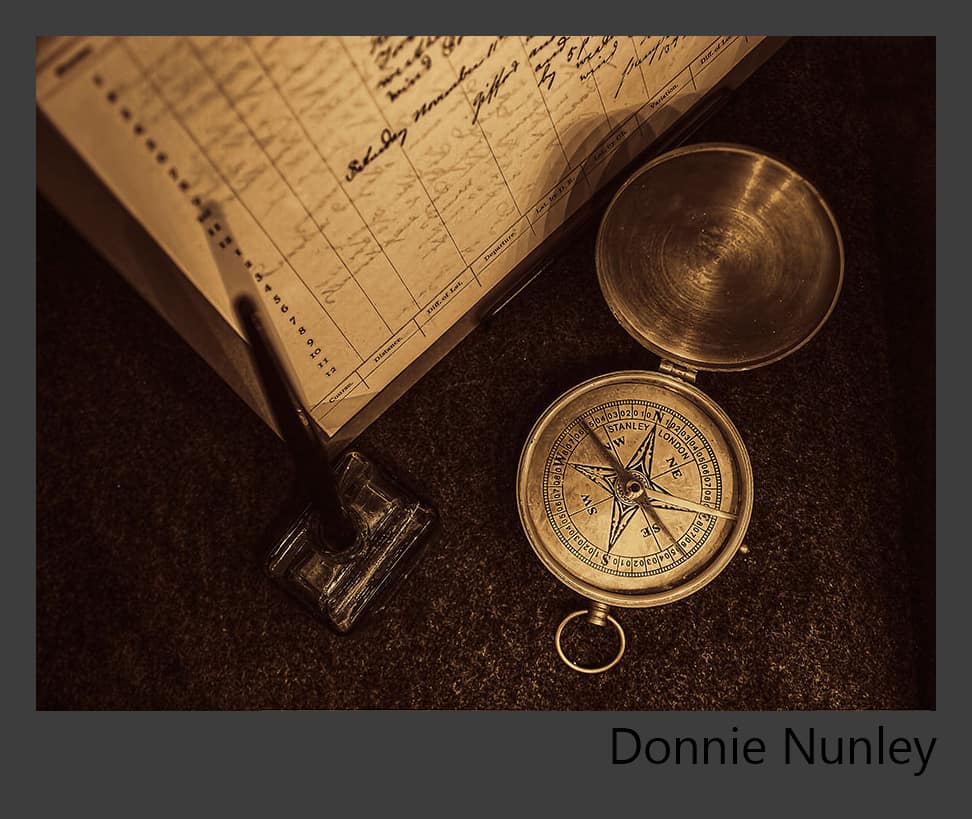
Donnie Nunley
Location: Beautiful Southwestern Virginia
I’m an engineer who took up photography as a means of relaxation in 2009. It has changed the things that I notice about the world and improved my observation skills. I’m fascinated by the entire process of producing an image. I learn something new with each one.
Processing Highlights:
- I processed the raw file in ACR, reducing the noise and slightly increasing the clarity. I built 5 exposures with one stop increments between -2 and +2.
- I combined the images in Photomatix Pro. The tonemapping was done to achieve as natural colors and light as I could get. The compass face wanted to produce some chromatic aberration so I had to watch the saturation. I set strength to 100, saturation to 55, luminosity at -2 and detail contrast at 8.0. The lighting adjustment was set at 9.0
- I used Topaz Adjust and Detail to pop the image and bring out small details. The Topaz Detail Microcontrast preset is terrific for highlighting detail in the subject. I usually mask out the sky and any out of focus background from the detail processing.
- I used color contrast in Nik Color Efex to change the lights and darks slightly before processing in Nik Silver Efex.
- The last step was a High Pass sharpen. Voila!
Where You Can Find Donnie: Flickr, 500px, Five and Counting
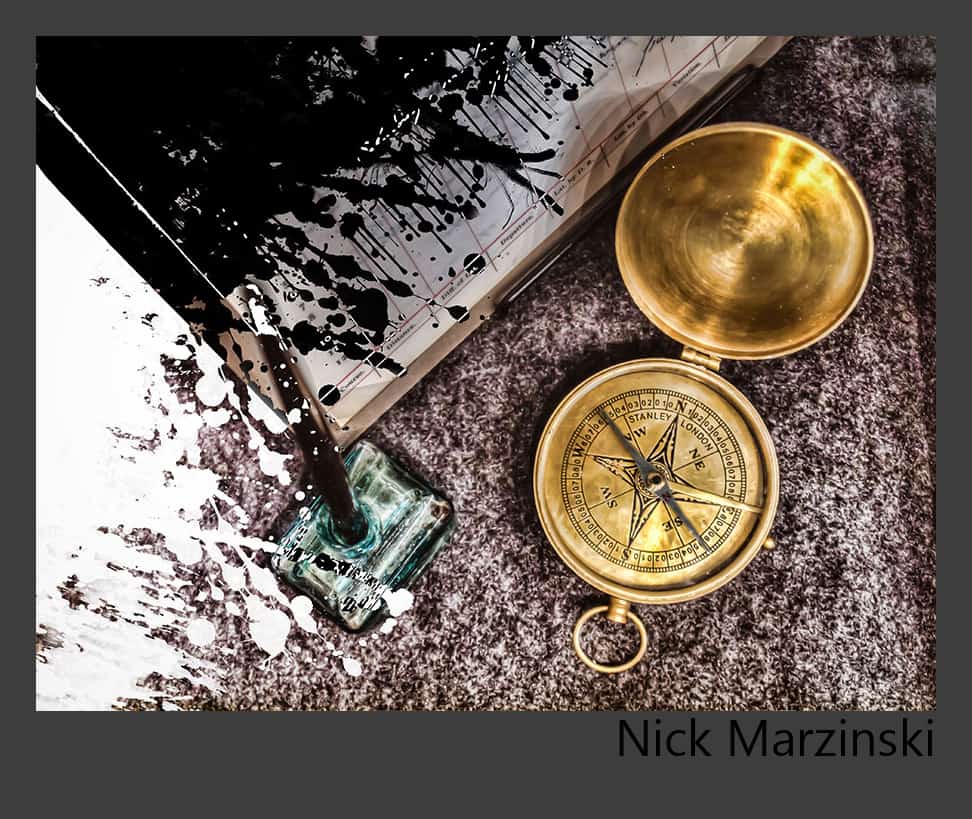
Nick Marzinski
Location: Milwaukee, Wisconsin USA
Started with digital photography seven years ago, a few months before my oldest daughter was born. Macro, lansdcape, abstract, and HDR photography are particular interests. I shoot with a Canon Rebel T1i, and currently use Lightroom 4, Photoshop CS5, Photomatix, and Topaz Adjust. I’d been collecting splatter brushes in Photoshop for awhile now, and when I saw this month’s image with the pen, I thought I’d put them to use.
Processing Highlights:
- Noise reduction was done on the RAW file in Lightroom, and three virtual copies were made at +2, 0, and -2 stops using the exposure slider.
- HDR processing was done in Photomatix using a custom preset followed by some slider fiddling.
- In Photoshop, I made a copy of the HDR image and applied a bunch of stamp, cutout, and threshhold adjustments to produce a harsh black and white . In places where the filters didn’t give me what I wanted, I did some careful hand touch-ups.
- I ran the original HDR image through the Topaz Adjust filters to get the colors and contrast to pop.
- Using some spatter brushes, I masked the black and white image onto the HDR image.
- Finally, I sharpened the image in Lightroom and cropped out the gold edge on the right side.
Where You Can Find Nick: G+
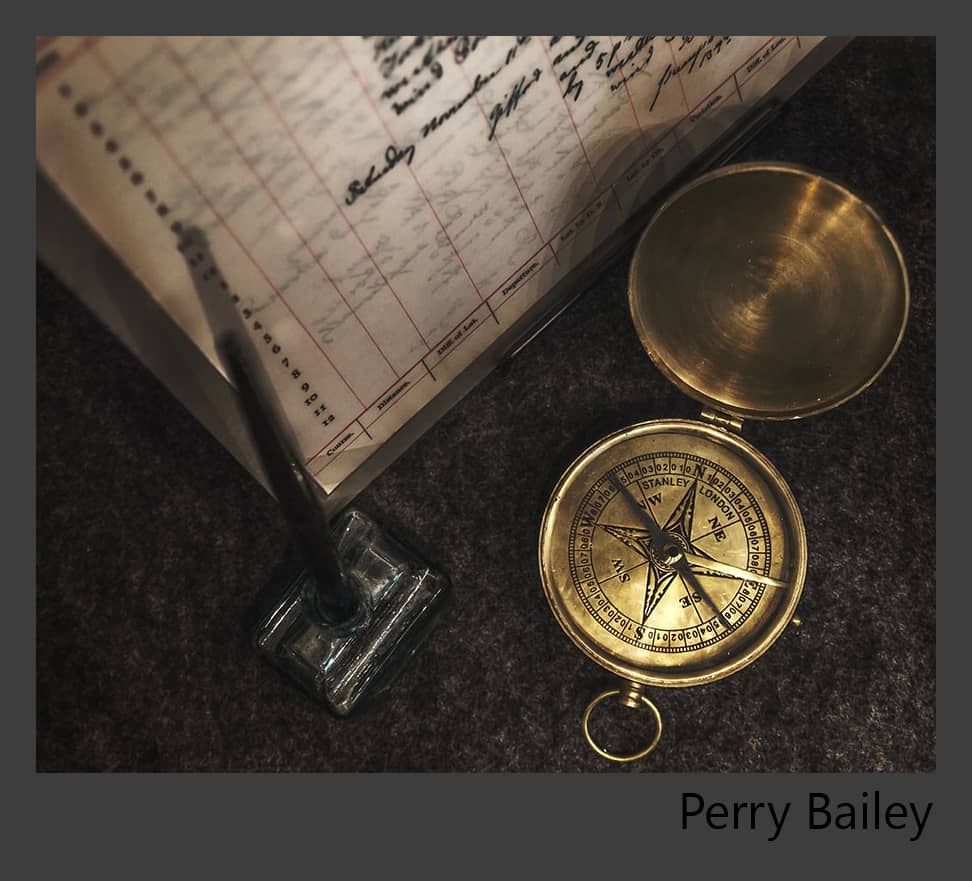
Perry Bailey
Location: Virginia, USA
I’m a 44 year-old network engineer with a wife and 3 kids. I got into photography because I wanted to do better than the standard snapshots of my kids, and quickly got hooked. I do a lot of HDR because I really like the way tone-mapping brings out texture and detail.
Processing Highlights:
- Created 5 exposures to pull out as much detail as I could using RawTherapee.
- Merged exposures and tone-mapped in Luminance HDR, mostly default Mantiuk ‘06 settings.
- Brought into Photoshop 7 (that’s right), used Topaz Adjust’s Dusk setting and increased Exposure to bring back a little more detail in the tabletop.
- Adjusted with a slight S curve and sharpen with a High Pass filter, about 3.5 pixel radius
- Sharpened in Noiseware.
Where You Can Find Perry: Seen Along The Road
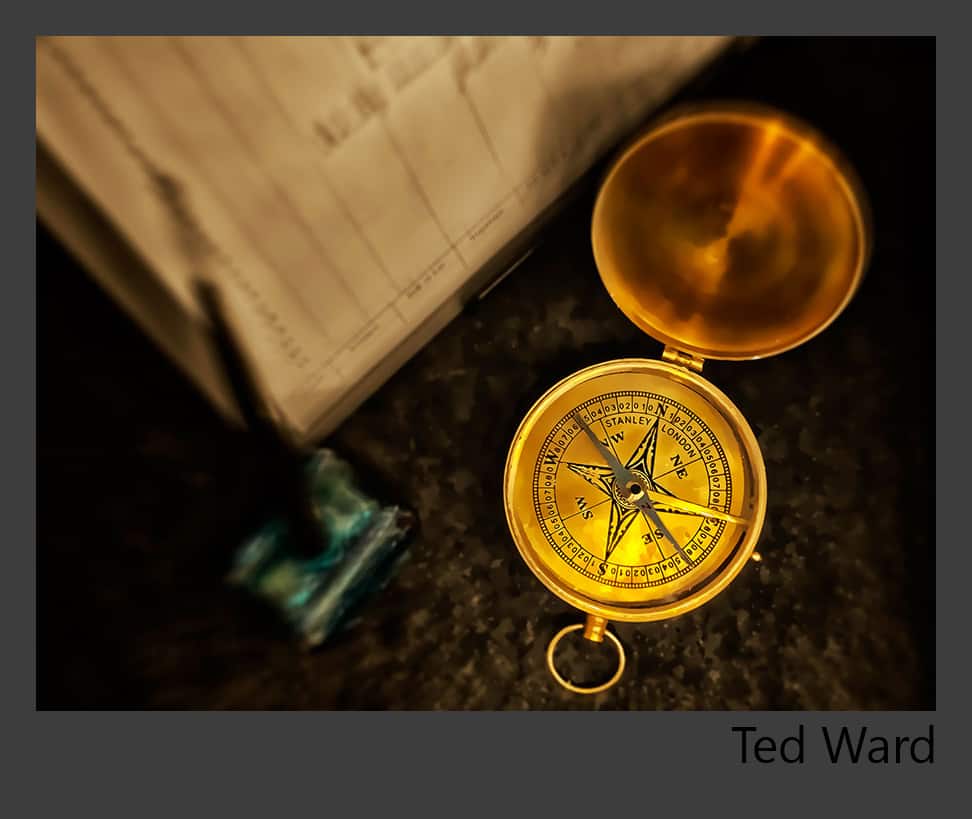
Ted Ward
Location: Pembrokeshirem, UK
I’m 27 years old, just finished Architectural Technology Degree and about to start my life as a self employed man. I have not been doing photography for very long, only since December last year but what I lack in experience I try to make up for with enthusiasm and willingness to learn new things.
Processing Highlights:
- Opened the raw file and selected some exposures to use, I used -1, 0 +1.
- Saturated the colours of the compass and the ink well.
- Gave the rest of the image a over colour of a dark brown shade.
- Cleaned the image using topaz clean.
- Used topaz lens detail to add the motion blur.
- Added some more areas of brightness and extra contrast around the compass.
Where You Can Find Ted: G+
Blake Rudis
Location: Near Kansas City, MO USA
Processing Highlights:
- Extracted 7 exposures using the Action I presented a few months ago (+3,+2,+1,0,-1,-2,-3 EV’s).
- Tone mapped in Photomatix, very mildly as this was a noisy one… sorry fellas!
- Brought it into Photoshop and did several curves adjustments for various parts.
- Did some dodging and burning and a whole bunch of other stuff that was really a bunch of fumbling that worked out in my favor, typical workflow.
- I created a layer that looked like glass to put on the inside of the compass and placed last months Concert image behind it, that was quite difficult!
- I added a dirty texture to the paper with a displacement map (thanks +Nick Marzinski)!
- I then saw a lot of noise in the pen holder which was supposed to be glass, so I did something odd and unconventional… I used the smudge tool to make it look like molded glass. It worked pretty well oddly enough. I would click on an area, drag it down, and then back to it’s original position and it would kind of liquefy removing all noise.
- I finished it off with a High Pass Sharpen set to about 6.9 pixels and a very light border effect to make it look old.
Where You Can Find Blake: EverydayHDR, G+, Facebook
Another successful concert for the records! I always enjoy seeing everyone else’s vision with the same image. I also enjoy connecting with all of you and engaging in dialogue about where you are from, who you are, and your thought processes. It really takes me beyond the image, I look beyond the photograph and actually get to connect with the photographers. I feel very fortunate in doing so and am stoked you all have participated. I highly encourage you all to connect with one another. Everyone in this post has something to offer one another. I know I have learned a ton from you all with these concerts and look forward to the end of the month.
[notice] There will not be a Concert in August, you will have to wait for September. As usual there will be another twist in the presentation! [/notice]

