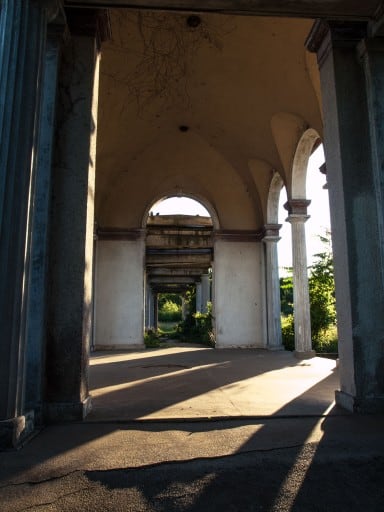
The directions for this Month’s HDR Concert were pretty vague… be creative if you want. Sometimes I am less creative than others with rules on these things. Even with my vague rules, all of the entries pulled out more than just something worth looking at! As usual, I had a blast with this Concert and can only hope that the others felt the same. It is great to see how other post process the same image and how others learn from one another.
In the order they were received:
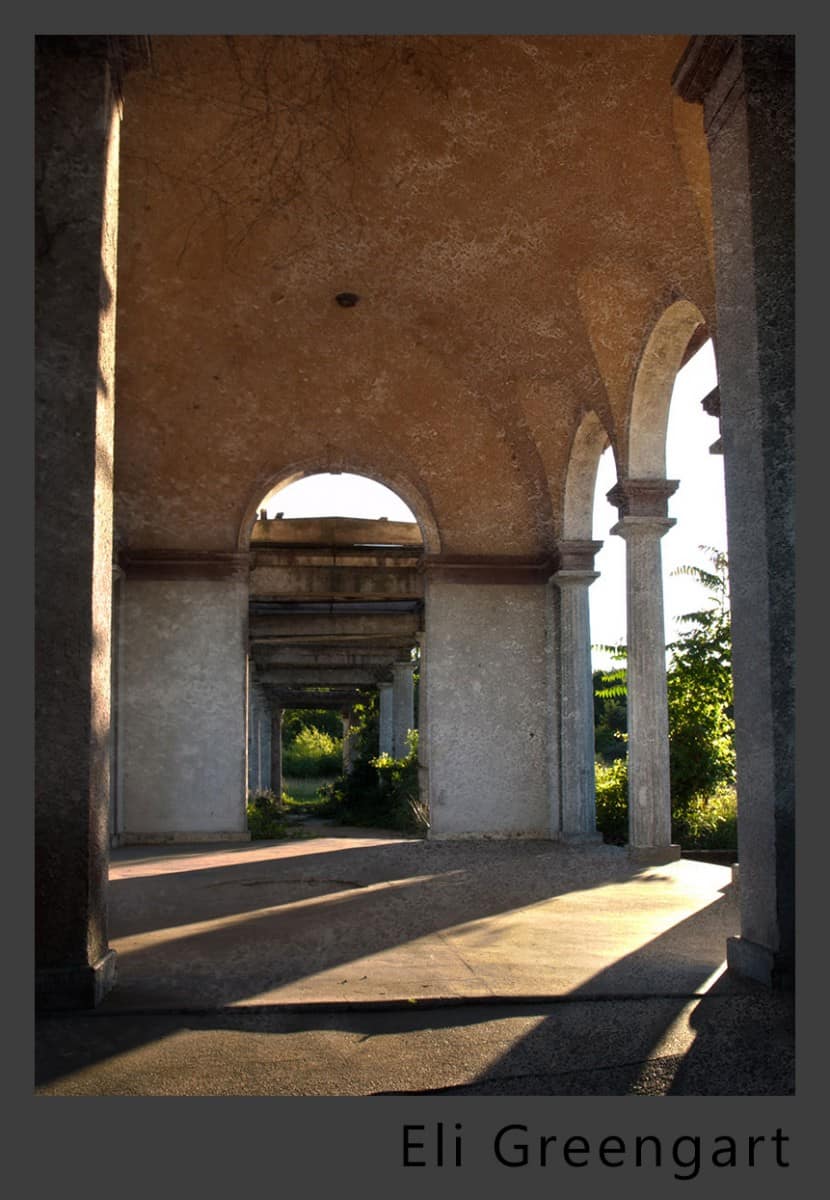
Eli Greengart
Location: Baltimore, MD USA
I am a fulltime fundraiser for a small Baltimore college. I do all the photography for the school and some events on the side. I haven’t spent too much time on tone mapped HDR, but I am loving Lightroom 4 with its creative possibilities.
Processing Highlights:
- Tone mapped with HDR Pro CS5
- I tried to keep it simple. Just open up some of the shadows a bit without going too over the top
- I merged the original middle exposure (via layer mask) with the tone mapped image to keep the HDR effect in check
- I also added a texture on top, but limited it to the building as I liked the light coming through the arches left alone
Where You Can Find Eli: SmugMug
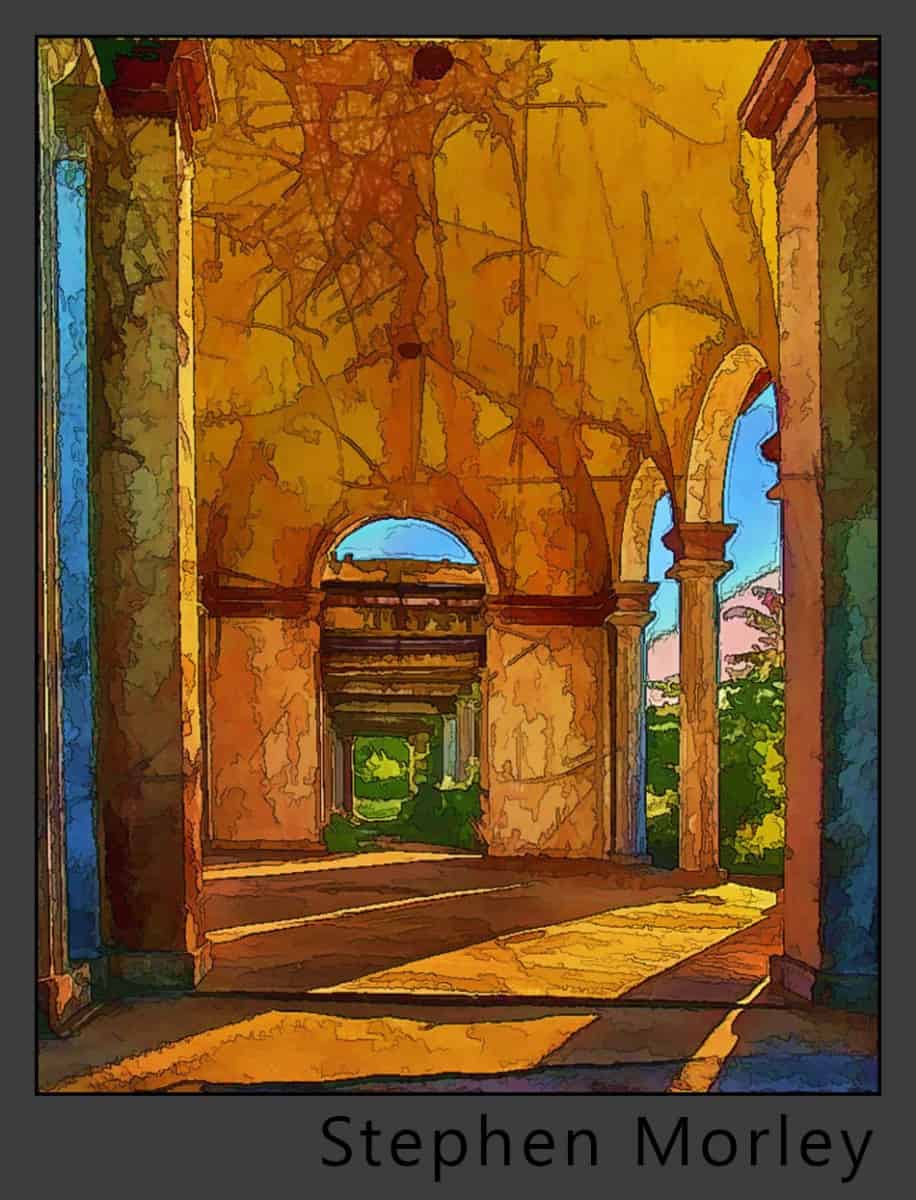
Stephen Morley
Location: Southern Ontario, Canada
Long time amateur photographer. Developed first film (Plus-X) circa 1960 in a furnace room and soon learned the relationship between temperature and chemical reaction (development time). I discovered digital world in 2000 and with a LR4 catalogue approaching 100K, hopefully I have a few “keepers”.
Processing Highlights:
 Processed supplied images in HDR Efex Pro 2 using realistic mode and boosting contrast and saturation.
- In Photoshop selectively overlaid a scratched texture in overlay mode. Straightened verticals and cropped.
- Brought resulting image (see insert) into Topaz Simplify 4 and using the Watercolor mode and emphasized lines.
- In Photoshop used Nik Color Efex Pro 4’s Pro Contrast filter.
- In Photoshop selectively color corrected.
- In Photoshop downsized image and sharpened using Blake’s HDR Tone Mapping Method (Sept 7th).
- Selectively Dodged and Burned image using a 50% gray overlay layer. Flattened layers.
- Added a 3 px outline border (stroke). Saved for the web.
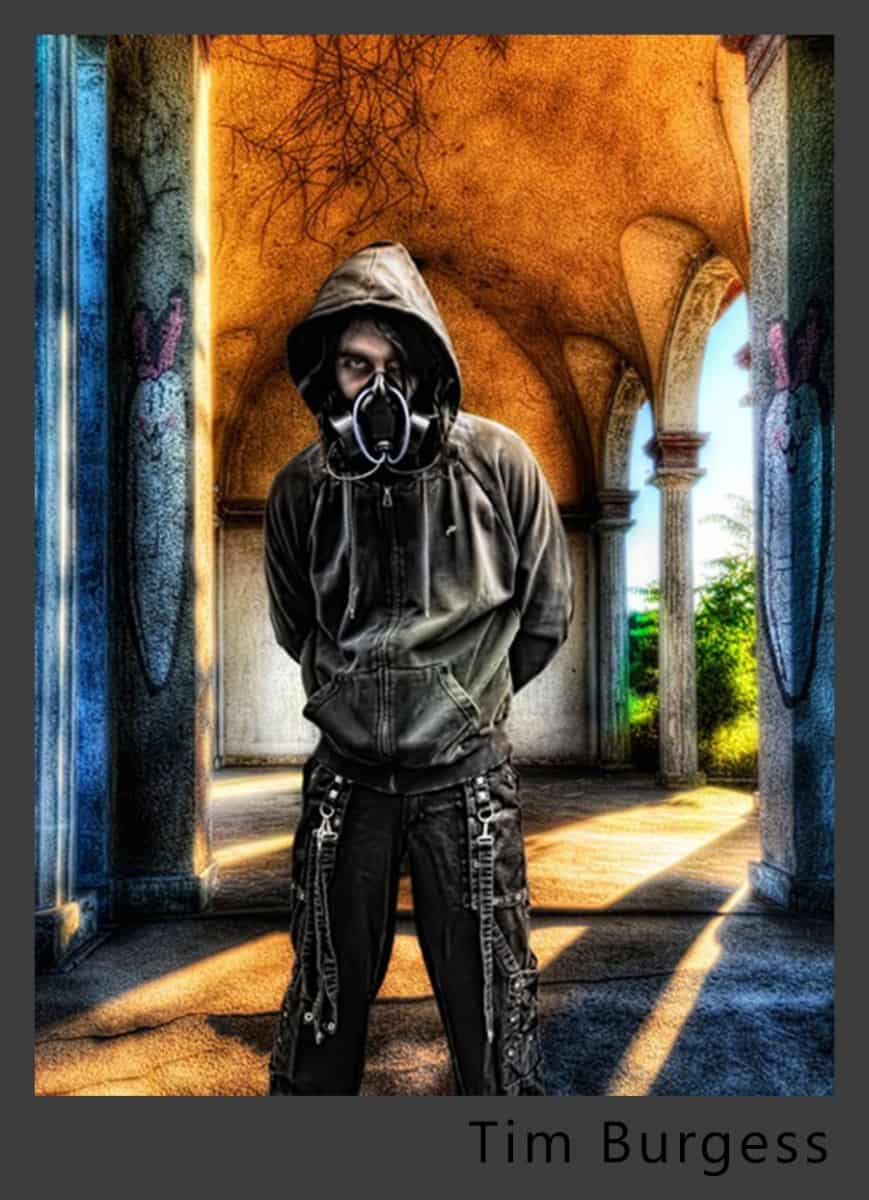
Tim Burgess
Location: United Kingdom
I’m a freelance Animator and Compositor . Photography has always played an important part in my work. In the past couple years photography and HDR has become more of a passion and I’m constantly looking to improve.
Processing Highlights:
- Imported background raw files straight into Photomatix and tone mapped.
- Opened tone mapped image into photoshop High structure B&W copy made blend mode set to luminosity
- Carrot logo cut out of photo taken in London blend mode set to overlay dodged and burn to sit into BG.
- Cyber punk taken from an exiting project and mixed with blurred image of BG so Hue bleeds into Punk.
- Cyber male with hoodie by Pederroldcity, with new face by me.
- Sharpened using technique by Calvin Hollywood
- Blurred copy of final imaged mixed and masked to soften back the sharpening
Where You Can Find Tim: Redbubble, 500px
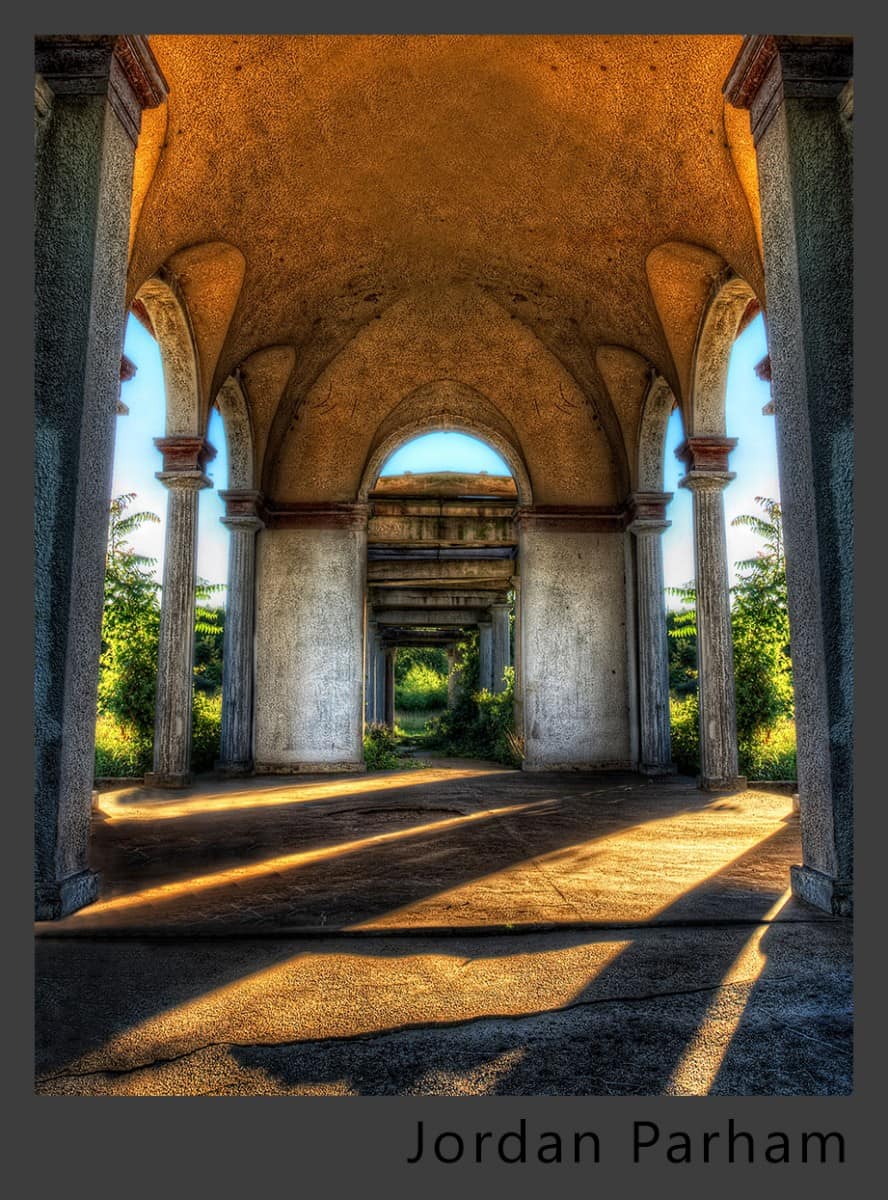
Jordan Parham
Location: Grand Rapids, MI
I’m 22 years old and an undergrad Photography major in Grand Rapids Michigan; been shooting for about 3 years. I took to HDR about 6 months ago and have really been trying to improve my processing as well as become a much more “well-rounded” photographer.
Processing Highlights:
- Tone mapped in Photomatix
- Clone Stamping to create a more balanced image (first time using the tool extensively)
- HighPass Sharpening
- Curves adjustment for contrast
- Nik ColorEfex & Glamour Glow to bring detail and soften the edges slightly
- Saturation adjustment locally
- Removed noise via (Nik Dfine 2.0)
Where You Can Find Jordan: Flickr
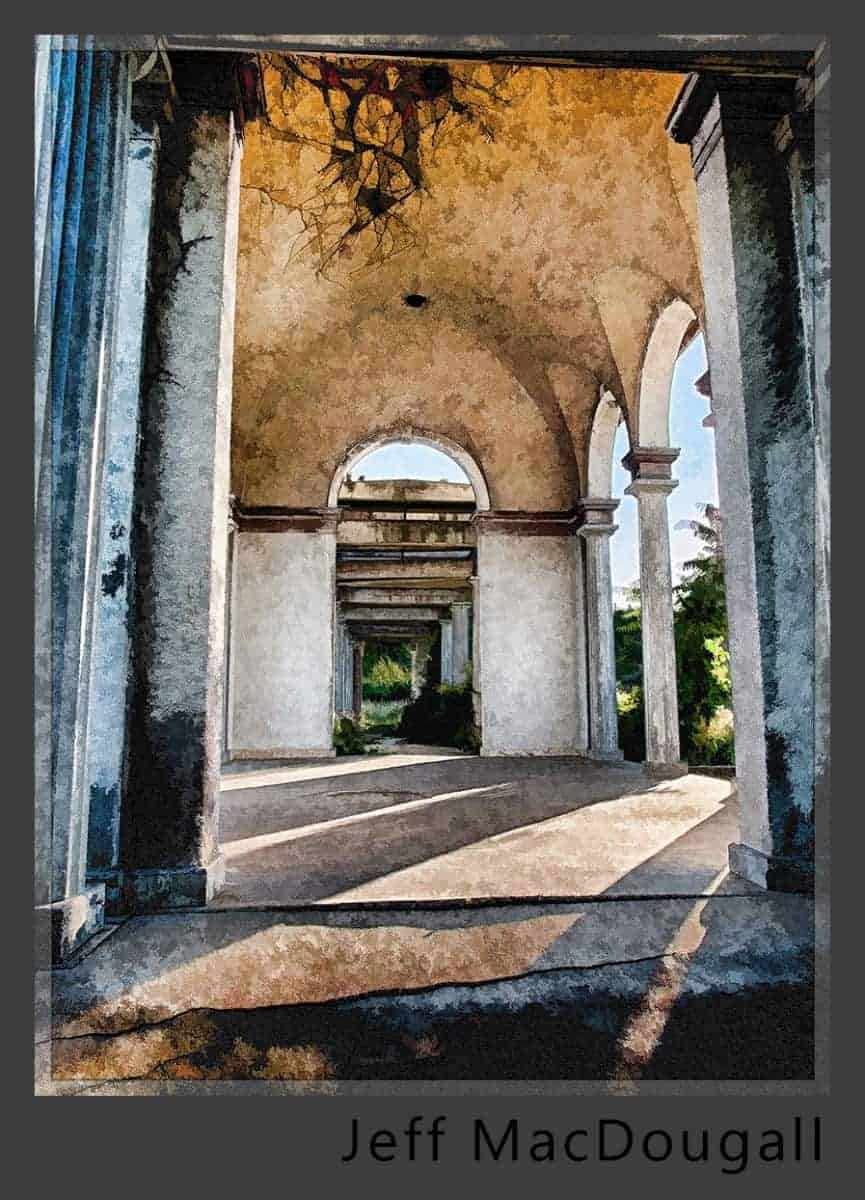
Jeff MacDougall
Location: Henderson, Nevada USA
I’m a serious hobbyist trying to find an outlet for all of the creativity that has been pent-up over the years.
Processing Highlights:
- Imported brackets into Lightroom 4 without any additional processing in Develop module.
- Immediately exported into Nik HDR Efex Pro 2… I used the default HDR image created by the program and tweaked the method settings a bit more to my liking. Saved the result back into Lightroom.
- Exported to Photoshop CS6 and converted into LAB colorspace… adjusted a and b channels with a curves adjustment layer and sharpened the luminosity channel. Converted image back into RGB.
- Invoked Nik Color Efex Pro 4 filter on a duplicate layer to fine-tune the tones.
- Next, I used Topaz Simplify 4 on a duplicate layer to create a painterly look using Painting Effects (Oil Painting II). This gave me the pointillist look I was striving for.
- Created a frame and then saved back into Lightroom.
- Finally, I created the final jpeg by exporting the image to Nik Sharpener Pro prior to saving.
Where You Can Find Jeff: Flickr
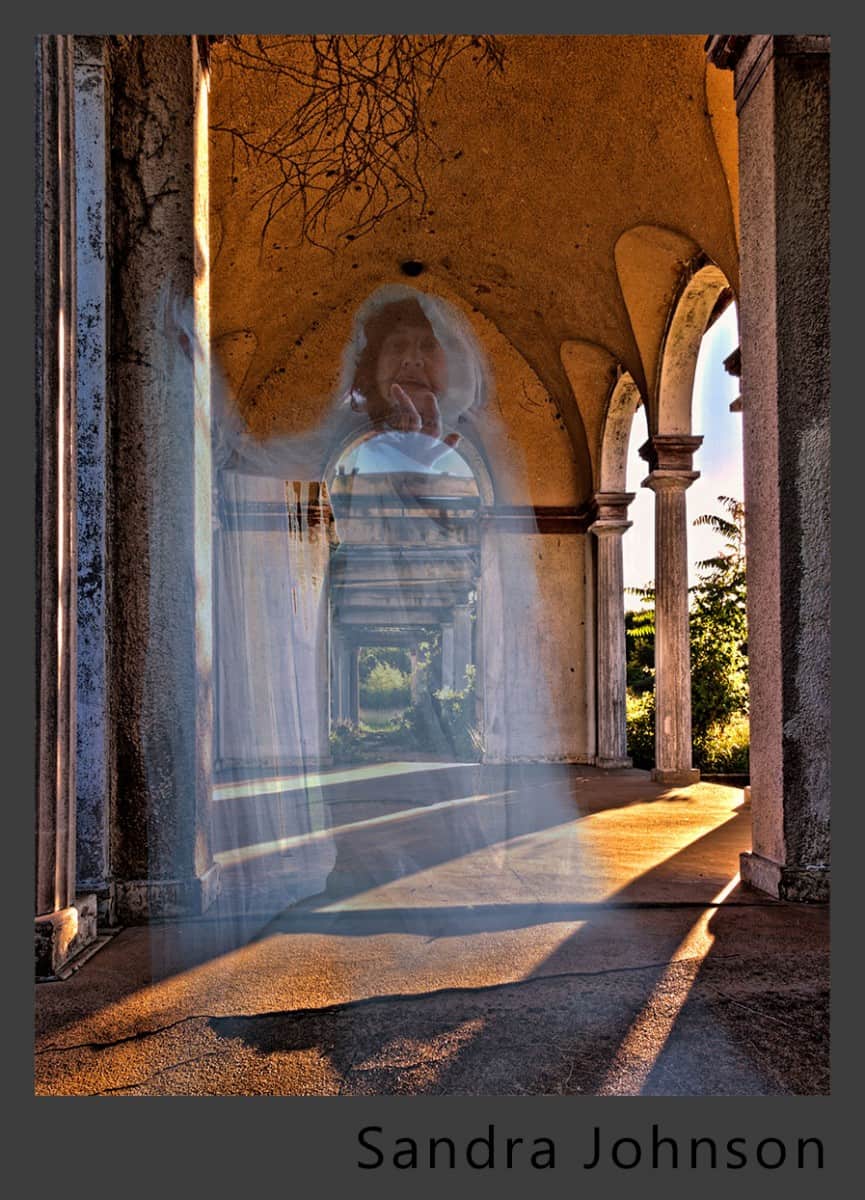
Sandra Johnson
Location: Germany
I have always liked most every form of art. Photography is just another extension of this. I have been told I have “the eye”, hope that it is not the evil one!
The great thing about photography is that it lets you explore so many different avenues, and hopefully, with some time and patience, one day I’ll master one or the other of them.
Processing Highlights:
I started of with good intentions to write down all that I did, but sometimes the errors won over the trials, and I lost track of my moves.
- I took the exposures into Ps CS5 RAW, where I first did a lens correction and applied this to all layers before converting them to HDR within PS, and customized the setting there.
- Topaz Simplify 3, Buzz Sims effect, reduced the simplify back to 0, increased details and a few other options. Exported to PS.
- Curves layer. RGB, S Curve on mask brushed back blown out highlights and open shadows, for example everything outside and the floor as well as part of the left hand wall.
- Saved as TIFF and took it into a very cheap program called ReVitalize for enhancement.
- Back in PS added the “Ghost”. Liquified the lower part. Reduced the opacity to give a ghost like feel. Added a mask to further reduce the opacity with a brush along the edges.
- I am sure I did a few other things, but cannot 100% remember now. Must try harder in the future to capture my actions.
Where You Can Find Sandra: Flickr, 500px
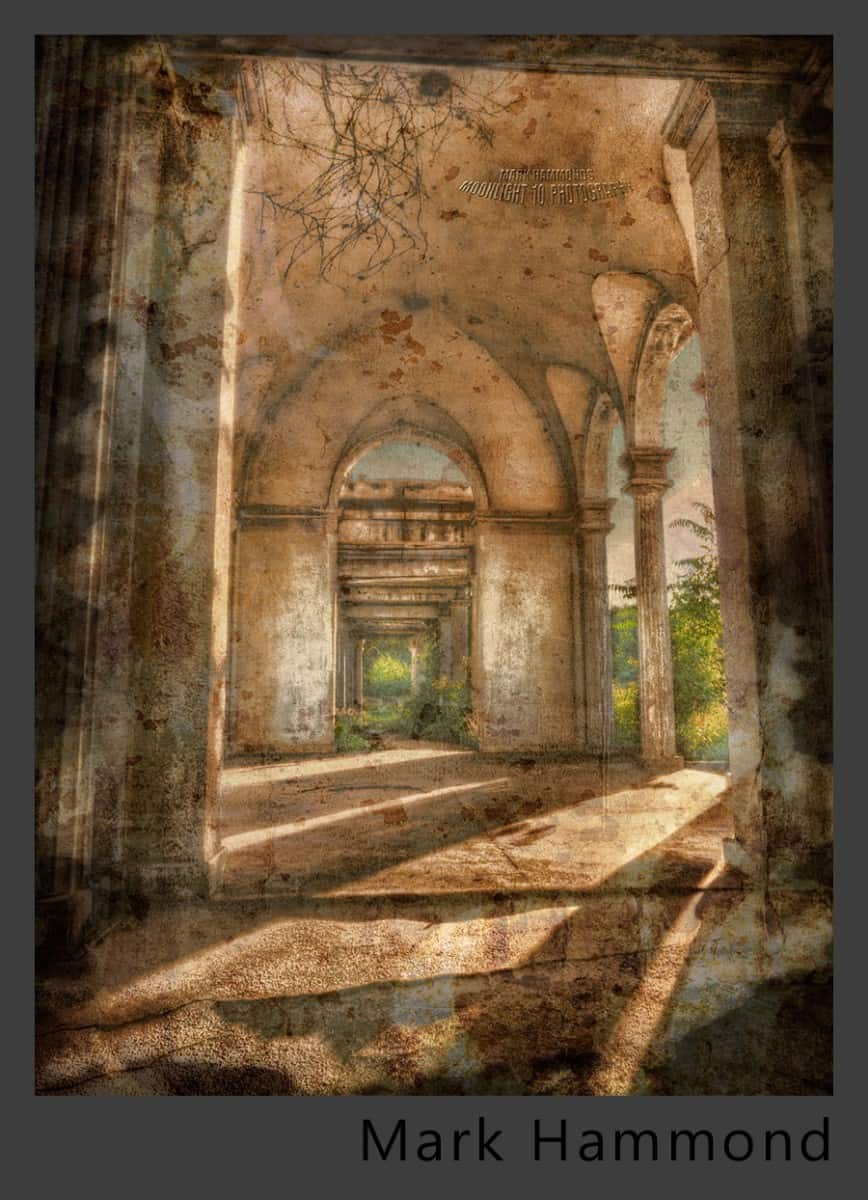
Mark Hammond
Location: Sedalia, MO
I only got into photography a couple years ago but have found it to be invaluable in maintaining my sanity. Theres always been an artist in my try to find an expression photoraphy is that way.
Processing Highlights:
- Beginning in photomatix trying to keep it natural
- Into photoshop elements to use layers
- Topaz labs to try and keep enough color to show but little enough to to age it
- Onone to add a layered texture
- Onone again to add a frame
- Finally finish in elements with adjusting brightness and layer opacites
Where You Can Find Mark: Portfolio
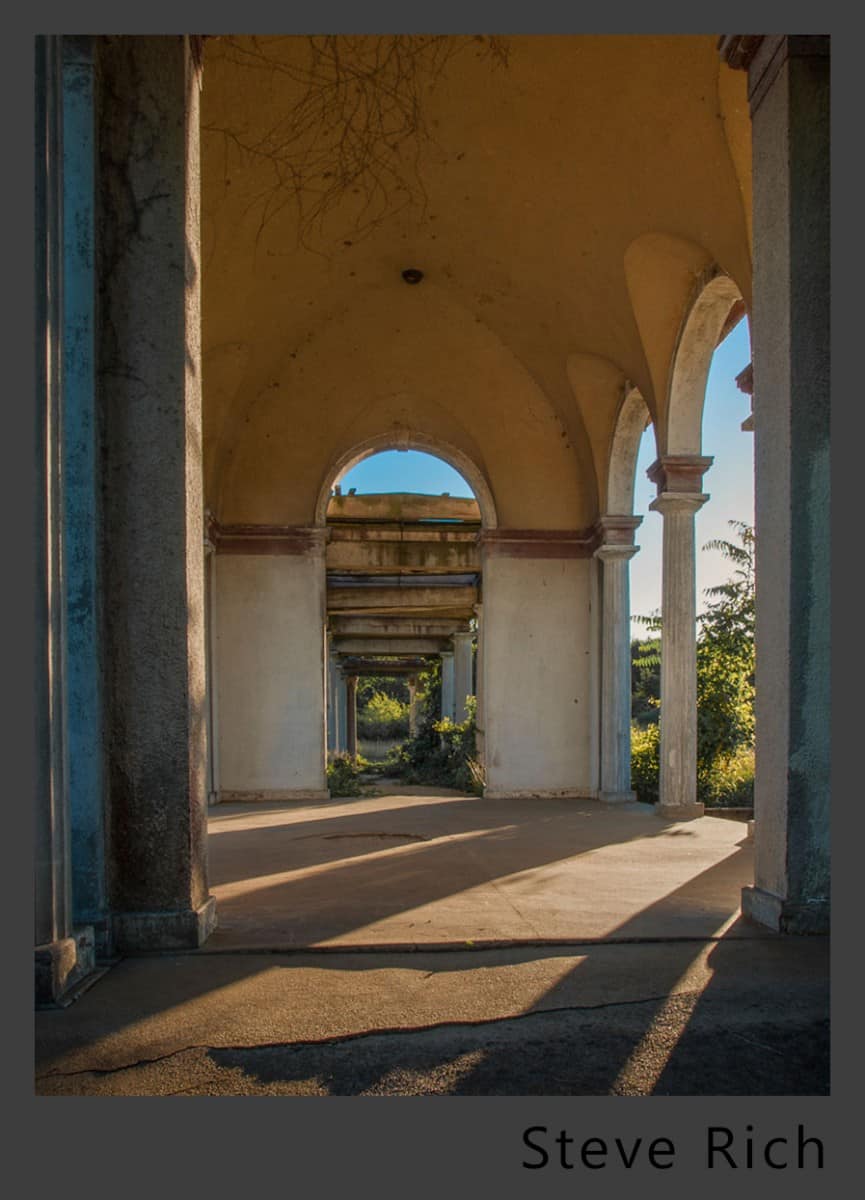
Steve Rich
Location: Aiken, South Carloina
I am 55 years old, married and have two daughters, both daughters are married. I have a 3 year old grandson and 4 month old grandaughter. I am a late bloomer when it comes to post-processing images using enhancement applications. For years I was a point and shoot with no post processing. With the birth of my grandson, this gave me a reason to learn something new. I use all the Adobe products, Photoshop CS6, Elements, Lightroom 4, Nik products, OnOne and Photomatix.
Processing Highlights:
- Five images imported into Lightroom 4.1
- I selected the three darkest images of the group of five.
- From Lightroom 4.1, I selected “Process 32 bit” Photomatix Pro (Purchased plugin from HDRSoft)
- No tonemapping needed, no denoise needed, no sharpening needed
- Once processing was completed by Photomatix, single Tif image was saved back into Lightroom.
- Adjusted HSL for blue and orange only.
Adjust Exposure, Hightlights and Shadows.
Where You Can Find Steve: Steve Rich Collectible
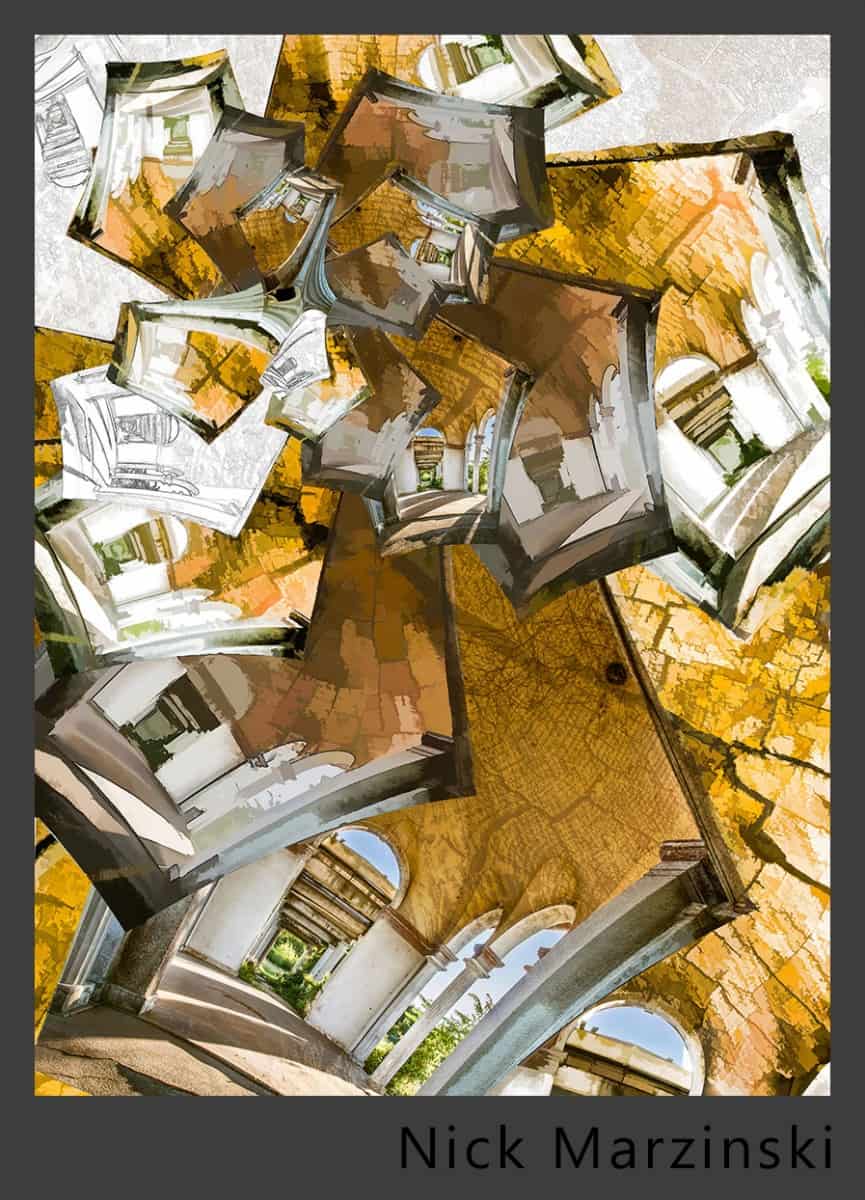
Nick Marzinski
Location: Milwaukee, Wisconsin, USA
Started with digital photography seven years ago, a few months before my oldest daughter was born. Macro, lansdcape, abstract, and HDR photography are particular interests. I shoot with a Canon Rebel T1i, and currently use Lightroom 4, Photoshop CS5, Photomatix, Topaz Adjust, and (recently) Topaz Simplify.
Processing Highlights:
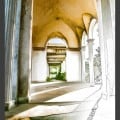 I merged to HDR in Photoshop CS5. Saved the image as a 32-bit TIFF with no adjustments and closed it.
- In Lightroom 4, I tone-mapped the 32-bit file using the Develop module (mostly the basic panel with a little bit of split toning). This results in a fairly “realistic” HDR without the glowy look.
- Back in CS5, I used several masked curve adjustments on the pillars, the floor, and the ceiling to boost the contrast and detail. Most of the curve adjustrments were set to luminosity blend mode to keep the color from getting a bit weird.
- For the first version, I ran the image through Topaz Simplify twice, once to simulate a pencil drawing, the second time to simulate a pastel drawing. Both were blended onto the original drawing using layer masks and the gradient tool.
- To do the spiral effect on the second version, I ran it through the Droste filter in Pixelbender and played with the sliders until I ended up with an effect I liked. Then I brought in an image of a cross section of a tree as a texture, set the blend mode to overlay, and selectively masked it.
- I ran the result through Topaz Simplify again for a pencil drawing, a pastel drawing, and a BuzSim effect. Then it was a good-ish amount of selecting with the lasso tool and brushwork on layer masks to combine the effects.
Where You Can Find Nick: G+
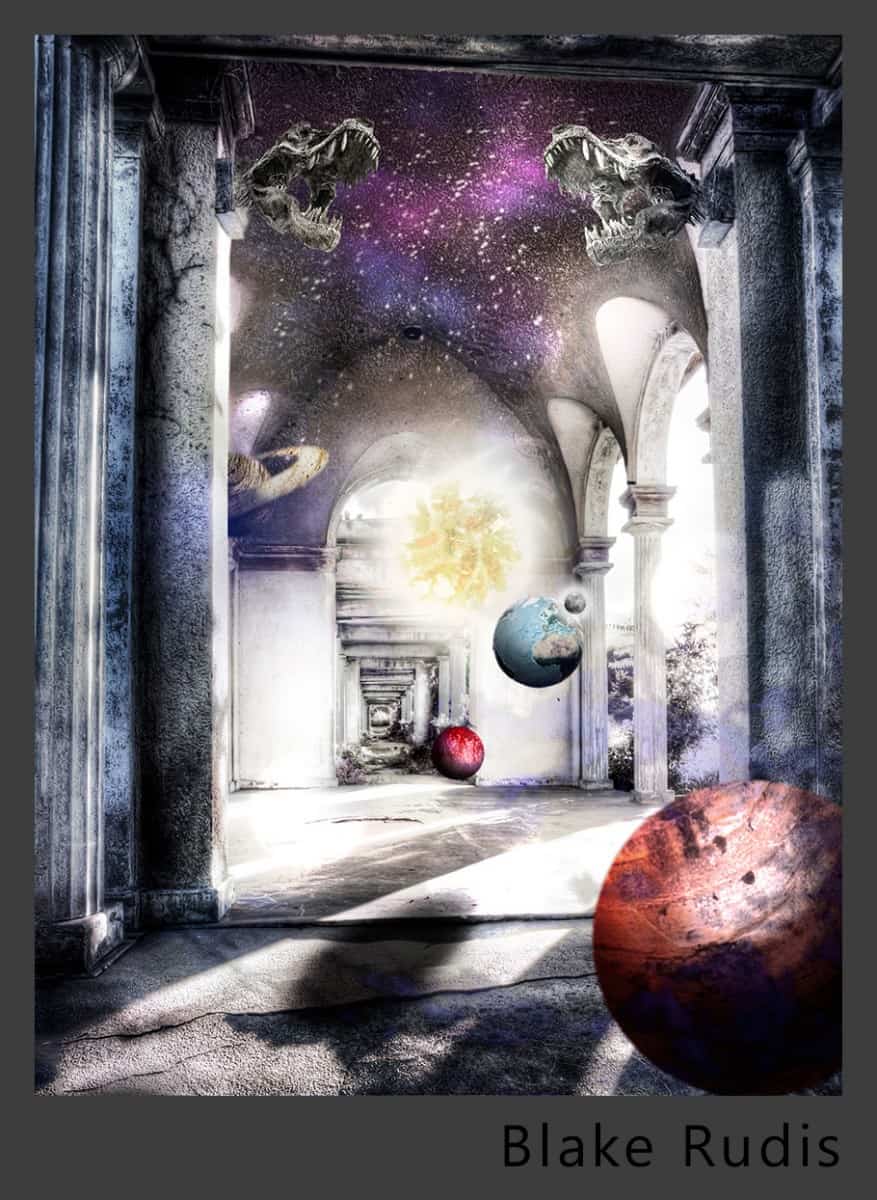
Blake Rudis
Location: Kansas City, Missouri
I run this little blog spot on the net, I love these Concerts for many reasons. The first, I get to see how many other people from around the world post process their images, and yes I read everyone of the submissions and make sure I understand their process while looking at their image. I also enjoy getting creative with my work during these Concerts. All to often I fall into the mundane trap of simply processing photos and get away from the creative edge.
Processing Highlights:
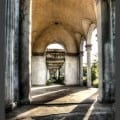 Brought all 5 Raw files into Photomatix Pro 4.2
- Tone mapped pretty tamely trying to keep it true to how I saw it.
- Minor modifications in Adobe Camera Raw, Exposure, Shadows, Highlights etc..
- Brought into Photoshop, did several selective highlights shadows and mid-tones adjustment layers for the Curves.
- Added a blue-ish Overlay to make the image appear to be at night. From there the idea of the Universe existing in someones backyard emerged.
- Added the T-Rex heads from a shot of the giant T-Rex Skeleton in the Academy of Science in San Francisco, finally found an excuse to use that one!
- Recreated the Universe in the center of the columns.
- A total of 69 layers were used to create the final image.
Where You Can Find Blake: Here on everydayHDR or at EverydayHDR@gmail.com if you need any assistance!

