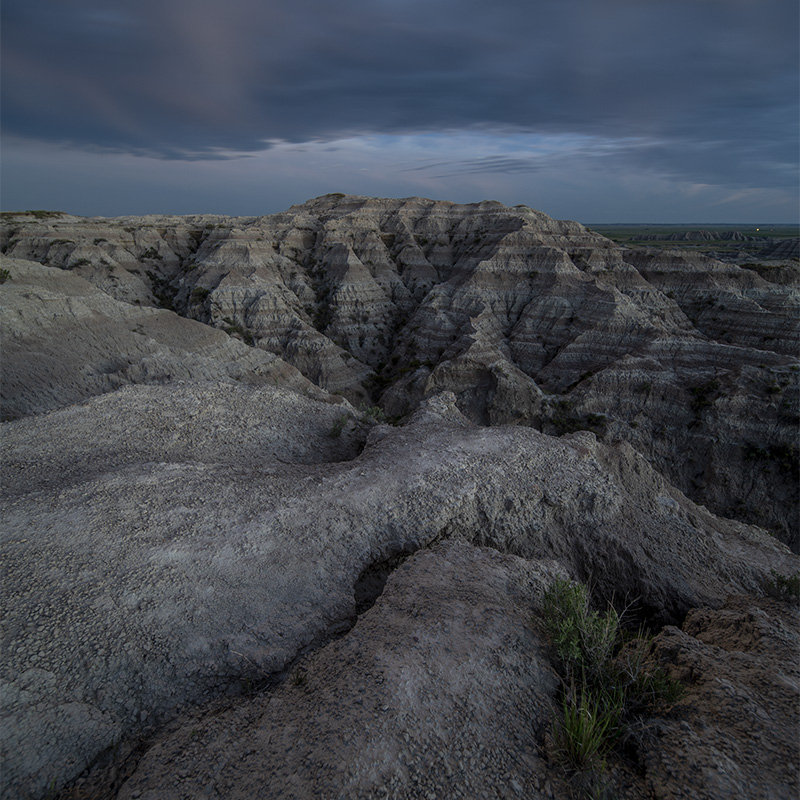
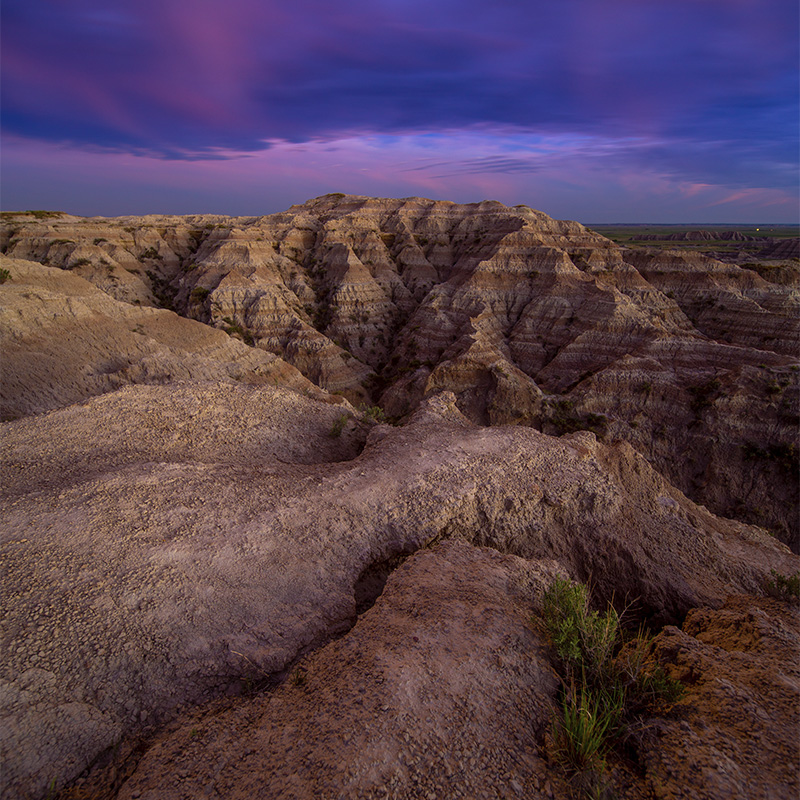
Essential Color Tools in ACR and Lightroom
There are four things you should be doing with the colors in your photos in Adobe Camera Raw. Well, there’s probably more than four, but today I am going to show you how to manipulate color with just four essential color tools and the order that you should use them.
I know I have taught you a ton about color over the years and there may be the question of, “Is this going to change your workflow now?” The answer is not really, I will just incorporate it into my workflow with the ZSE 6 and Palette Effects III (yes, I said PE III, coming VERY soon).
I feel very strongly that your RAW workflow sets the foundation for everything else you do following. So, getting your colors this good doesn’t mean the photo is a complete and finished product. Quite the opposite actually. It means that you have just built an incredible base for your finishing touches.
Imagine having this much access to color going into Photoshop to do a full ZSE and PE Workflow….WOW!
So my workflow doesn’t change, but I do use these four essential color tools and in this order, when I am editing my raw files:
- White Balance – It sets the stage for your colorwork and can be used to mildly exaggerate your colors or to fix color casts.
- Calibration – A critical step often overlooked. It is imperative as it sets the intensity of your colors.
- Color Mixer – Often used in place of #2, but it should actually be used more as a mild refinement tool rather than a color amplification tool as it can introduce pixelation and banding.
- Local Corrections – In this video, I show the grad filter, but really you can use any of the local adjustment tools to put the polish on your colors.


always ready to learn
Blake this is awesome
After the 4 steps are you making any adjustments in the Zone System Express with the color and tone?
yes, I still use all my systems after this. This is just the raw process. Remember crap in crap out, so if you go in with gold, platinum is on the other side! lol
Very Very Good
thank you
Excellent! Thanks!
Hi Blake. Thanks a lot for this information. It is great. GarryUK
First real explanation of how to use the calibration sliders. Thanks for the input. Look forward to future videos.
Your enthusiasm fires us up to do more. I always look forward to your lessons!
Always love your tutorials Blake! Now trying to remember all the stuff I learn from you is another story…lol.
I learned a lot, thank you.
Sensational instruction video, Blake. Particularly liked how you underscored the importance of things by turning on and off the various filters. I’ve known about Calibration, but almost never use it. After this tutorial, I’d be an idiot not to make that an indispensable part of my workflow. Thanks so much. Tremendously helpful!!
Very well done. You explained a lot and made it easy to understand
I have been using calibration for some time but. Your explanation of how it works at a pixel level will make a world of difference as to how I use it.
As always, a great video. Thank you.
You are so enthusiastic! Thanks for sharing all your tips and tricks! Will watch a few times more – make some notes, keep them handy and start to these 4 steps in my photos!
Fantastic video. These 4 steps will definitely be part of my workflow. Thank you for your clear instruction.
Blake, everything works great until I get to the gradient tool. My first gradient is fine, but when I go to make my second gradient and push reset, the first gradient is also resets. Everything goes back to the way the pic was! What am I doing wrong?
OK, I’ll say it. I have been using Calibration ever since you mentioned it in one of your tutorials. However, I was using it later in my workflow. You demonstrated the benefits and importance of using after setting the White Balance. Another fantastic tutorial.
I watched the video again and noticed that you did not change the profile. Where does that now fit within this workflow?
Outstanding, Blake. Thanks so much as always.
Vinny
Wow! Thank you for this tutorial – I see I always used calibration towards the end of my ACR workflow – no wonder it did not work as intended.
Great video. I can really see the value in the order. The Calibration section has just been there. I never saw value in using it; but, WOW what a handy tool. Tuning the colors with HSL/Color is far more powerful with the two earlier steps.
You use the Graduated Filter which I think is handy when you are working in the world of landscapes. I am thinking that both the Radial Filter and Brush would more easily adapt to my customary genres.
Opened up a whole new world.
Look forward to PE III
An interesting and valuable lesson for all digital photographers Blake. Well done and illustrated.
In essence and within some broad parameters ( for example, there must be enough luminance ), the editor of an image appears to have the ability to interpret the colors in a given image as desired. One must wonder: Can you edit the same image captured by Nikon, Sony, and Canon cameras with roughly the same size sensor so as to look exactly the same? Does it make any difference at all what colors were “initially recorded”?
Since the colors can be changed at will and colors are only as interpreted by the RAW software ( there are no “absolutes” but only bit values supplied the RAW converter ) the same result should be obtained with virtually any camera…or have I completely misunderstood your workflow?
That I am not sure of, but I don’t think the camera matters here, mainly what you can get from the colors in the image. This image did not have a lot of luminance, to begin with, it was a night shot, but do yo usee what kind of color was there insane amounts 🙂
Don’t read too far into things, I think that is what stifles many photographers, just experiment and make and conclusion based on pattern recognition and if/then statements.
Once again I go back to some of my old photos and create new works with what I have learned from you Blake. I haven’t been able to go out and take new photos in a long time. However, with videos like this one my old photos have new life in them.
Blake, as always, thank you so much for enlightening us1. This is very helpful.
This is a game-changer! So thankful you showed the steps and why. I loved your calibration tut, but I wasn’t using it in the right order. Now that I’ve used these steps on several images, I feel like I should go back and redo most of my portfolio! The last step with gradients I haven’t mastered. I tried, but got poor results. The image was affected in places I didn’t expect. Maybe one more tut on gradients in ACR? ‘Thank you’ seems too small for what you’ve done for me!