You can Avoid Halos in Adobe Camera Raw and Lightroom 🙂
That is the answer to many questions that I receive on almost a weekly basis on f64 Academy. The trick here is that you have to know what makes them and how they are caused. Once you know that you can avoid halos in adobe camera raw and Lightroom. The worst part about it though is hearing that it starts with you, yeah you and me too!
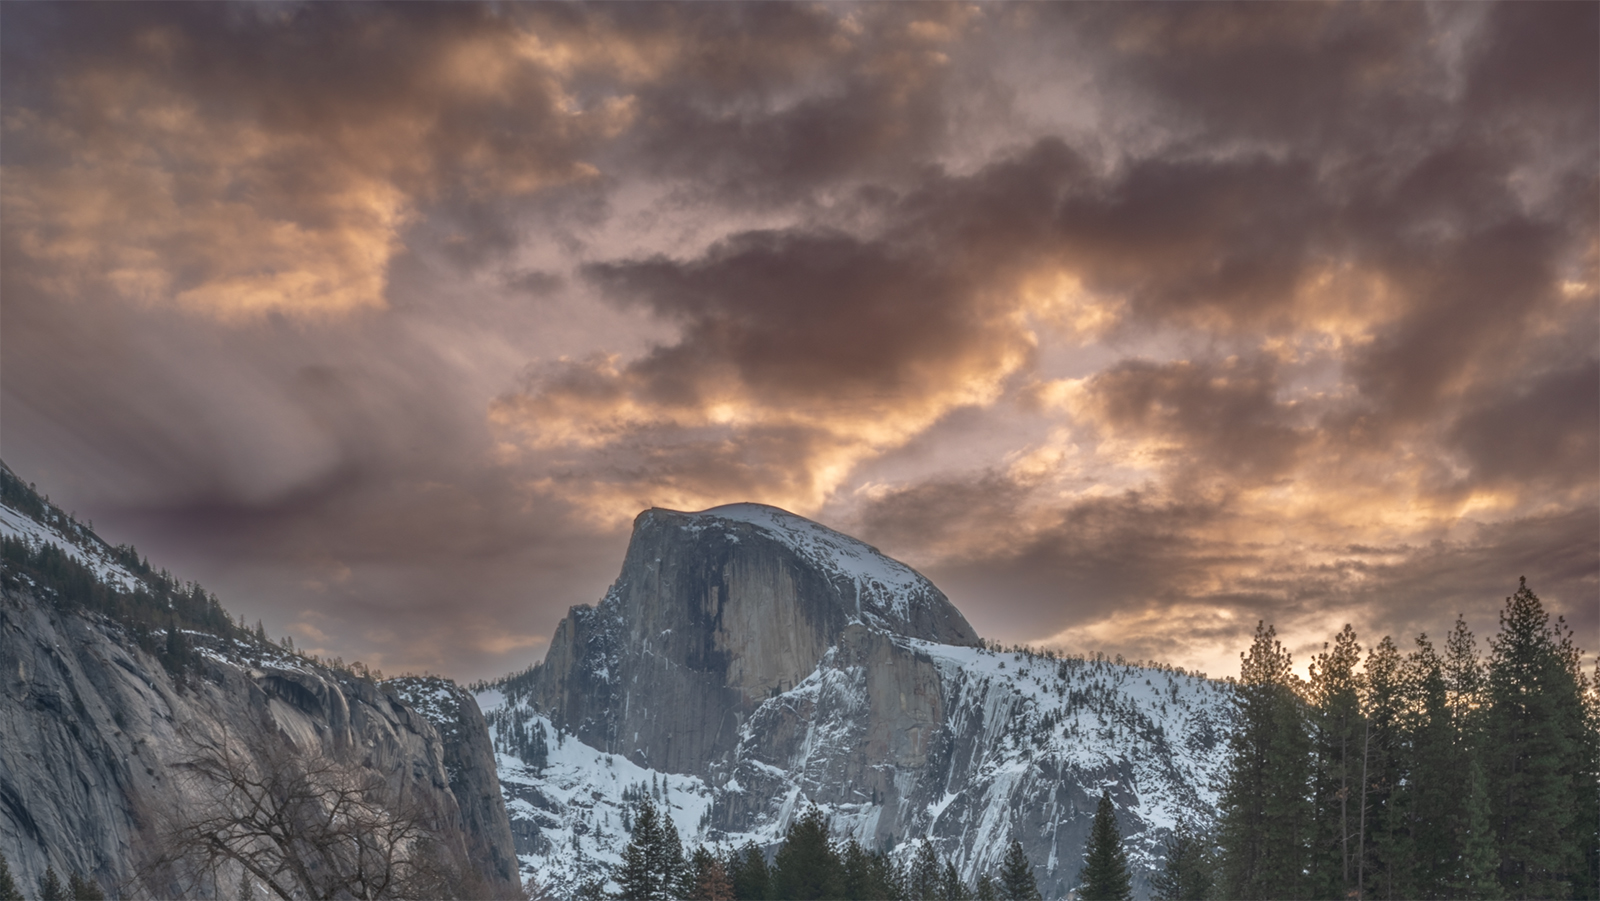
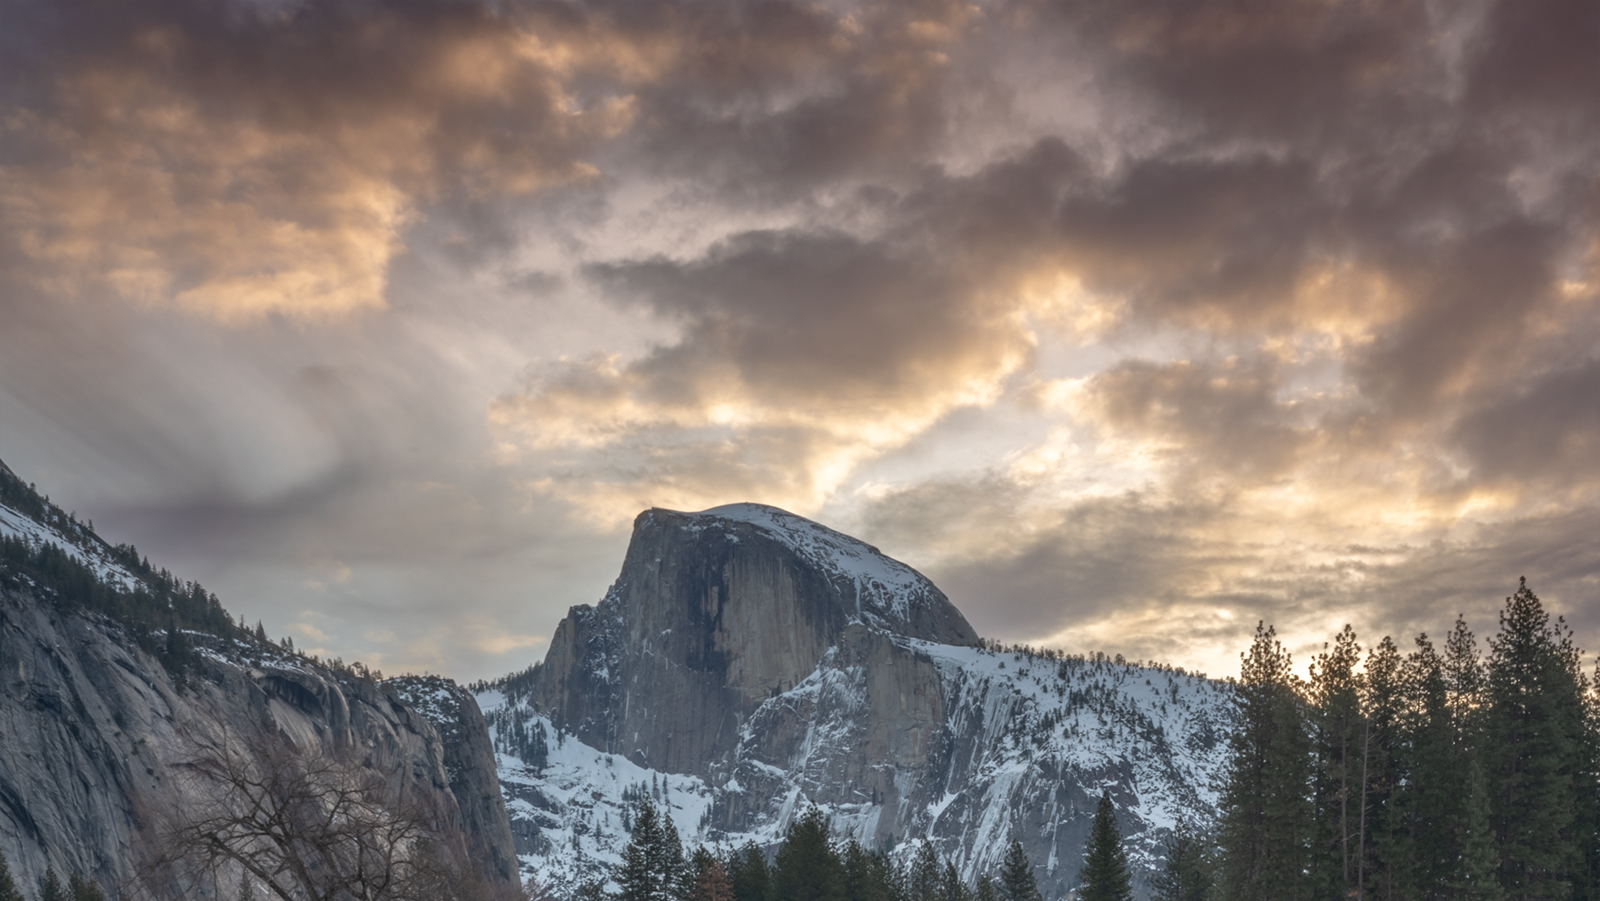
Halos are a distracting artifact of sorts that appear in our images when we transition from an area of high contrast to low contrast. In this example image, that transition is from Half Dome in Yosemite to the neighboring clouds behind it. Haloing is something we saw ALL the time in old school HDR processing, circa five years ago or so.
Back in the day when I was running everydayhdr.com (now f64 Academy), I would get the same age-old question, How do I avoid halos when processing my HDR images. The comforting thing, at least for me, is that my answer hasn’t changed; If you see halos, it is probably because you are taking the contrast too far between areas of high and low contrast.
The thing is, our software is smart, but not smart enough to detect these edges, yet… It is getting better; actually, it is getting better with every release of Adobe Camera Raw and Lightroom. However, we are still the ones in control of those halos.
In the image below you can see the photo on the left is considered “bad” because the contrast between Half Dome and the clouds is so abrupt that it creates a lack of depth by creating either a haloing edge or a contrasty edge. This was forced in Adobe Camera Raw so that you could see what I am talking about. The image on the right is good, there is plenty of contrast between the background and foreground, and there is almost a natural glow behind Half Dome because of it.
In today’s tutorial, I am going to give you four tips on how to avoid halos in adobe camera raw and Lightroom. These tips are seemingly simple, but when you see them in the video, they may open your eyes to a new way of preparatory processing before you head into Photoshop to finish off your photos.
The four tips:
- Use bracketed images: There will be a lot more dynamic range to work with, and avoiding halos will be a lot easier!
- Start with a Global (whole image) low dynamic range contrast.
- Separate your foreground and background with the Local Adjustment Brush and the “Auto Mask Feature.”
- Refine your Local Adjustment Brushes with the Erase tool and Auto Mask OFF


That looks easyer then other videos Ive seen.
yep! Super easy and effective!
Thanks Blake for another timely and very helpful tip! I am currently dealing with this issue on a photo and now I know how to fix it.
Wonderful direct to the problem tutorial, explanation very clear and simple enough to hopefully be able to remember (and of course use).
Thanks again for sharing your knowledge.
Outstanding!! Thanks as always, Blake.
Vinny
Great tip and excellent tutorial as always! ?.. unfortunately I don’t have Photoshop, but apply the editing ideas in paintshop pro. I love the videos as they are very informative, excellently put together and not too long.
I have noticed the halo effect in my HDR merges, can’t wait to apply your tips..
Thank you ??
I’ve been looking for this fix for a long time. Well done; thanks Blake!
Nice tip Blake. If you get halos once you get into Photoshop, the darken blend mode on a new layer works good for getting rid of them, at that point. But better not to have them in the first place using your tip. Thanks.
Blake,
Thank you for another valuable video. From my perspective, I appreciated not only seeing your fix for halos, but part of your ACR workflow to prepare your image for further editing in Photoshop. Keep up the great work!
Excellent video. Will certainly try it out.
Thanks