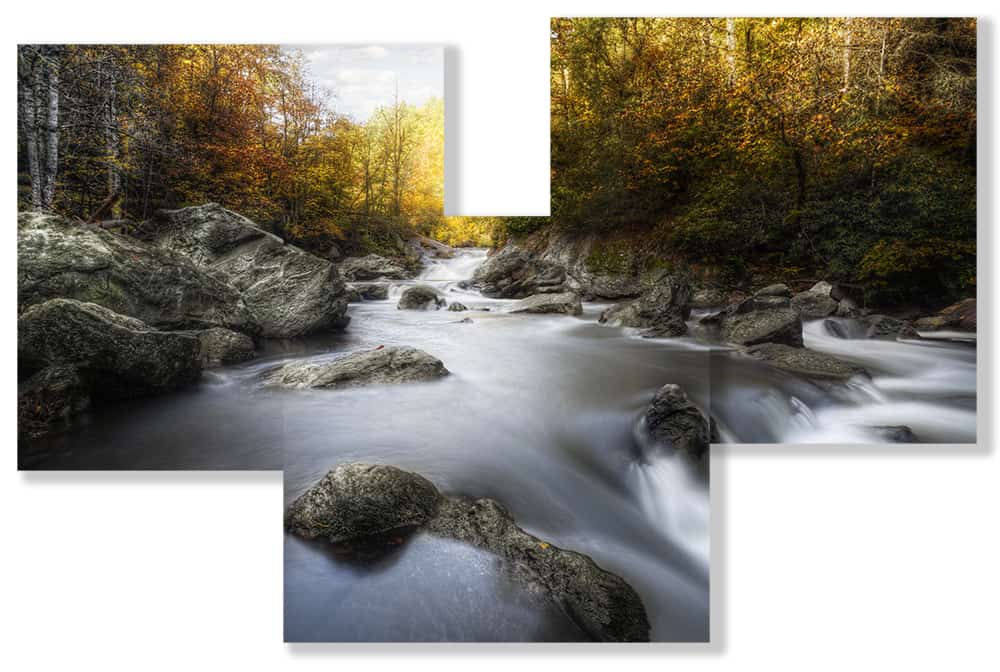
Think Inside the Box

This sculptural print beauty is hanging on my wall right now and has been for several days now. Every time I walk passed it I think, “That is pretty cool!” It really forces me to walk around my print as it is interesting in a full 180 degree spread.
I printed this with the folks at Tin Man Prints. They are a Kansas City (local to me) metal printing company that print fantastic metal images. If you have not printed on metal yet, it truly is an experience!
In today’s tutorial I am going to walk you through how I split the original image up in Photoshop. The great thing about Photoshop is you can see how the sculptural print is going to look on the wall before it is all printed with Drop Shadows and all! I’ll also walk you through the quick and easy uploading process with Tin Man Prints.
***I do want to mention, I am not an affiliate of theirs and receive no monetary compensation for these posts. I just feel strongly enough that they have a wonderful product to share so I am willing to spread the word.***


Thanks Blake
This is an interesting way to display an image. Did you talk to the folks at TinMan about how to mount in different layers. i.e. the magnetic mount blocks are all the same thickness, therefore they won’t overlap unless you insert something else in between the mount and the image to create different depths. I think maybe a metal nut or something might work. Have you tested anything?
Your Welcome, Bob.
We did discuss this pretty thoroughly in order to get it correct on the wall. They have 2 different sized blocks, 1/2 and 3/4. So I mounted one on the wall without using a magnet, one with the 1/2″ block and then another with the 3/4″. In my case, I had to mount one print to another, which surprisingly is still holding VERY well. The beauty of Metal Print sis they can be cleaned with either Window Cleaner of Goo Gone, so I am not worried at all about the residue from the Command Strip. When you get into the sculptural aspect of hanging, things get a bit hairy! There is always going to be some up front prep work, if you prep accordingly, it can be hung quickly!
Where is the audio? No sound!
That is odd. Let me try and embed it again, if it still has no sound, here is the YouTube link: https://www.youtube.com/watch?v=LVbtPrVT-bQ
Another one from your collection of amazing tutorials. Because I don’t use PS, I will try to recreate your steps in Elements. Keep up the good work. I look to you when anything new comes out from Topaz Labs. I think Impression works for me better then Glow, I’m still playing around.
Great job Blake. I love your creativity. It keeps pushing me to expand mine. The technical tips are great. Thanks!
That is great to hear! Glad I can keep pushing you to the next level.