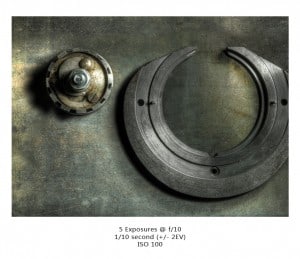
I am a fan of breaking the rectangle. 95.99999999% of the photographs you see online are rectangles, with the occasional Square or Circle. Now, I am certainly not the first to put a border around an image, and I most certainly won’t be the last. Sometimes adding a unique artistic border to a photo can be just what it needs to make an ordinary image extra-ordinary.
Painting Your Border
- Since this is the last step in the evolution of an image, I will assume the image is already in Photoshop and your post processing has already been complete.
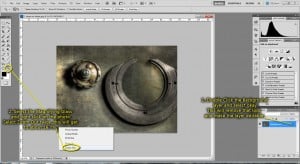
- Ensure your image is flattened, and double click the Locked Background layer, in the layers palette, and select ok to make it editable..
- Zoom out to about 16.7%. To do this, select the Magnifying Glass tool and right click inside your image. Single click Zoom Out until you are around 16%.
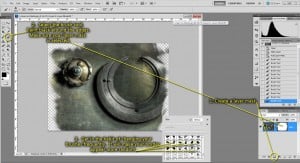
- Create a layer mask.
- Select black and start painting the borders with a paint brush. I routinely make custom brushes which I will be using in this tutorial. Free Brushes are available everywhere! Type free Photoshop Brushes in google and you will find plenty! Many are great for borders too!
- Start painting black on your layer mask all around the corners and flat edges of the picture. This is why we zoomed out, if you get a large scale brush and try hitting those edges with it zoomed to fit on screen your brush will disappear.
- I like to change my brush style a lot to make the border appear more random. Right click inside the image and change your brush and brush size often.
- Go to town on those edges.
- If you go too far, switch to white (x) to paint in areas you accidentally masked.
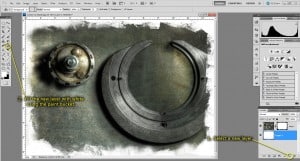
- Once your border is complete, add a new layer under your background layer and fill it with white with the paint bucket (or fill, Shift+F).
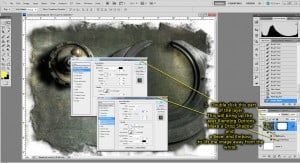
- Double click the photo icon in the layers palette.
- This will bring up the layer blending options.
- Select Drop Shadow and Bevel and Emboss to pull the image off the page. This step is optional. I tend to dig the 3-D quality it brings.
- Go to Layer>Flatten Image and you have successfully broken free of the Rectangle!
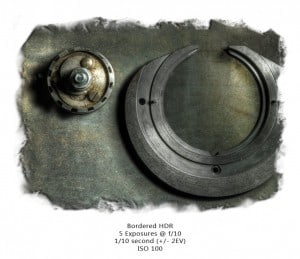 There are a million ways to do this same process. In this tutorial I used brushes, but if you can make a layer mask, you can make a border. Experiment with layer masks, make selections of busted up walls, chipped paint or just about anything. Get creative with it.



I must say that this is probably my favourite tutorial of yours. I use this on all my images now, even if I don’t make a CRAZY border, at least the 3D effect is awesome. I bow down to you and your wisdom and blogginess. 😛 😀
Thank you Matt. I am glad it was useful for you. I enjoy using the technique but find I don’t use it as often as I would like. It looks great printed out in a nice matted frame too.
I like the word blogginess!