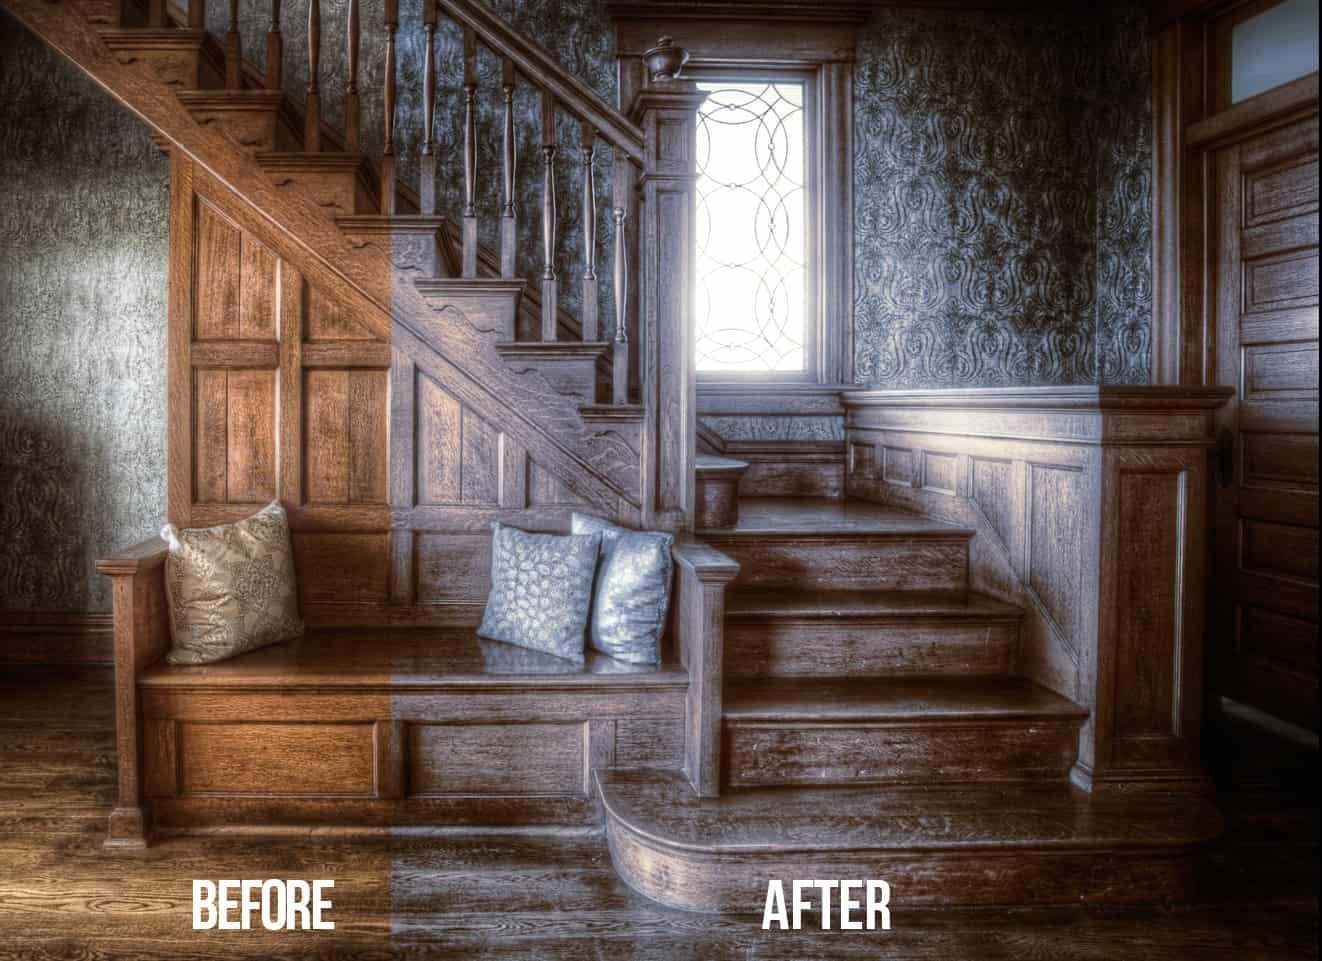
Color Lookup Tables are like Lightroom Presets, but way better!
Color Lookup Tables have existed in Photoshop since the inception of CS6 and I just now took the time to understand them. How many times has that happened to you. You get so comfortable with a program or some sort of software that you fail to recognize the power of something new. Color Lookup Tables are nestled in with the rest of your adjustment layers, but if you don’t know what they do or how to use them you likely never will.

Earlier this week I was staring the recording for “The Artist’s Eye: A Closer Look” when I stumbled upon Color Lookup Tables. Mid recording I accidentally clicked on the Adjustment Layer and didn’t see anything happen to my image. So I started dabbling with the loaded Tables and was in shock by how fast I had a new look on my photo. I stopped the production of the course to take a deeper look at them.
I went from selecting the tables that were present in the adjustment layer to the Adobe help site which I frequent often when I stumble upon something new. There I saw that I could create my own Color Lookup Tables from any document that had a background. Click, the light bulb came on and I was off to the races. I have spent the last 3 days fully engulfed in Color Lookup Tables. I even lost sleep thinking about them the other night. Really, when it comes to new things in Photoshop I am like a kid who does not want to go to bed when they get a new toy.
Here is some information from Adobe’s website about Color Lookup Tables.
Today’s tutorial will answer the following questions:
- What are Color Lookup Tables?
- Where can they be used?
- How do I use them?
- How can I make your own?
- How can I Load them?
- How can I make them readily accessible in Photoshop?
Number 6 is the real winner here. They can be a pain to load in every time you want to use them. The key is to find where they are stored on your computer, not within Photoshop. I’ll show you how I found mine during the tutorial.


Blake, on a Mac, .icc files are located in Library/Application support/Adobe/Color/Profiles.
I created a new .icc file, saved to desktop and than dropped into the above file folder. Restarted 2015 CC, and it was right there in the Device link dropdown menu. Easy, and thanks again for another new trick.
Is this like Topaz Labs ReStyle?
What are the comparative, pros and cons?