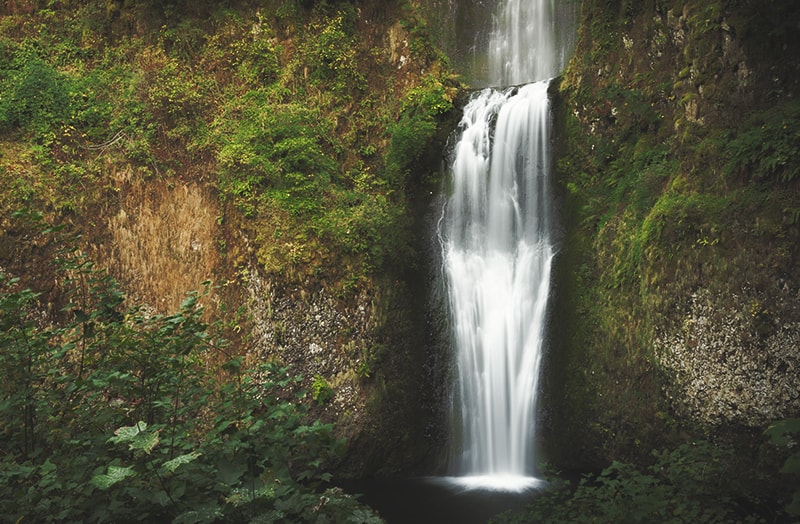
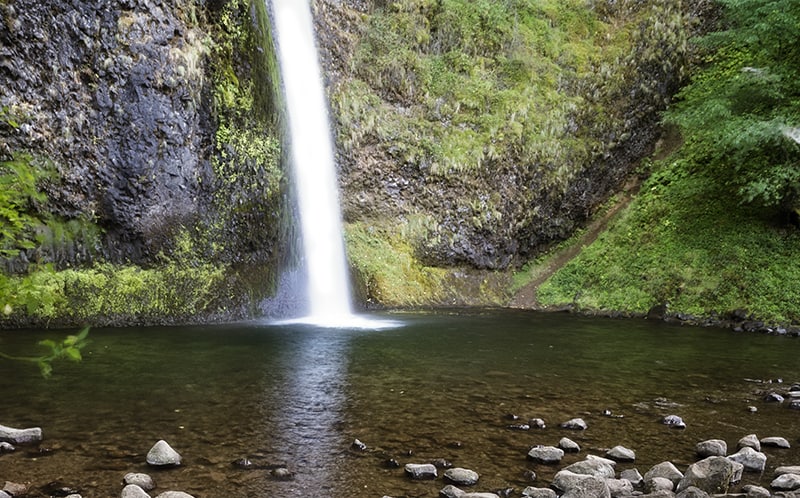
The texturizer doesn’t just work on clouds!
A few weeks ago I showed you a technique for fixing blown out highlights in clouds. Shortly after its release a friend and fellow Elite member, Don Chesnut, asked if the technique could work on waterfalls. I was intrigued by the inquiry and found that rendering fibers instead of clouds look very much like the streaks of waterfalls in motion.
As with anything in photography, nothing beats getting it right in camera, but it happens to the best of us. We get the shot all lined up, take a few shots here and there for tests, hop into the Long Exposure world for a bit and get home and realize our images are a little heavy on the highlights. Sometimes you can recover those highlights if they are not too far gone, but other times they stretch a little too far to the right of the histogram. That is where this technique comes in!
In the example images here, the effect is exaggerated so you can see the difference. However, you would want to lower the opacity of the rendered fibers to match the natural tones of the waterfall streaks. It is a highly effective technique if you combine it with a Gaussian Blur and some effective warping and transforming.
The basic concept is to render some fibers in Photoshop and blend them into the waterfall with Blend If. Here is the list, or skip to the bottom of the page and watch the tutorial and download the Action!
- Before you begin, reset your brush swatches to the default colors by pressing ‘D’
- Create a New Layer
- Fill the new layer with 50% gray; it needs some data there to render the fibers, 50% gray is arbitrary really.
- With the new layer selected, go to Filter > Render > Fibers
- Your image should be all fibers now.
- Double click next to the new layers text to go into the layer options.
- Change the blend if settings so that the shadows through the mid tones are protected, then press all to split and feather the Blend If settings.
- Lower the Opacity of the layer to around 15 – 25%
- You may need to rotate the layer to make the fibers match the direction of the waterfall.
- Add a mask to the layer and paint out the areas you do not want to be affected by the fibrous detail.
- Lastly, experiment with Blurs and Blending Options. Also, try clipping a Curves adjustment layer above the fibers layer to modify the contrast.
- Also, use a Gaussian Blur to blur the fibers, so they blend in better with the natural motion of the waterfall.


Great idea! Thanks for the tip.
Once again Blake you fix the impossible! WOW
Thanks very much for your tutorial. Makes me want to try this with blown out feathers on white egrets. Maybe another type of text to use might work.
Thanks again,
Great fix. Thanks Blake.
Just tried this on a blown out petal on a white peony. Sweet!!
Thanks Blake
Thanks, appreciate the work done to present the video etc.
Thanks for the action. I am certainly glad that I kept all my waterfalls photos. Now, when I get time, I can go back and fix some of the blown-out areas. Thanks again.
Interesting technique.
Wondering is something like this can be done by merging layers completely within On1. If so, might be a good topic for a short On1 video.
Thanks, Gerry. I don’t know if I would try to do that in ON1, most of everything here Photoshop is known for and best for. You can’t really create fibers in ON1, you could try and find a texture that would work and only apply it to the highlights, but Photoshop makes this much faster for this specific concept.
Hi Blake,
Thanks for the tutorial for the water falls. I believe your tutorial was using Horse Tail Falls for the image. Thought you might enjoy another view of the falls using you technique above. A little chillier though.
http://www.pbase.com/irisheyesphoto/image/164808083
Thanks again.
Tim
That is awesome! I would love to shoot there in the winter bitterness you guys are having now. Incredible!