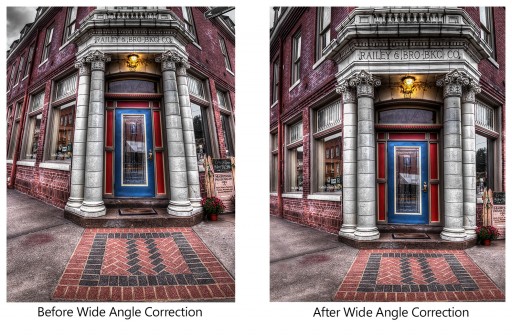
A few weeks ago I posted a tutorial about my 32 bit HDR workflow with Photomatix (I think I said HDR Efex Pro in the tutorial, oops!). Someone made a comment on Youtube about my lack of fixing the distortion. I am not sure if they were being snide or not, but I figured I would take the time this week to show my workflow with wide angle distortion.
There are several ways to fix wide angle distortion and by all means if you have a great workflow, go with it! This is one way I deal with extreme wide angle distortion that is not always so easy to correct with today’s new age Photoshop Filters.


Hey Blake,
Why wouldn’t you just use the lens correction tool that lets you simply make all the adjustments you just did?
Hey Jared,
Great question! You are correct the Lens Correction Filter does allow you to do the exact same thing, with one catch! It crops the sides off after the filter goes through, after watching the tutorial you can see how important it is to use Image>Canvas Size to bring back a lot of important features in the image.
While you can use Scale to zoom out and see the sides, Scale does not constrain the proportions. So if you make the exact same adjustments and then scale out to see the cropped sides your resulting image it is only about 10 x 17 rather than this tutorials 16 x 21. You get the most bang for your buck by doing it manually.