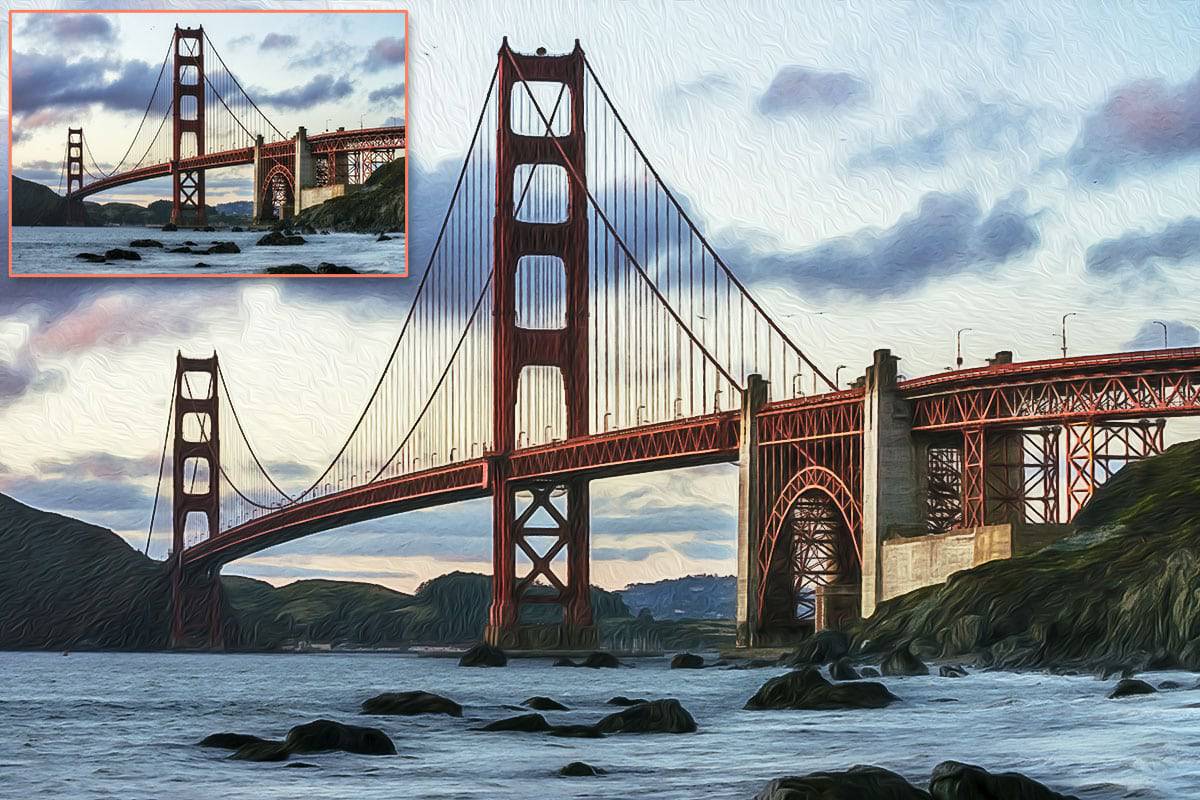
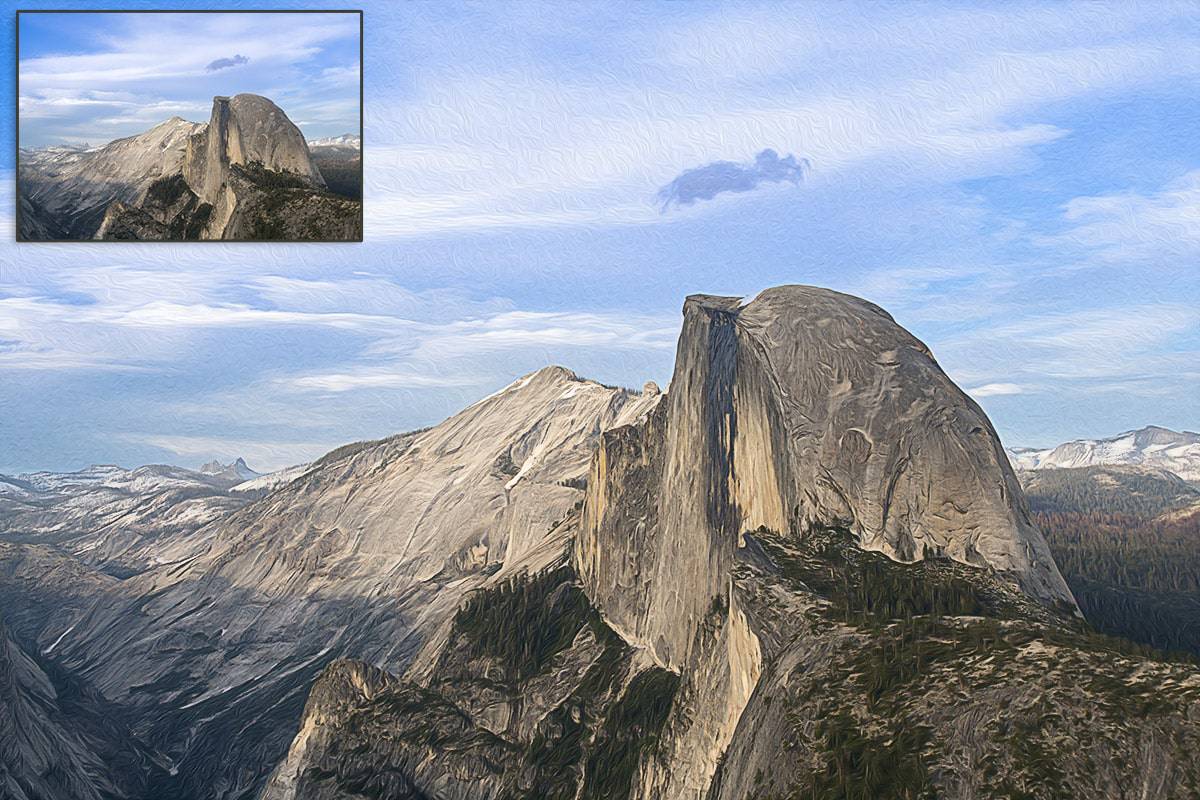
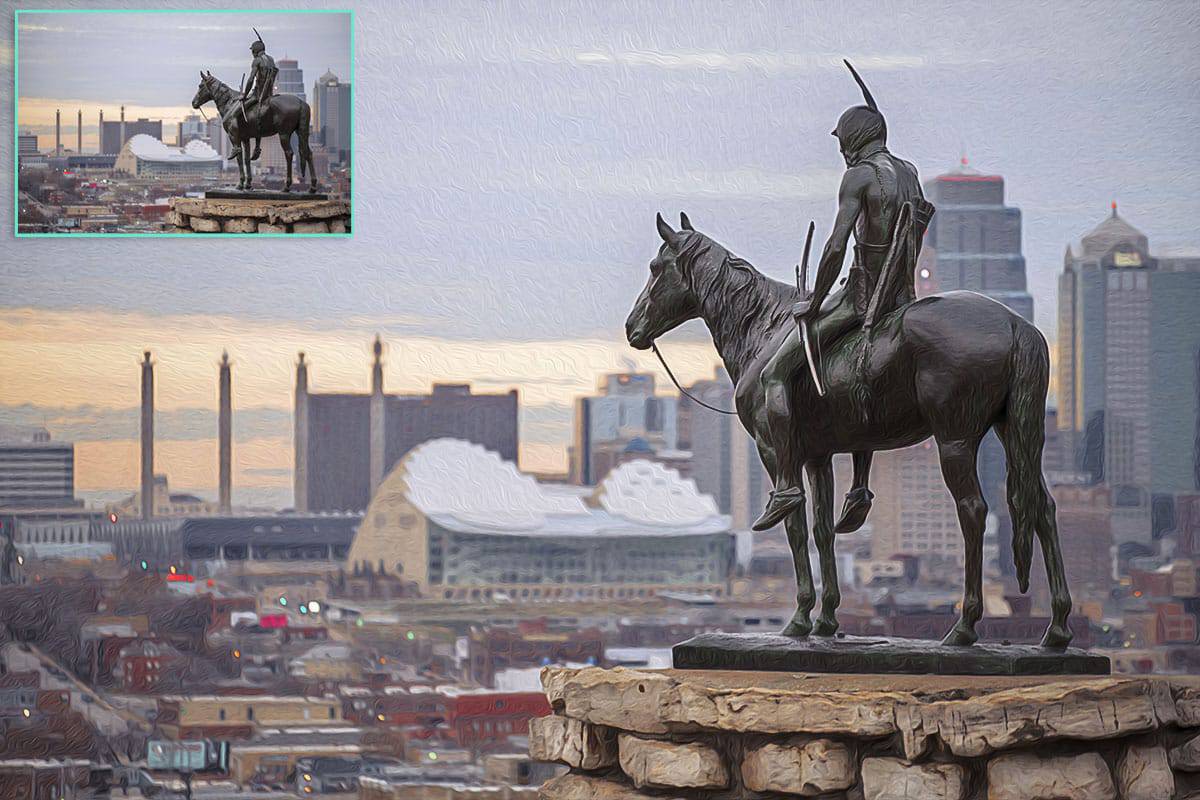
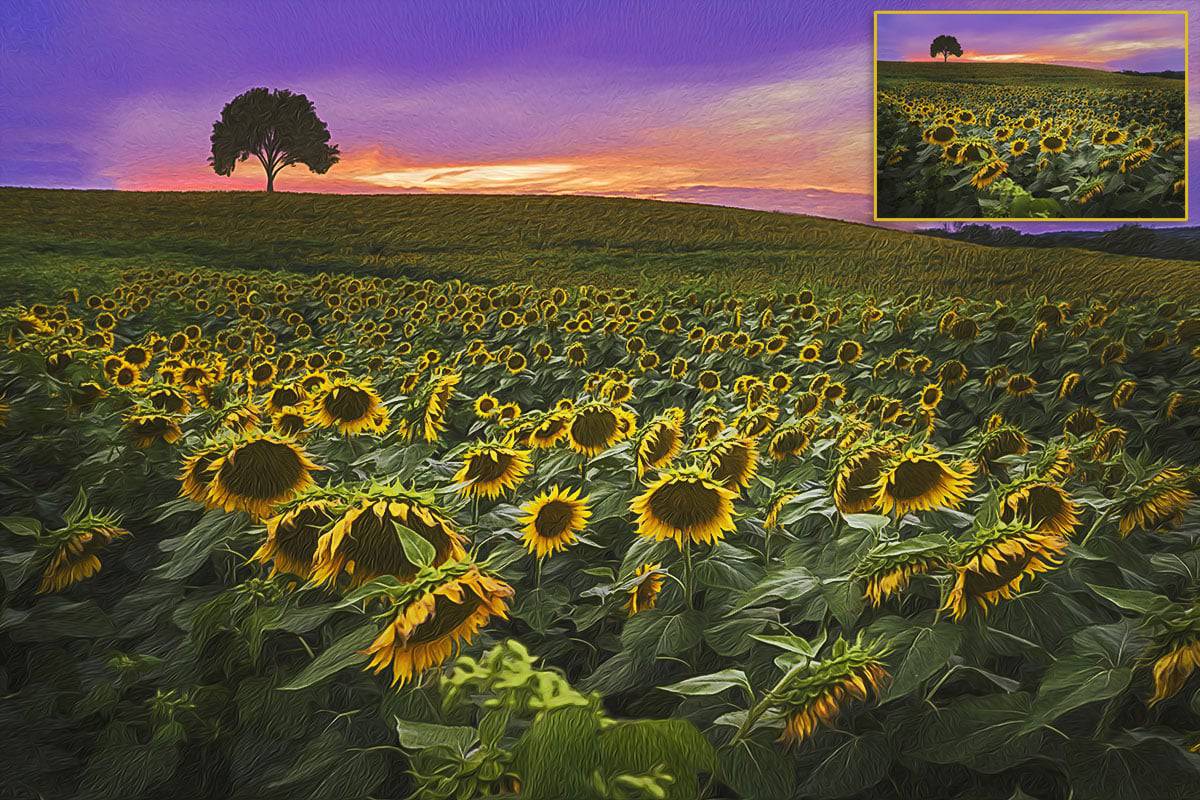
The Oil Paint Filter can be Great with some tweaking.
As a former painter, I wanted the Oil Paint Filter in Photoshop to be incredible. As it stands, by itself, it is less than desirable. It looks like someone just threw a filter on a photo and called it a day. Some words come to mind, kitsch, contrived, automated, and crap.
There are lots of great photo painting plugins on the market like Topaz Impression or Rebelle. These plugins use various algorithms for highlights and shadows to make the image look like a more natural painted photograph. So if you think like these programs, you can make the Photoshop filter work wonders.
In a recent tutorial, Luminosity Masking versus Blend If, I showed you how to break your image into three distinct regions using two different approaches. The first approach was with Luminosity Masking, which is a very powerful approach to photo editing, but it makes a static selection. The second approach was using Blend If, which adapts its selection based on the underlying tones. After thinking about the second selection method and the Oil Paint filter, a little light bulb kicked on and I developed a unique technique for creating an oil painted effect in Photoshop.
In today’s tutorial, I will show you how to separate your image into three distinct regions using Blend If. We will then go into the Oil Paint filter and a create different settings for each region. This technique will simulate different brush strokes for the various regions of the photo. It yields a much more natural painted look.
There is a lot going on in this tutorial. Try to follow along on an image of your own. If you are struggling, no worries, I created an Action for you that does all the work. Just be sure to install the appropriate Action for your version of Photoshop (CC or CS6).


Hey, Blake. Great kick-off tutorial for the New Year. Very timely, too. I’ve been studying luminosity masks and this tutorial has cleared up some questions on the differences between luminosity masks and blend-if masking and why you may choose to use one over the other in a given circumstance.
Sweet! I am so glad I could help. That just excites me, Mike.
Thank you Blake! Love your tutorials!
Awesome! You are very welcome and thanks for coming back.
Hi – I am using PS CC 2017 and just downloaded the Oil Paint action Oil Painting CC_ Rudis Medthod.atn. However, when I try to use it, I go to the start arrow, it has a circle with a line through it and won’t run. I have duplicated the layer to start. Other actions run. Any thoughts? Thanks.
That is very interesting. I am not sure why you are getting that. Be sure that you open the folder the action is in and press play on the actual action, not the folder that contains it. The folder will be greyed out, but the action inside should be active.
Hi Blake,
Glad your back and Cooking again! Excellent tutorial! I have a question. Let’s say I’ve been working on retouching a photo with several layers, and now I want to turn it into a painting style. What’s the best approach for your action. Run the action with all the layers active or Flatten the image and run the action? I would save my work prior to running the action in either case.
Dennis
It feels good to be back in the saddle after a long vacation with family. All you have to do is press play on the action. It will create a new document so it does not destroy your work. It will auto flatten it and run and output with a folder that you can drag back onto your work if you see fit.
Looks good Blake. I really like Topaz Impression 2 for the choice of different styles. I haven’t tried yet but could one use Impression 2 as the filter as a smart object for each brightness level (dark, midtone, and bright)? I’m sure it will greatly slow down my computer!
Oh man, Smart Objects and Impression, phew that would be a nightmare. better have 64 gigs of ram and a lot of time on your hands 🙂 You could do something similar with Impression, I have a tutorial on that somewhere on Youtube.
Whoa! Your vacation must have made you electric! This was an awesome tutorial, but I’d advise anyone who hasn’t gone down the Blend If path with you to be sure to watch those videos!
I would wonder about Dennis’ question as well. Could/Should I use the Stamp Layer from the ZSE?
It was a great little break with the family visiting my extended family. I always get reinvigorated after a good battery charging!
You shouldn’t need to stamp at all. It runs like the Radiance 2.0 and makes a duplicate of your work. Non-destructive 🙂
Thank you very much I really appreciate your tutorials they push us to a greater use of photoshop cc and for that very well, they make us more creative. If I can give a suggestion for 2017, it would be to put it in writing, because for me it is more important to look at what to do, i, e, blend if, or mask, and in this sense a little guide Of the kind help memory with the instructions generally by theme or by actions. Besides, I thank you for helping us make our magical moments brighter.
Charles denis simard
Montreal, Canada
Thanks, Charles. I tend to hesitate with full written tutorials and err on the side of video. It takes a very long time to prep the written content, much more time than the videos take. To produce a new tutorial every week with a written format would require two me’s or a large team. Sometimes I do a sort of Cliff’s Notes approach but with a tutorial like this, it would be the length of an ebook!
Wow Blake, you never cease to amaze me with your skills and creativity!
Thank you for sharing!! 🙂
Thanks, Shane. I am just reporting my experiments, that’s all 🙂 I always say leave plenty of time in your day for experimenting. You never know what you will come up with!
Great tutorial Blake – blend-if is certainly a powerful tool. Looking forward to what you have in store for us this year.
It most certainly is! I love it!
Nice. When that “little light bulb kicked on”, if was like a spark in a fireworks factory… with one light after another popping on.
It’s a VERY interesting variation of frequency separation, but using filters other than blurs on colour tone.
I’ll have to see how I can do this in as non-destructive a manner as possible to tweak the final images and take them beyond the oil paint filter.
Thanks.
It is a lot like frequency separation, I have played wit FS a bit in the past, that is one confusing thing to wrap your head around! I am not sure why they call it frequency separation, though, what exactly is frequency in regards to photo editing?
Maybe tonal separation, but frequency separation, mind boggling. Did someone just come up with a clever name or is that a real thing? I am genuinely asking because I have no clue!
Absolutely Fascinating. Congrats Blake on a great tutorial as usual!
Thanks!
Great tutorial. I tried the action and it delivered outstanding results. Thanks Blake! I kick myself weekly for not jumping on the lifetime subscription to F64 Elite….
Thanks, JD. I appreciate the feedback. The Lifetime deal was a good one for the launch, but the content is still there and you can access it monthly. It is only getting better 🙂
Hi Blake. Love the action and tutorial. As I mostly do Landscape photography is it possible to have this affect only the land but not the sky. I have tried reducing the high pass and the overall effect but then lose the good bits. Any suggestions.
Great Work
Great question Paul! If you make a mask for the Oil Paint Group, you can simply paint out the sky with Black and leave the land white on the mask and it will only affect the land.
Hi Interesting video. But I have a problem with the action. Installed in the right way but when I click on the action It respond with:
The command”Oil Paint” is not available right now.
What to do?
Regards Lennart Brorsson
Hey Lennart,
Two things to try.
1. Did you install the correct Action for the version of Ps you have. It will only work in CC or CS6
2. Try going to Image > Mode and changing from 16 bit to 8 bit before you start. It is coded in the Action to change that for you but something may not be right with it.
In order to have access to the Oil Paint filter you need to make sure that your graphics card supports acceleration…from Adobe:
-Make sure Photoshop is up-to-date
-Make sure that your document is RGB. Oil Paint won’t work on color spaces other than RGB (e.g. CMYK, Lab, etc.)
-If you’re on Windows, make sure you’re running a 64-bit OS with the 64-bit version of Photoshop. OpenCL requires 64-bit
-Make sure Use Graphics Processor is checked under Preferences > Performance
If your video card does not support OpenCL v1.1 or higher, you may need to purchase an upgraded video card that supports OpenCL v1.1 or higher to gain access to the Oil Paint filter.
Information about your graphics card can be found in Photoshop’s Help > System Info dialog.
Thanx for the Info
Brilliant! I’m sure many others like me will learn from this tutorial. Normally I would ignore the horrible PS effects/styles but this lesson has inspired me to have another look.
The extra blend if gives a new dimension to controlling the effect. Even if you don’t like artistic effects there are lessons to be learned here for more conventional work.
Such a clear delivery of knowledge!
Thanks, David. I am very much like you. I despise Photoshops filters, but as a beginner, I used every one of them at least 5 times a day, haha. When you get seasoned, you realize it is less about filters and more about making the image look good. But then how do we make an image look good with filters? Selectively, that’s how!
I agree, the filters in Ps can be horrible and way over the top. I will say that these techniques of breaking down the tones first, helps a ton for making more realistic looking effects.
I just downloaded the Oil Paint action Oil Painting for my iMac 27″ screen. I’m using Photoshop CC2017, and the “Oil Paint” was not active under Filter>Stylize> Oil Paint. I had to go into Photoshop under Preferences>Performance, and click on “Use Graphic Processor.” Everything seems to be working fine. You did a great job explaining how this process works in your video, and developing your “Actions” for this Oil Paint process.
Hi Blake,
I have Ps Cs7. When I try to run the Action, PS displays a msg saying that the Oil Painting Plug in, is not available. Thanks for your help!
Hi Blake,
As always a great tutorial, really cool stuff.
Just had my first play with it, awesome stuff.
Thanks for the continued educational videos.
thank you for a great tutorial. I just got the Zone for Christmas and am learning how to use it. This is something I’m hoping to use.
Blake thanks for the action, I followed the install instructions
I see the action in the photoshop CC action list but it does not allow me to run the action. Any suggestions?
Thanks Blake. Exactly what I was looking for – a tutorial that addressed different brush strokes in different parts of an image. (I have been hanging out with painters.) I assume this does not work in elements. This may push me to upgrade. I will look for your Topaz Impressions tutorial also. I have all the Topaz programs and love them. But I find Impressions to still be one brush stroke effect affects all approach frustrating. I know one can do layers in Photoshop. Maybe that’s what your tutorial is about. But I need more guidance.
Thanks greatly for the action, does a really nice job., now I’ll have to play around with it for awhile
Hi Blake, fantastic tutorial, tried out this on an old image of a Street Jester I took in Cambridge and it worked a treat (See it here if interested https://500px.com/photo/193640391/street-jester-by-mike-gaskin?utm_campaign=photo_reached_upcoming&utm_content=piclink&utm_medium=email&utm_source=500px&utm_term=notification) I added a mask for the face and hands and made a layer so that I could adjust this separately. Love all you tutorials, please keep up the good work
Very Cool! I am so glad you liked it and to see it in use is nice.
Mr Blend If has done it again. Awesome tutorial. This technique can also be used on Highlights ONLY, to create something different.