Another Look at Topaz ReMask 4
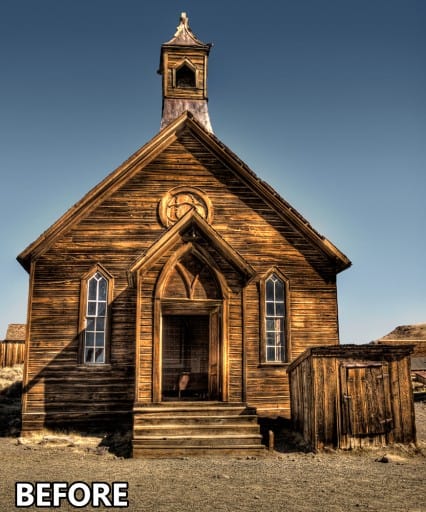
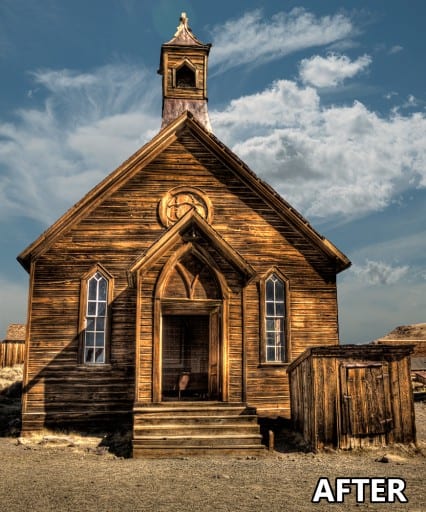
After the recent Topaz ReMask 4 tutorial, I have received many requests to do a follow-up. The original ReMask 4 tutorial was focused on one photo with no sky replacement or subject/background swapping. It focused mainly on making one photo better through a series of specific selections. While it was helpful to many, others asked for a more practical tutorial.


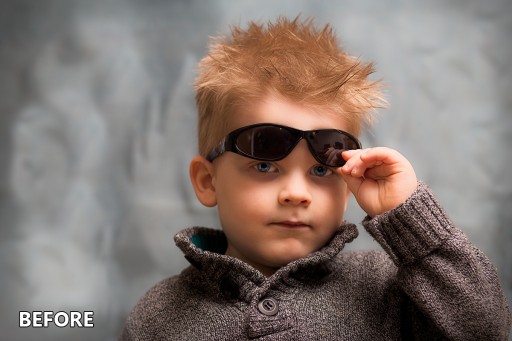
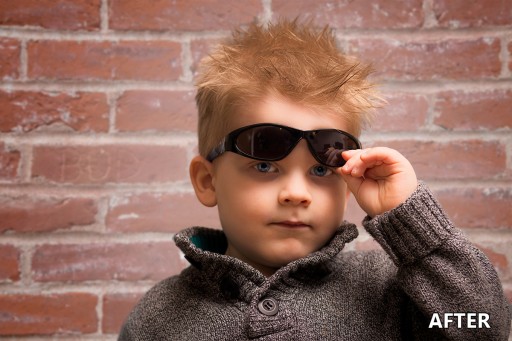
In this tutorial I will focus on making 2 different masks in ReMask, one very easy selection and one more difficult selection with hair trapped in a bokeh mess. In my time trials before the tutorial, I pit ReMask up against the Refine Edge tool in Photoshop, it paled in comparison. While the Refine Edge tool is powerful in unison with the Quick Selection tool, it couldn’t quite hack the speed and efficiency of the new Topaz ReMask 4.


To Purchase Topaz ReMask 4 visit the Topaz Labs Store!


Fantastic tutorial. Look forward to trying this.
Thank you for the kind feedback! Enjoy it 🙂
Thank you. this was the most helpful tutorial for Topaz Re-Mask
Awesome! Glad you liked it!
Hey Blake thanks for the quick tutorial on remask4. Good info on blending and matching sky colors that I didn’t know. I really enjoy your presentations! Thanks again and I too enjoy the friday tutorials!
The sky blending is the key to get almost every sky to match your foreground. It really takes some experimentation, but with practice it will begin to come naturally!
Thanks Blake. Excellent tutorial! Can’t tell you how much this really helps me.
Awesome! So glad I could be of assistance!
A very helpful tutorial…I’m going to try it right now! Thanks
As always…great tutorial!!! No matter how much I think I know about a product, you always show me something new!!!
🙂 that is great to hear! Glad I could teach you something new tonight!
Very nice. Love these tutorials. I’m a beginner with ReMask. When you pulled up skye and backgrounds at the bottom of the screen it wasn’t clear to me where thy came from.
They were photos I already had loaded into Photoshop. I usually shoot every sky when
I am out landscape shooting just in case I want to use them again later. Like this tutorial.
Excellent; looking forward to your next Webinar with Topaz on Tuesday.
Thanks a lot, once again a great tutorial
The average trick is a must
Thanks again
No problem. You are correct that technique is remarkable!
Great tutorial. Useful tips, especially about the blending modes and temperature
While ReMask is powerful it is more about what you do after you have the mask!
Another great tutorial, Blake. I especially liked the technique of placing a highlight directly behind the subject to further separate them from the background. Many thanks for all your guidance.
SUGGESTION:
If you would, the “BLEND IF” layer option tends to baffle me. If you have the time, I could really use some guidance on when and how to use this feature with some practical application examples as you do so well. I have a feeling that a tutorial on this could benefit a lot of us who follow you.
Again, many thanks for all you do,
Vinny
There have been times with hair cutouts I utilized cloning and a ‘hair’ brush to fill in hard to mask areas.
The ‘grass’ brush can be used. I created a special hair brush just for those problem areas.
Max
That is a great idea. Some of those fly seats are annoying to try and mask but getting rid of them can ruin a natural looking portrait. I like that idea.
Thank you for that FANTASTIC ReMask 4 Tutorial, Blake! It showed me everything i had hoped for, and now I can’t wait to try it myself!
I so appreciate your taking the time to acknowledge and fulfill a request! You set an example for “Customer Service”!
I will be going on a two week visit to Vienna, Austria, and will have many new photos to test in ReMask 4 and other Topaz Plug-ins, when I return!
A New Loyal HDR Fan!
Suzanne M.
Awesome! So glad this was what you were looking for. I am jealous of your trip to Austria, that sounds like a lot of fun. While I have never been, my imagine runs wild with the landscapes you will be seeing.
Great tutorial Blake. Adding that ‘average’ blur layer makes all the difference. Many thanks.
Julie B
Thanks for another great and to the point tutorial Blake and thanks for the email to let me know it was available. I own Remask and will need to work with it again, I have not had the success you have in my own experience, so plainly more practice is needed on my part.
The most revealing element of the tutorial to me was using average blur on the masked area to pull the colour balance from the original image and then using the Soft Light blend mode to update the new background and provide more natural colour balance.
Thanks as always!
Glad you liked it. The first time I saw that technique I nearly laughed out loud with how successful it was on every composite I worked on. ReMask was tricky for me a first, but the new version 4 is so simple and fast. I am pretty sure they ramped up the algorithm on it to make better and faster selections.
Hi Blake,
I saw already lot’s of video’s from you and others about techniques and learned a lot.
But I want to thank you for this one in particular!
In the past I didn’t really like to change the background for a subject.
Masking isn’t easy but can be done, so that’s not the reason.
I didn’t do it many times because the background and the subject somehow didn’t match together.
Making the background blurry/soft, I did already, but still I didn’t like it.
So ……. this video was such an eye-opener with the way to fix that with the layer from the background using that specific filter to make the temperature fitting better. Superb!
Thank you!
Grtz. Frenk