Guest Post by Daniel J Gregory
I love all types of photography. While I do much of my work digitally these days, I still love to work with film and analog processes. In many ways, for me at least, having a foot in both has offered up some interesting insights into analog photography’s impact on digital capture and post production techniques.
In my classes I often talk with students about how many of these “new” digital techniques evolved out of film and into the modern software we use today. From basic image editing to compositing to HDR, most of what we do in digital photography today has roots in the analog world. In the film world, there is a process called compensating development that allows the film photographer to handle scenes containing a big dynamic range. Pushing the film to its limits, in combination with specialized developers and techniques, has allowed black and white film photographers for decades to enjoy the world that today we call HDR.
Background on Zone System Development
When working in a traditional darkroom within the bounds of the Zone System, a print’s tonal scale is contained within the ten zones or stops of exposure. Zone 1 being pure black. Zone X being paper white. Everything else falling in between. The two critical zones are Zone III and VII. Zone III provides fully textured shadows, and Zone VII is where we have fully textured highlights.1 Contained within those five inclusive zones are the tones necessary for a full and rich print.
In black and white film, we expose for the shadow and develop for the highlight.2 What that means is that you set the film speed and exposure for the lower zones to make sure you have sufficient density on the film for a good shadow.3
In beginning film, we teach how the camera sees Zone V. To get a good shadow placement, you meter and stop down two stops to place your shadow in Zone III. We call this placing the shadow. On the other side of the process, the time in the developer controls the highlights. Once we have a good Zone III, and you know the scene has a range of five stops of light that has your highlight falling in Zone VII, you can find a proper develop time. This will ensure you get the range of five stops you want in the print. It does require a little trial and error to get dialed in on the process, but once you have a good Zone III and a good Zone VII you have your Normal development time.
To repeat, the Zone System is really more about the print. That’s because the paper is limited to ten zones, but black and white film can hold considerably more data than the paper. While each film and developer combination is unique, most of the black and white films can hold 14 to 16 stops of usable light. This is what allows us to burn in skies and manipulate how all those stops of light appear on the print.
Plus and Minus Development
Normal development is great when the range of light is five stops. When it is more or less, we have to make adjustments to get control of the highlights to move them up or down into Zone VII. If the range of light is less than five stops, plus development is used to increase the contrast range up to the five stops required for a normal contrast range. When you have only four stops of dynamic range, you do N+1 development. If the range is three stops, you do N+2 development.
The inverse is also true. When the contrast range exceeds five stops; you can minus development. This process is a decrease in the development time and lowers the contrast of the negative. Just like with plus development, you can do an N-1, N-2, etc. to reduce the dynamic range by a given number of stops.
For the most part, you can do up to N+2 and an N-2 with most films and developers. Some combinations can do a little more, but when your minus gets more than N-3 you have to turn to compensating development techniques.
Compensating Development
There comes a point where you can only plus or minus so much in standard development techniques. When the dynamic range of the scene is greater than the standard process can handle, the film can quickly get very overexposed and usually overdeveloped resulting in blocked up highlights (the blinkies in digital). Knowing there is way too much to dynamic range to capture within a single exposure, film photographers turn to compensating (or stand) development to deal with such a broad range of contrast. In my experience, it is the same reason we turn to HDR. We look at the scene and know the range is greater than the camera can capture, so I have to bracket and HDR. The difference with film is that you can’t bracket and assemble multiple negatives into one.
Compensating development can be accomplished in a number of ways. One of the main ways is to use a very dilute developer and a longer development time to process the negative. To start, you place your shadow in Zone V or VI rather than Zone III. You need the additional exposure to help with the shadow development. Then, using certain developers (such as Kodak’s HC-110) that are heavily diluted, the highlights are able to quickly start their development and just as quickly exhaust their local supply of developer. This results in surface tension developing on the film. This surface tension keeps additional developer away until you agitate the film. The shadows, because they required less developer to develop, avoid the surface tension and can continue to build up shadow density while the highlights stay at rest. The cycle repeats over and over in the development process, and, in the end, you have a single negative that has compressed this huge range of light. With some work under the enlarger, you can then print an image with a good shadow and highlight from a range of light beyond normal development.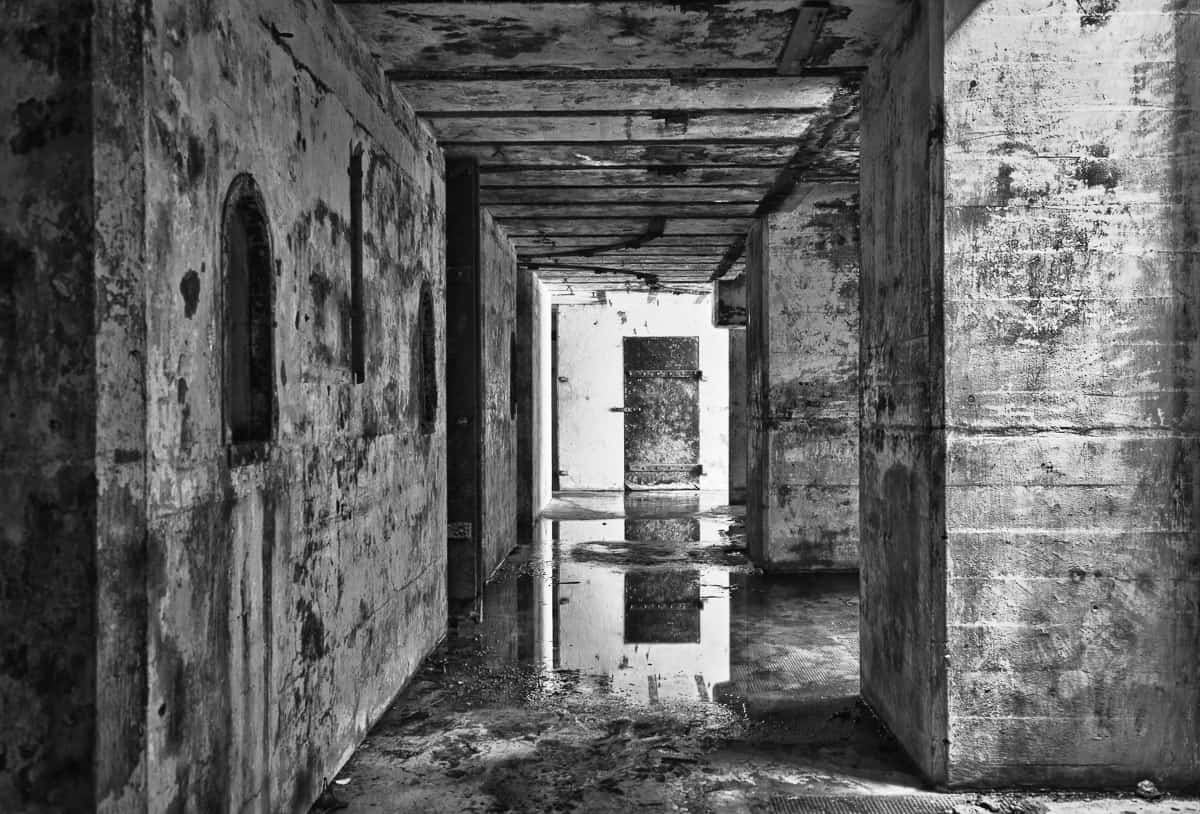
Not unlike with HDR, this process doesn’t come without some side effects and issues. In normal Zone System work, you can meter a scene and if the range of light is six stops you have -1 development. If it is four stops, you have +1. With compensating development, selecting if a scene is C -4, C -5, C -6, or C -7 is part art and part science. The size, placement, and range of highlight can all impact the development decision, so you have to sort of gut-decide on a C-5 verse a C-6 with each having a different outcome. Another side effect is that you have a negative that is very flat compared to a standard negative. While the process can successfully compress all this range of light, you ultimately have to print the contrast back into the image in the darkroom.
When working with film this process is amazing because, with a single exposure of black and white film, you can shoot and process for any lighting situation. You are not confined to the limits of just five or six stops of light.
The first time I learned about HDR, I thought to myself, “Hey, this is compensating development all again.” In many ways, this is why I love to work in HDR, particularly with my black and white images. While my personal style and taste lean toward more traditional-looking images instead of creative tone mapping, I have loved the dynamic range that HDR gives me.
Lessons Learned for HDR
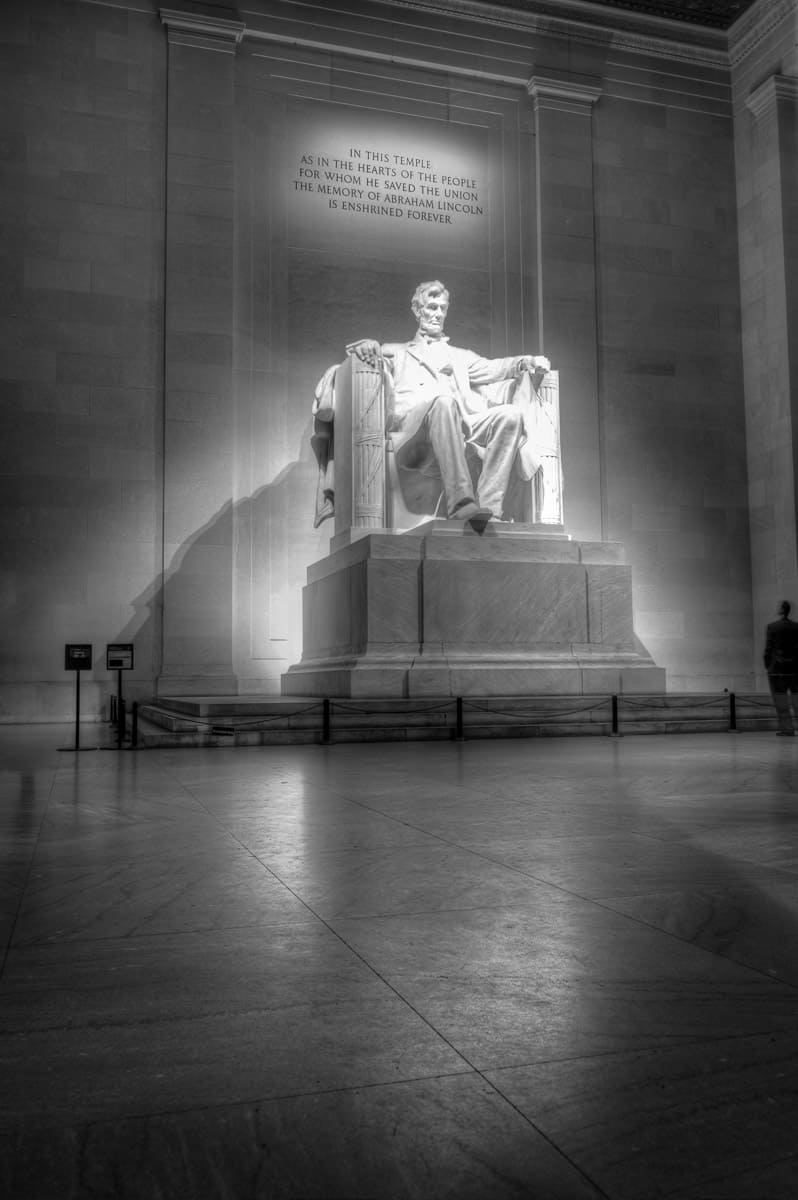 So if HDR is at least a close cousin in photographic history to compensating development, what are some of the strengths, advantages, and concerns of compensating development that can be seen in HDR photography?
First, when you process out a straight 32-bit file, you end up with a very flat image that looks a lot like the negatives from compensation. I do a lot of my work with just the 32-bit file. Now that we can edit a 32-bit file with a number of different tools, I like having all that range of light in the image that allows me to create a vision of my print and manipulate the image to my vision and interest. And just like in the darkroom, I am left to interpret the scene. Faced with this freedom, I am able to express my creativity in printing the image so that my final vision and story are truly expressed in the final print.
Second, when working with a compensating process, the film can compress the scene so that I am able to work with a big dynamic range. However, a shadow still only has enough development to be a shadow—in many cases, a very dark shadow. Many of the highlights in compensating are very high key: some details but lots of tones. When I process my HDR work now, I think about how the film would have rendered the scene. We are only able to understand a black and white photograph by the light and shadows. In many cases, the shadows are more critical in our understanding of the image. So leaving the shadows as mysteries rather than fully textured and rendered is a hold-over from my film days.
Third, in film, the high highlights are often just able to create subtle shifts in tone and a kiss of texture (Zone VIII and IX). They are not paper white, but they are not fully textured either. I try to remember that when I work with my HDR highlights. During the HDR capture and processing, I know that sometimes the highlights are so bright in a scene that I couldn’t see any detail when I did the capture. So, much like with the shadows, I try to convey that feeling of light as a story in a black and white image. I want the light to be part of the story, and sometimes you need that bright light and tone to create a more compelling image.
I also like the grain and grit from my negatives. I think it adds character and personality to a print. When I do HDR for black and white, I try to leave in a little of that shadow noise if present. I then level out the effect with some digital grain or add grain into the image if shot at a lower ISO. That makes the images look closer to my traditional silver gelatin images and keeps my printing more consistent from darkroom to darkroom.
Finally, I think about how much work that the HC-110 developer had to do to create the shadows on the film, the time working at the darkroom sink processing the film (even longer with stand development), and the work to get a good black and white print. So when I process my HDR, I remember that getting all that light in a single images takes time and is not just a click of a button. I have to work to create great images. It is the reason that some of the lessons and concepts here on everyday HDR are so important. Photography is so much more than a button and a default. In the darkroom, it was hours of work to get an amazing print. In many ways, digital darkroom is the same. It might seem faster and easier, but the work for real prints takes time and effort.
Thanks, Blake, for letting me post here about my passion for digging into where the old and the new collide, and best of luck to everyone regardless of your darkroom.
1For advanced Black and White Zone System work, III and VII become much more malleable allowing film photographers to break out of playing scales of III-VII and move more into free-form Jazz with their shooting and processing choices.
2In digital we would do the opposite, we push as far to the right as possible (highlight) and then push the shadows in post production.
3A true film speed is when the lower Zones have sufficient enough silver built on them to achieve proper density. In most cases, we have to lower the ISO on the film to get to a true film speed.


Thanks for an insightful lesson, Daniel! I started with film in the early 60’s and migrated to digital cameras in 2005 though I had, for some time, been scanning film to process digitally. I tend to expose for the highlights with digital, but for shadows with film. I wondered if you have any tips when you are approaching a scene using a digital camera and the scene happens to have both extreme brightness and deep shadows? Today’s sensors are improving so rapidly, I’m finding I can experiment a little more with my exposures. It’s reassuring to read an article from someone so much more experienced in areas I only understand from intuition gleaned from years of trial and error!
Hey Jeff, thanks for the kind words. Sorry for the delay in the reply, I am currently traveling. I agree that the sensors today are getting better and better. In many ways that is great, we can use the software to process these images, and we might not need HDR for the range of light in the capture. It also means that HDR becomes in some ways an easier process in the tone mapping because of the amount of light captured.
When I first started doing my HDR work I always did a nine bracket capture so that I could get the -4 to +4 range of light. I wanted that -4 so that when the highlights were processed they would transition well into the mid-tones. Now I worry less about the plus side. As long as I get a capture with the necessary textures in the shadows, I know they will show up fine in the tone mapped file.
As for a couple of other tips, I would set the camera in spot meter mode and meter just the highlight and the important shadow. Then calculate the range of light in the scene. This will help you start to see the range of light. The more you can see the light the more you can figure out composition and editing decisions in the field. I often make notes of how I imagine processing an image in the field so that it is easier once I get to the computer. Learning to see that light range will help you to imagine what a finished image might look like. Don’t forget to go back to you normal meter mode, or you might go crazy metering later in the day 🙂
I also think that is great that you are experimenting. When I work with film, I still experiment with exposure, development and printing options to help me get a better print. I know that adjusting the exposure and how you process will help you ultimately find your way of seeing and printing images. Finding out what creates high-key images, deep and moody that is a much a function of capture as it is the software selection so playing to find that difference is a great path.
Finally, I would recommend that if you don’t you print physical copies of your images. You will learn more from printing physical images (even if it is from a lab) than from just about anything you can do. Photographs change in structure, content, and meaning when we print them. You will easily see where to improve your photography in a print way faster than you will on the screen.
Thanks, David! I second your idea on printing. I’m a printer with several canon printers, so it’s something I feel is critical to the creative process. I shoot for the print and I find my highest satisfaction in the print. The spot metering tip is fantastic. Why didn’t I think of that! 🙂 It will be a real time saver, too, which is helpful for my panoramic work, as I shoot manually and need to figure out the settings rather quickly as the sunset or sunrise reaches its zenith! Oh, and I need to be taking notes, too. My memory isn’t what it was and when traveling, I’m not back at the computer minutes after a session, so I need a way to ‘recollect’ my thoughts as I am composing the scenes. Thanks again!
Thanks for a very insightful lesson. I have only been making images since the digital times and do not fully understand developing with chemicals. This information will take some time for my poor brain to process and convert from darkroom to digital editing, but also makes a lot of sense to me as well.
Thanks again and I am sure I will take some of this when I go to edit B&W next.
Hello Debra, Thanks for the kind words. I hope that it does sink in and help at some point or maybe help out when you try film one day. 🙂