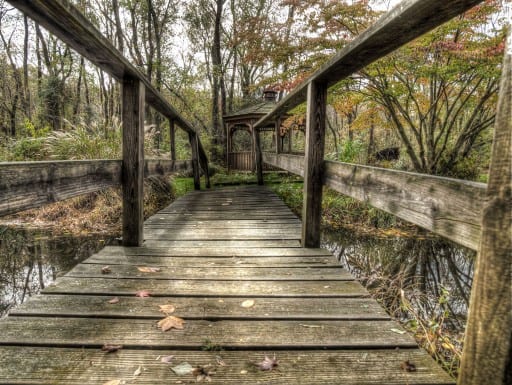
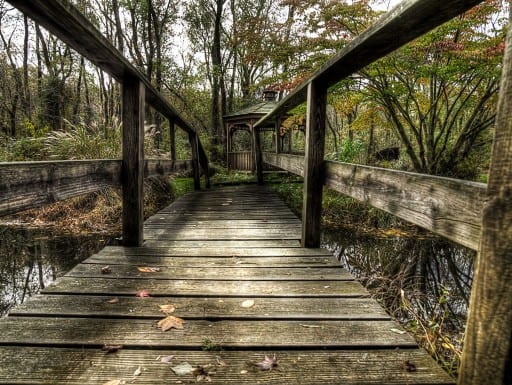
Over the past couple of weeks I have been hitting my workflow pretty hard with the 32 bit workflows from Photoshop and Photomatix to the bitter diatribe about saturation and HDR images. Today I want to share with you my love for Adobe Camera Raw (ACR) and how well it post processes HDR tone mapped images. I use its immense post processing power almost daily and have failed to share with you its potential in your workflow.
There are several benefits to using ACR before heading into Photoshop to post process an HDR tone mapped photo.
- Incredible Noise Reduction
- Simple stuff can be fixed very easily, like White Balance, Chromatic Aberrations and Straightening the image.
- The targeted sliders, i.e. Shadows and Highlights, do a superb job of making some tricky adjustments rather quickly and pain free.
Check out the before and after to see if this technique is right for you!


Great video. Could you please post the shortcuts you used .
A problem I always get is halos where the building/ mountains meet the sky.
Any tips would be welcome.
Thanks
Blake,
Thanks for another excellent tutorial. I am learning a little bit more every time I see you working on an image and I am certain it is helping to improve my work.
Regards,
Paul
Wow, love your before and after gizmo! Great demonstration with a great image!
It is a pretty neat WordPress plugin. Thanks for the feedback!