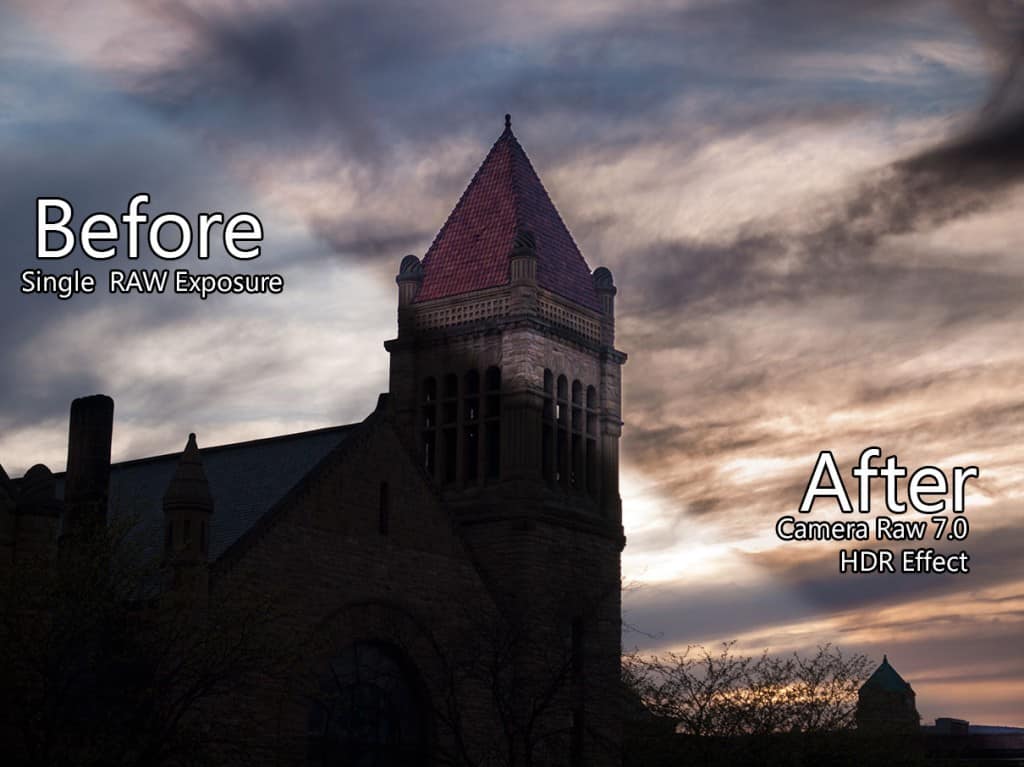
My newest most favorite feature of Photoshop CS 6.0, drum roll please (oh wait you probably read the title), Camera Raw 7.0! Adobe has done some serious work on Camera Raw 7.0, on the surface it looks very similar. However, they have revamped the sliders in the Basic menu that allow for some serious Pseudo HDR manipulation of single Raw images.
You will be amazed by how much dynamic range can be extracted from a single exposure Raw file. It does help to start out with a wholesome exposure that is not too over exposed or underexposed. Check out this “before and after”, if you are convinced, check out the video!


If you think Camera Raw 7.0 is great, check out CR 7.1 (Adobe released the update a few days ago). Now you can pull a 32-bit tiff (i.e., a full un-tone mapped HDR image) into ACR and edit it there non-destructively. RC Concepcion did a video on Google+ a few days ago showing the difference between editing a standard raw image versus a 32-bit HDR tiff in Camera Raw, and he was pulling 10 stops in either direction out of the Exposure slider on the 32 bit image with incredible detail.
ACR is the same as Lightroom for those with an Adobe CC package – all sliders exactly the same, just swop the image from Ps to Lr and back if necessary.