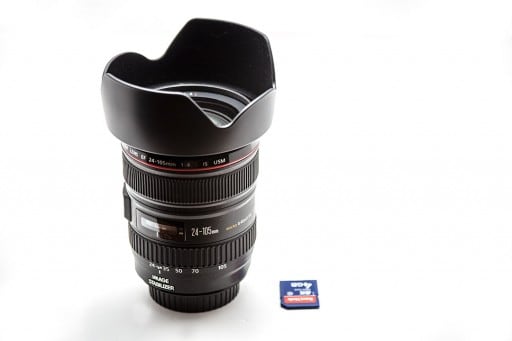
I have recently taken several photos with the Canon 24-105 on the 6D after switching from the Olympus 14-54 as my go to lens on the E-30. At first glance I was thinking, “Man this new Canon lens is going to be quite the toy for me.” It is monstrous with a front lens element of 77 mm and looks so sweet attached to the Canon 6D. I found out relatively quickly that looks are not everything.
I would like to get the “bad” stuff out of the way first before progressing on to the wonderful things it can do. I know that is a backwards approach to the normal EverydayHDR style of review you have gotten used to.
The Bad:
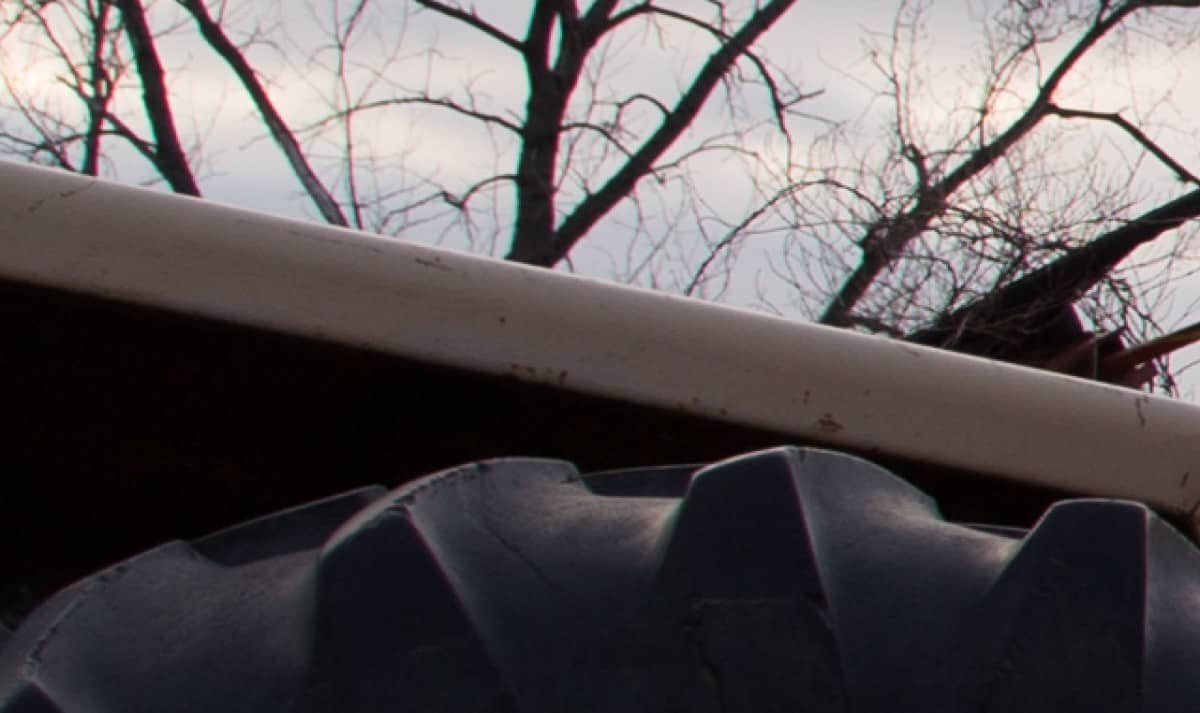
- The 24-105 mm lens has some pretty awful chromatic aberrations. Chromatic Aberrations are those magenta/green fringe lines that follow the contour of objects that go from an area of high to low contrast abruptly. You can really see it on the tree limbs and the tire treads in the image below. Chromatic aberrations are one of those “Nature of the Beast” type things that are very easily fixed in post processing, I cover 3 ways you can do so in my eBook Exploring HDR. I was not expecting them to be this evident in a lens with such a remarkable reputation.

- The lens vignetting is very clear with the 24-105 mm lens as well. Lens vignetting occurs on the outside of your photos usually in the corners and the outside edges. It is an area of darker gradation than the rest of the photo and is often desired in post processing. I do it a lot in post processing, however, I do not always want it in every photograph! The 24-105 mm produces some very evident vignetting at the widest focal length, 24 mm. Again, it is an issue that is very easily taken care of using post processing software, but it is another characteristic I would not have suspected from a lens with such a stellar reputation.


The Good:
- I really enjoy the f/4.0 minimum aperture through all focal lengths. That constant low minimum aperture is very helpful when fully extended to 105 mm.
- The 24-105 mm is tack sharp! I have not seen clarity quite like this, especially with HDR. I merged 7 exposures for the image seen below and can nearly count the blades of grass it came out so sharp. It is much more evident in the High Res version.

- Very smooth operation. Both the focusing ring and the zoom ring glide when you adjust them. I did not come across any sticking or abrupt movement, this very important when you are trying to hone in on finite details.
- Extremely fast and quiet auto focusing even in low light.
- Great coverage! A very nice Wide Angle when coupled with a Full Frame body. It also boasts a sturdy 105 mm on the zoom end making it a go-to walk around lens that will have you drooling over its versatility and capabilities.
The Bottom Line:
Regardless of the vignetting and chromatic aberrations this lens is phenomenal on the detail side of the house. I have seen clarity and detail in my photos I have only dreamed of. I would highly recommend it to anyone looking to upgrade their lens to an extremely versatile wide angle lens.


I am OBSESSED with the post-processing you did above (in the final picture). You mention that you merged 7 exposures, can you explain that a little better? I’m a hobbyist just getting into photoshop, and would love to learn more.
Thanks!
Sure! It is all about HDR, I have several tutorials that can show you how to merge them as well as an intro Tutorial about HDR Photography. Just head on over to the Tutorials Page . Also, if you would like Full Length Workflow tutorials every month, check out HDR Insider. I give away ALL of my secrets there!