Do not be intimidated, clean your camera sensor with ease!
I can remember the first time I realized I needed to clean my camera sensor. I was on a mini vacation with my wife, and I was shooting her glowing, radiant, and very pregnant portrait on the boardwalk of Pismo Beach, CA a few weeks before our first child was born. In the middle of the session, I checked my frames on the LCD screen and saw a giant blob of darkness on my images. I freaked out. I had no idea what it was and no idea how to fix it. I was bummed until we went back to the hotel.
I opened up the camera as if I knew what I was doing and saw a giant spec of dust on the sensor. I was afraid to touch the sensor, thinking I would break it if I even looked at it. I gently shook the camera upside down, and the dust spec vanished. After that incident, I learned very quickly that a clean sensor is a happy sensor.
If you are anything like I was, afraid to open your camera to clean it, this tutorial will be right up your alley! Camera sensor cleaning can be pricey, I have seen them anywhere from $30 to $65. I have even heard of photographers shipping their cameras off to the manufacturer to have them cleaned. That is crazy, because for the price of one cleaning you can buy all of the tools to do it yourself several times over.
How to Clean Your Camera Sensor
The Proper Tools:
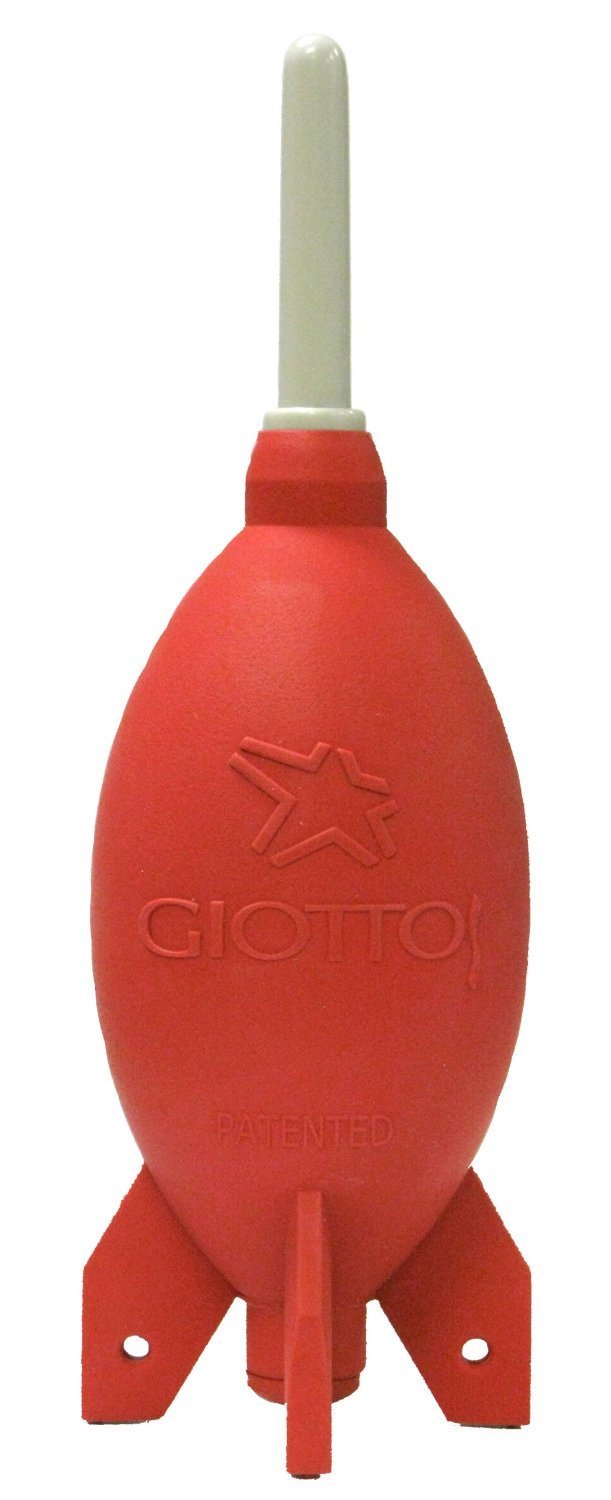
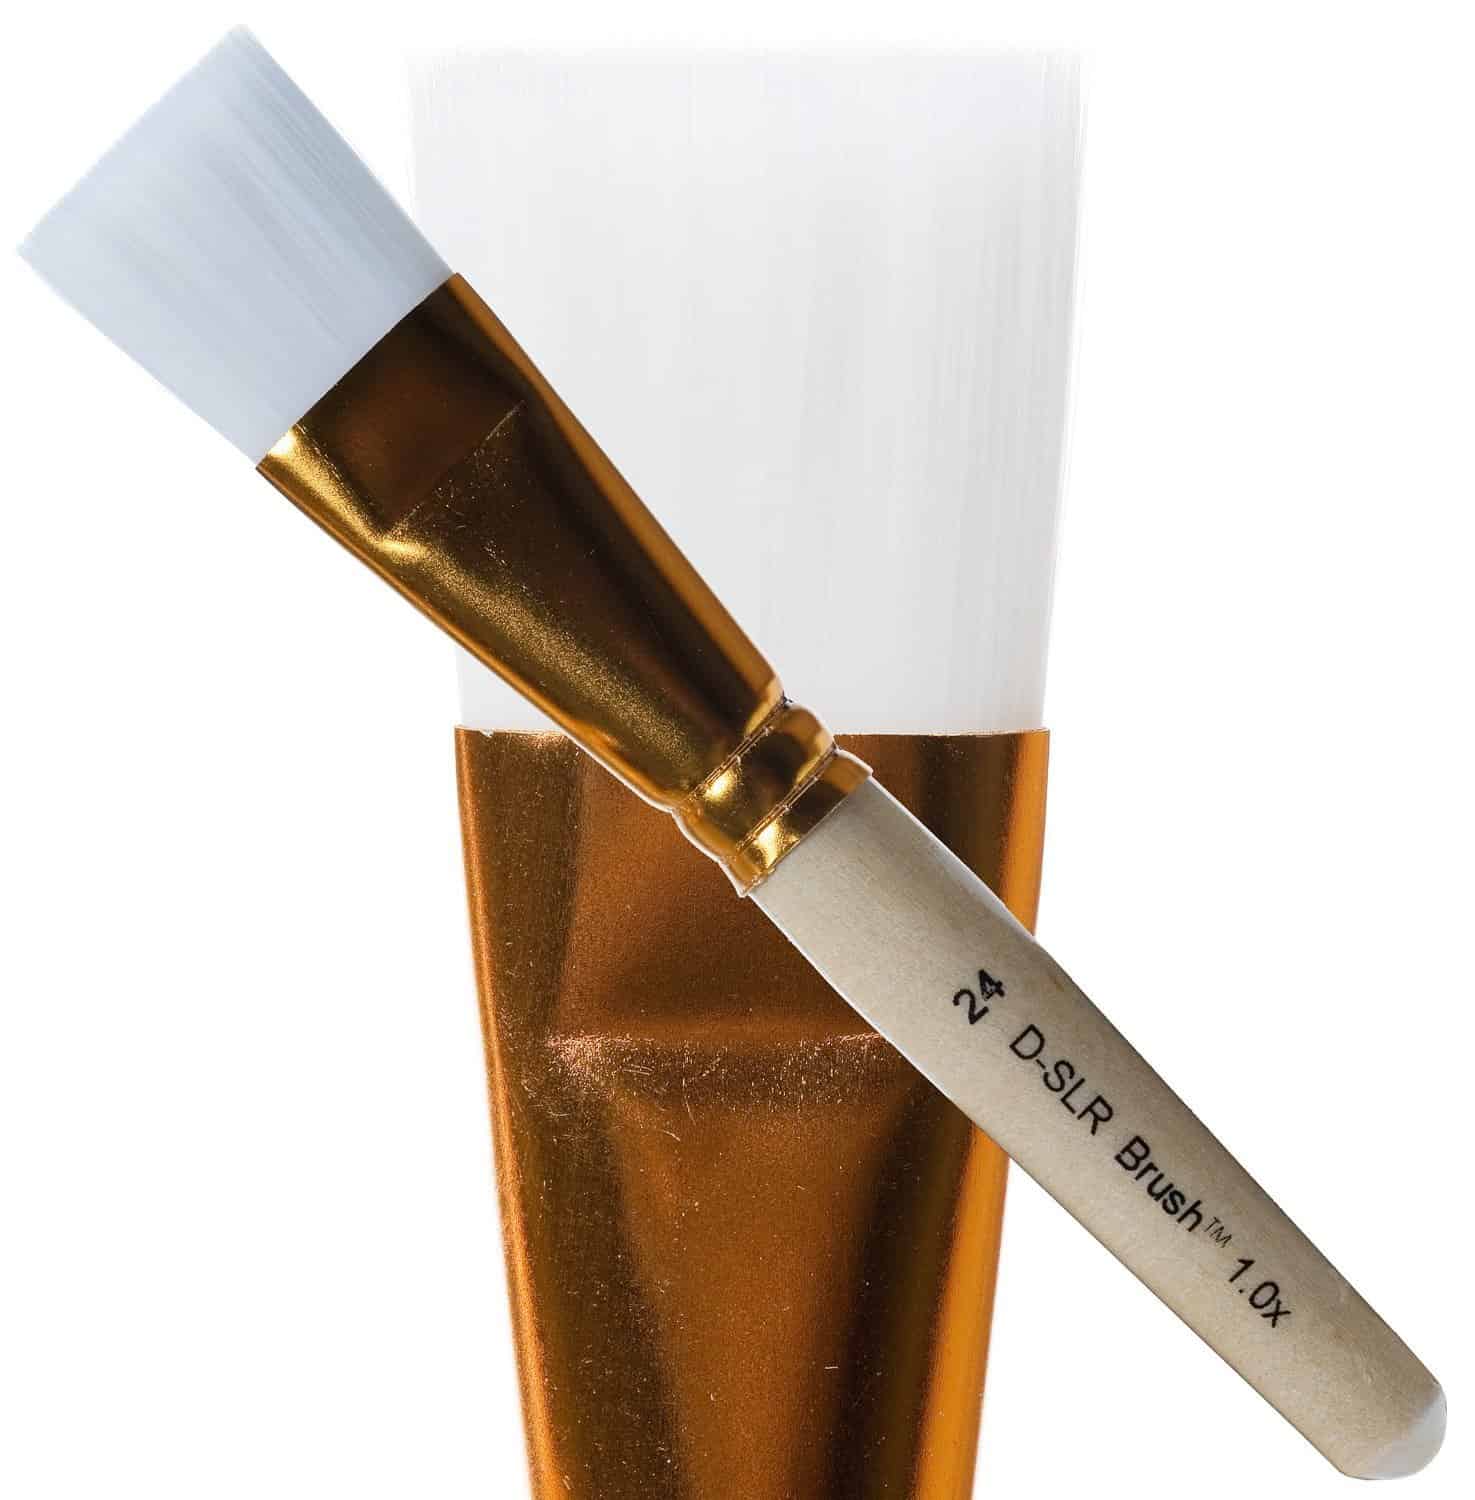
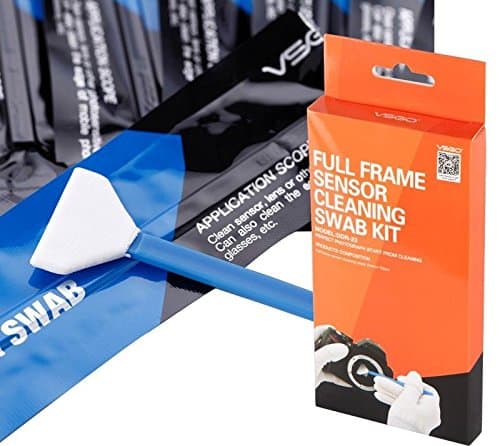
In order to clean your camera sensor, you have to have the right tools to do it. You don’t need anything wildly expensive. A Rocket Blower, Sensor Brush, and Sensor Swabs are really all you need.
Rocket Blower
Sensor Brush
Sensor Swabs
Preparation for Sensor Cleaning
Prepare:
- Full Battery or preferably above 50%
- Clean Environment
- Layout Tools in order of use
- Take a Test Picture
The Dust Test Picture
- Shoot something White: This could be a piece of computer paper, a white marker board, or a piece of white hobby foam core.
- Camera Settings: You should set your camera to is minimum aperture (f/22 is the smallest on most Canon lenses). You should be in manual mode and set your exposure to something like 1-3 seconds (or longer). You should not worry about camera shake so you don’t have to be tripod mounted. The dust will show up, trust me!
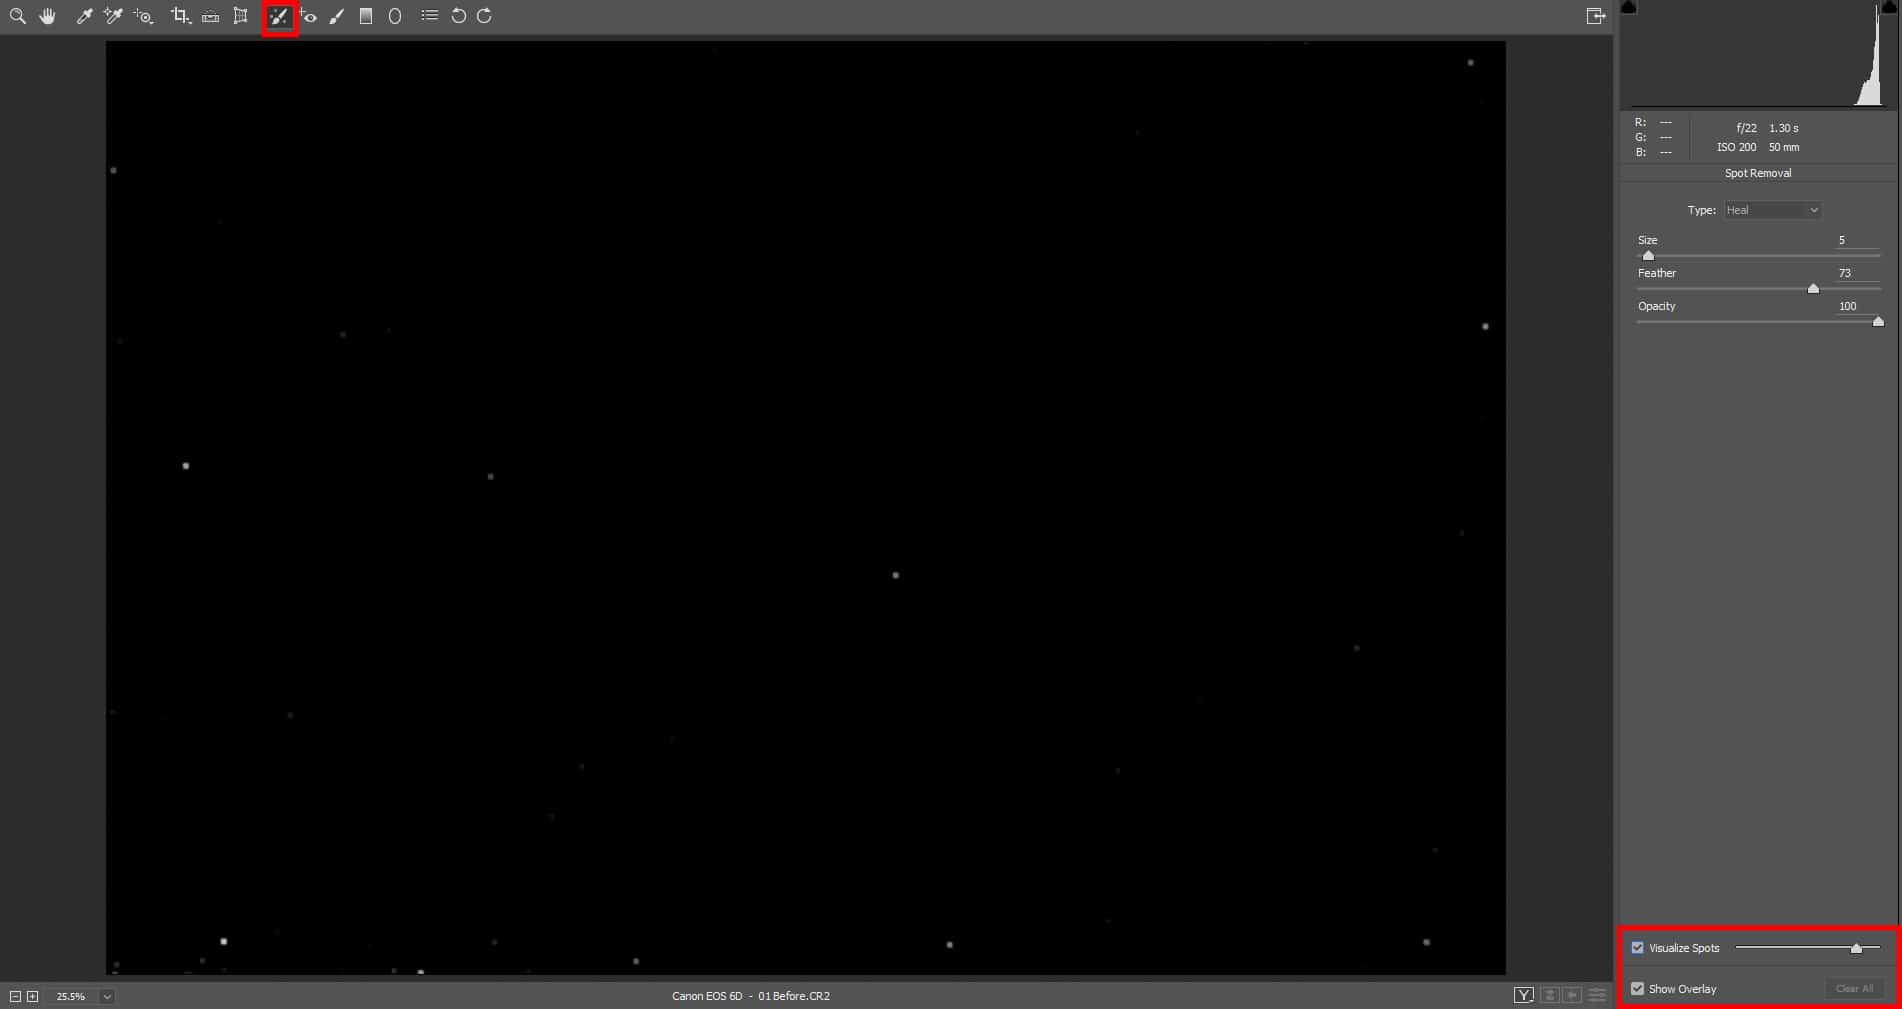
- Open the Test Picture in ACR or Lightroom: Set the exposure to something white (I went +1.5 exposures int he video, but that is variable dependent upon your exposure). You should be more concerned with the Spot removal brush tab. Set the “Visualize Spots” to about the 75% mark. This will show you the big pieces as well as the small ones. Setting it to 100% will show you a lot of superficial dust spots that will rarely be visible on your images unless you are shooting 5 x magnification macro shots.
Using the Rocket Air Blower
- Set the Camera to Manual Cleaning Mode: By going into cleaning mode, the camera will lock the mirror in the up position giving you access to the sensor. This step may only be necessary for DSLR cameras. Mirrorless cameras usually give you access to the sensor after removing the lens, which also makes them more susceptible to dust. Check with your mirrorless camera manual for cleaning instructions.
- Blow Air Into the Camera Body: Use several short bursts of air into the camera body ensuring that you do not stab the sensor with the blower tip. Between your bursts, let the dust settle for 5 – 10 seconds and repeat the process.
- Make Another Test Picture: Make another Test Picture after you have used the Rocket air blower.
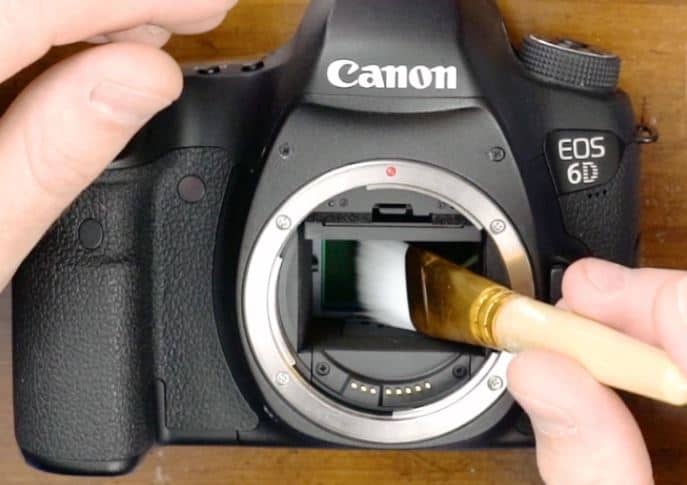
Using the Sensor Brush
- Set the Camera to Manual Cleaning Mode: By going into cleaning mode, the camera will lock the mirror in the up position giving you access to the sensor. This step may only be necessary for DSLR cameras. Mirrorless cameras usually give you access to the sensor after removing the lens, which also makes them more susceptible to dust. Check with your mirrorless camera manual for cleaning instructions.
- Remove the Sensor Brush from the Case: Be sure to leave your sensor brush in an airtight case when not in use. Also, be sure that you never touch the brush bristles with your fingers as the oils from your fingers could make their way onto your sensor.
- Blow Air Into the Sensor Brush: The sensor brush uses static electricity to pick up the dust from your camera sensor. By blowing air into the brush with the Rocket Blower you are “charging” the bristles.
- Sweep the Sensor: Hold the brush at a 45-degree angle and gently sweep the brush across the sensor. You should be barely making contact with the sensor when you do this motion. The static electricity will help pick up the dust; sweeping motions are not necessary.
- Sweep the other side of the sensor: Repeat step 3 between side to side sweeps. This will ensure that you are removing the dust from the brush between sweeps and recharging the bristles.
- Repeat steps 4 and 5 as necessary.
- Make Another Test Picture: Make another Test Picture after you have used the Rocket air blower.

Using the Sensor Swabs
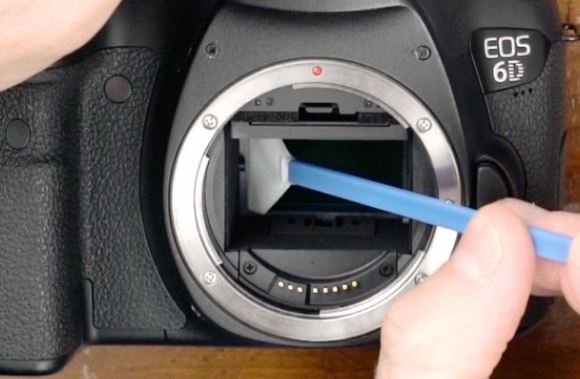
- Set the Camera to Manual Cleaning Mode: By going into cleaning mode, the camera will lock the mirror in the up position giving you access to the sensor. This step may only be necessary for DSLR cameras. Mirrorless cameras usually give you access to the sensor after removing the lens, which also makes them more susceptible to dust. Check with your mirrorless camera manual for cleaning instructions.
- Remove the Sensor Swab from the package: The same rules apply to the Swab that applied to the Brush. Do not touch the white fabric part of the swab to ensure your finger oils do not make their way to the sensor.
- Wet the Sensor Swab: This step is optional, you may use the swab dry if you do not have sensor cleaner. Apply one drop on each side of the fabric portion of the brush.
- Sweep the Sensor: Hold the swab at a 45-degree angle and gently sweep the brush across the sensor. You should be applying a light amount of pressure when you do this, do not use excessive force. The key is to make contact with the sensor and gently apply pressure as you sweep from side to side.
- Sweep the other side of the sensor: Repeat step 4 sweeping to the opposite side of the sensor.
- If you must repeat steps 4 & 5, it is highly recommended that you use another swab.
- Test Picture: Make another Test Picture after you have used the Sensor Swab.
- If everything looks good, you are finished! If you still see dust, repeat the process from the Rocket Air Blower through the Sensor Swab.




Thanks Blake. I usually take my cameras (1 full frame and APC) to my camera store once or twice per year for $80/pop each. Now that you have shown me how to clean my sensors I will do it myself. I expect my job will be better and cost a lot less in the end.
Sweet, I’m so glad I could save you some money, 160 is a lot of money for 2 camera cleanings
Blake, awesome tutorial but I cannot find the correct size brush for my EM-1 micro 4/3 sensor. Some brushes are in mm. Can’t find what mm I need. I’m also a member of F64. Thx.
I just looked on Amazon and couldn’t find one either. I’d have to look a bit harder, but I’m sure there is something out there.
Absolutely fantastic, Blake! I was always afraid of trying this but you busted the myth. Thanks as always.
Vinny
Sweet, glad to hear it Vinny. Give it a shot, it’s easier than you think.
Good clear explanation. I had all the tools you mentioned, but was scared to use them. Just did and it worked great with not camera damage. Thanks
Awesome, that’s what I like to hear 🙂
Thanks, Blake, for another interesting and informative video.
Very useful advice. Should be a great money saver. Nice job.
It’s also nice to see you take another step toward your metamorphosis into Bob Ross… fantastic technique with that 0.944882 inch brush.
And, although you didn’t mention it, I expect that you were using odourless sensor cleaner fluid. (I just wish you had beat off the excess on the leg of your tripod).
Haha, you crack me up, Chris 🙂
Cudos Blake, this tut rocks.??
No problem, thanks for watching!
Blake
Thanks for the tutorial. I cannot understand why those compressed air cans can’t be used instead of the rocket blower. I guess there is a good reason for this and would like to know the answer.
I currently use an Arctic Butterfly with a sensor mag led light, but I’m guessing I could have saved quite a bit if I had seen your tutorial first!
Thanks
There are a few more reasons. The canned sure can sometimes shoot it residue and if depressed for too long can spray sub zero frost onto the sensor.
That arctic butterfly looks awesome. That would be a great sensor brush!
What kind of swab did you use at the end to clean the inside walls around the sensor?
It came with the sensor brushes. I believe it is that same swab. It is foam, not cotton.
A confidence booster, I’ve just ordered some cleaning stuff from amazon I have done a test shot and it is most revealing, But I just wonder, what about dust/spots on the lens, how likely is it that the spots may be on the lens and how can they be differentiated?
Is it possible to do this on a point and shoot camera?
I would have to say no. Most Point and Shoot cameras do not have a detachable lens which gives you access to the image sensor.
I usually just shoot the open sky for my tests. It’s there everyday almost and it works.