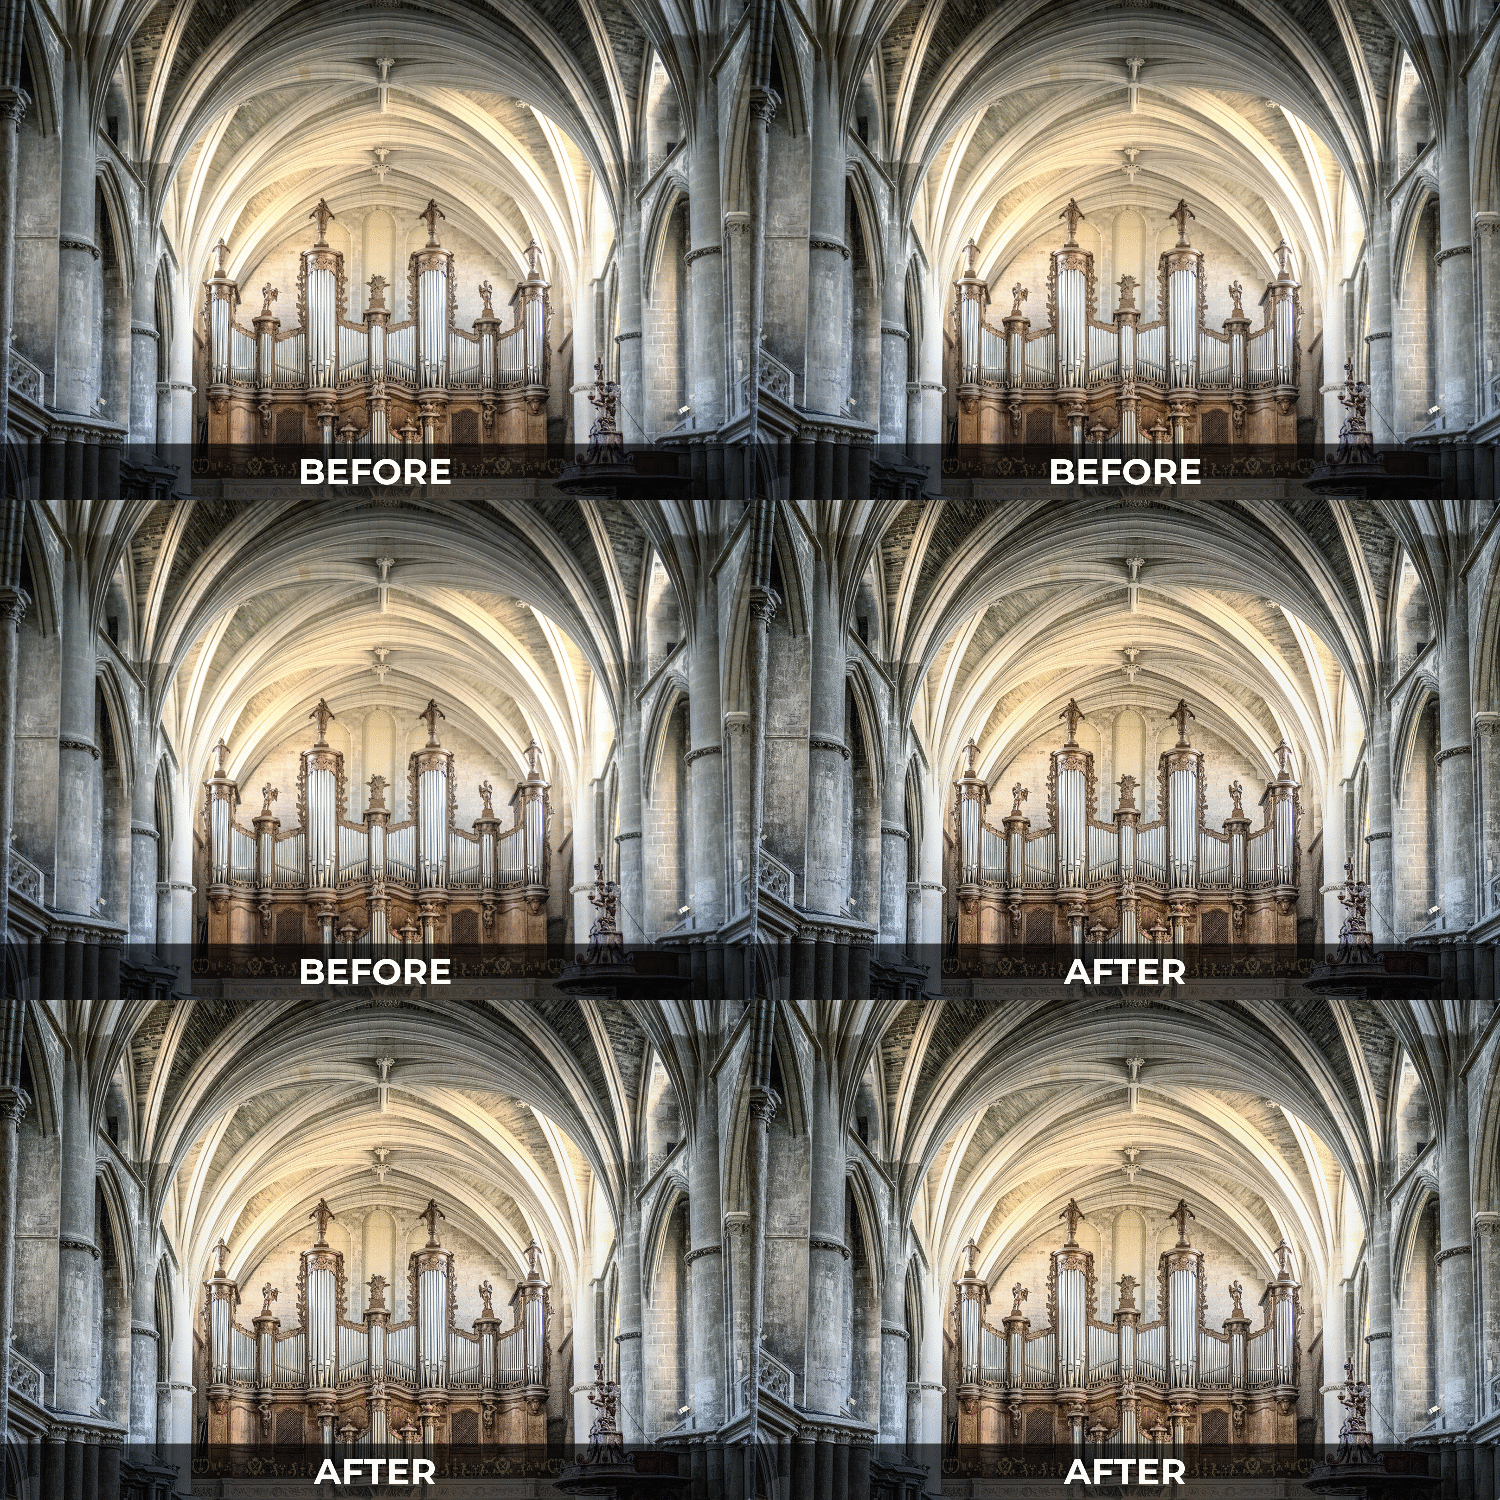
I know what you are thinking by reading that title… Blake has lost his mind and found the HDR Kool-Aid Mix and drank too much again.. right? Not necessarily!
Many of you may have followed me before 2016 when this very blog was called EverydayHDR.com, it feels like so long ago! But before I “rebranded” into f.64 Academy, I was an HDRholic. I ate slept and breathed HDR photography. But then something happened, I stopped using my beloved process as much.
It took me quite some time to figure out why, but then it hit me. After I upgraded my Canon 6D to a Sony a7rII, I didn’t need the HDR process as much. What it came down to was the sensor. Yep, the sensor.
The Sony jump in sensor dynamic range was from 12 stops in the Canon to nearly 14 in the a7RII. That doesn’t sound like a lot, but it opened up a lot of doors in my RAW processing. I could take those pixels a whole lot farther in one exposure, therefore reducing my need for the HDR process, and forcing me to rebrand. Interesting how that happens right?
Regardless, I do miss some things about the HDR process, or the product, I should say. I miss the amount of detail one could extract in the micro-contrast areas of a scene. While HDR may have had its flaws, it did have that as a redeeming quality.
In Today’s tutorial, I am going to show you how you can use the Linear Light Blend Mode and Adobe Camera Raw as a filter to simulate the tone mapping process. With this technique, you can extract those details without all the character flaws of the HDR process.
This technique is a small sample of my latest addition to the f.64 Elite course catalog, The Best Blend Mode in the World!

-Unlock the Unknown in Your Workflow-
If you like this tutorial using the Linear Light Blend Mode, you will love all the techniques I will show you in my new course, The Best Blend Mode in the World!
••• You will learn •••
► The Basics of the Linear Light Blend Mode
► Linear Light Sharpening and Noise Reduction
► Dodging and Burning
►How to Create Light
►Color Dodging, Burning, and Painting
►How to Balance and Grade Color
►Astonishing Glows and Radiance Effects
►Create Micro Contrast quickly and easily
►How to make a Heightened Dynamic Range Effect (seen in today’s video)


I am an F.64 Elite member. So I have seen the whole course and it is awesome. I had no idea you could do so much with Linear Light. For me the biggest take away was a new level of control you don’t get with simple sliders. Especially with controlling, creating enhancing and light.
Roger that! Incredible Blend Mode. The Muhammed Ali of blend modes 😉 THE GREATEST!
You make it all look so uncomplicated and easy. So glad to be a member. Have you ever considered wearing a wizards robe when you do your videos? I think it’d be appropriate. You’re the best.
This is a fascinating procedure and I can think of a number of ways to use it, but is it really a true alternative to HDR? It seems to me to be more useful for adding impact to relatively flat images (like your waterfall, or even the dog) rather that accommodating images (eg snow scenes, dark forests and bright sky) that stretch the dynamic range of the sensor. I tried it on the “correctly exposed” image of an HDR set and I’d describe the results as “intriguingly different” rather than a true HDR alternative; I flip between the HDR and the Linear Light/tone mapped image and see attractive aspects to both. Still, I’m going to adopt it and play a little more. Thank you for drawing it to our attention – as ever, you stretch our command of Ps.
Hi Blake,
I have too say that I love the dog. Those sad eyes, that sad look. No other dog can melt your heart or get under your skin quite the way that a boxer does.
Their facial expressions are awesome, almost human.
Really enjoying the Linear Blend Mode tutorial, but the dog says it all. Woof!