Have you ever been in Photomatix flipping through all of you presets trying to find that one that works perfect. You see one that works for a certain area but not for another so you continue and find another preset that works for the complete opposite area but not for the rest of the image. Hence you continue searching wasting about 10-15 minutes playing with slider bars to get it just right and after all it works, but still hasn’t quite hit the mark. The story of my processing life! I figured out a little trick that can save you some time.
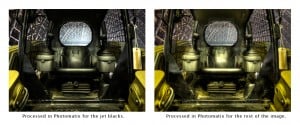
For this set of images I had 2 presets that worked for the image but not to the standard I had expected them to. Instead of playing with slider bars I processed the image with both presets. I processed it once for the jet black pieces. I then saved the image and processed the same set of exposures for what I liked in the rest of the image.
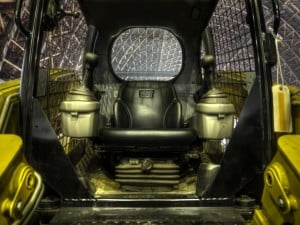
As I stated before I like the jet black characteristics of the image on the left, but the blown highlight in the back window is really frustrating! The image on the right has some pretty intense detail, I stressed it pretty far in Photomatix, but I don’t like the blown highlight on the seat or the yellow/gray scum where black should be. Check out the solution:
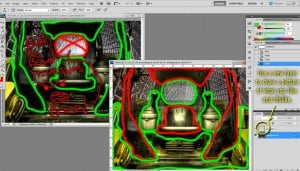
- Pull both images into Photoshop.
- Make new layers above both images.
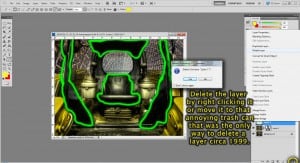
- Go to town painting the areas you “like” in green and the areas you “dislike” in red.
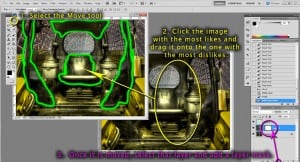
- Select the image with the most “likes” and dragged it onto the image with the most “dislikes”.
- Once they are layered appropriately, select the mask tool for the newly dragged in layer.
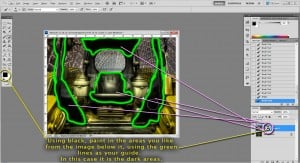
- Keep the “likes” map on top of the masked image to use as a guideline for where you want to mask out.
- With black selected, paint onto the masked layer in the green “like” areas from the image below.
- You will start to see those jet blacks pull through and the image come together.
- To get an idea of how the image is coming together without those green distraction lines, hit the eye next to the likes area to turn th layer on and off. I do this pretty often so I can see how my masking is effecting the outcome of the image.
- When you are satisfied with the image, delete you likes layer.
- Your image is pretty much done at this point.
- You have successfully pulled the jet black areas into your detailed image and ridded yourself of those horrible blown highlights.
- What are you doing?
- Don’t save it yet! You still have to refine it with adjustment layers!
- No image is complete without the whole digital darkroom experience!
- In case you have forgotten, here is your refresher!

