Saving Multiple Images in Photoshop with Scripts: The Easy Button
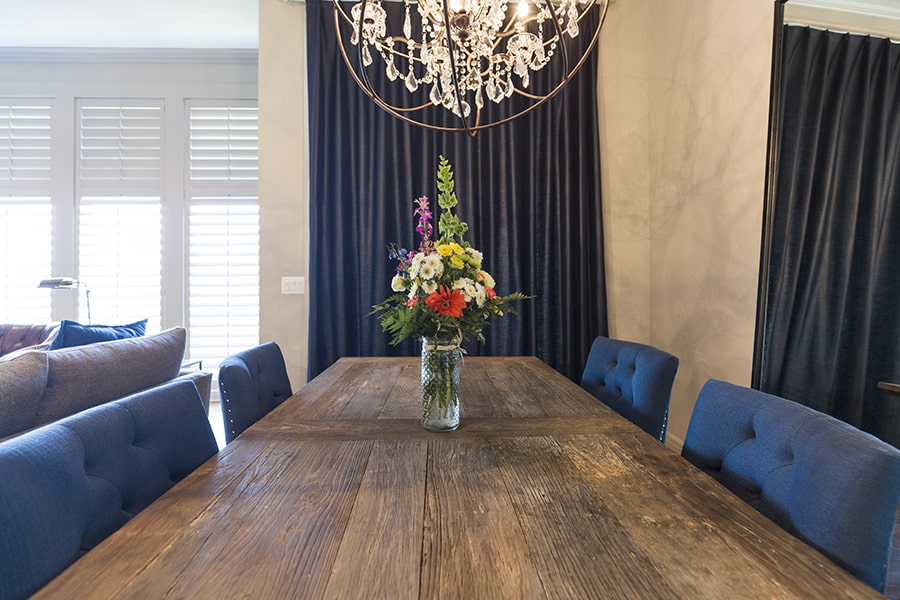
Last week, I did a photo shoot with an interior designer and friend of mine here in Kansas City. The house was gorgeous which made all of the shooting very easy for me thanks to the work of Studio O’Reilly (Facebook Page). I have shot several houses for MLS listings for real estate agents, but this shoot was different. The shots were a bit more on the artistic side which allowed for more creative liberty with the photos from the camera setup to the post-processing. Needless to say, I had fun!
I told Christie that I’d have the pictures for her this week. That kind of turnaround is usually hard to accommodate, but if you know how to automate your workflow in Photoshop, you can meet any deadline all while you make a cup of tea. I kid you not. I shot the images on Friday and had them to her by Monday evening.
I edited all of the images in Adobe Camera Raw in about an hour, then automated the process of saving multiple images as jpegs and applying an Action to stylize them. While Photoshop did the brunt of the work, I unpacked my camera bag from the photo shoot. This process saved me about 3 to 4 hours of time as I did not have to save each file individually and I was also able to apply a stylized Action to each photo in one bulk shot.
So how does one go about saving multiple images in Photoshop? There is an easy button for this, well, various buttons. Here is the rundown:
- Edit all of your photos in ACR like you normally would.
- Close ACR
- In Photoshop, go to File – Scripts – Image Processor
- Select the folder of images you’d like processed
- Choose the folder you’d like the images to be saved into
- Select how you’d like to save the pictures, JPEG, TIFF, PSD
- Select the Action (if any) you’d like to run. In this video tutorial, I used the Color Lookup Table – Cine Cyan @ 50% Opacity
- Press Run, sit back, and relax
- If you selected everything properly, your images should be in the folder you chose with the appropriate file association and Action applied


Thanks Blake! This is definitely something that I needed to apply!
Excellent time saver and well illustrated in this film. I also found myself laughing hysterically at your face exercises Blake.
I have bought the colour lookup downloads on the strength of it all. I can work those but not the twitching nose yet!
Hi Blake. First time comment. Love this tip. Thanks for all you do.
The Image Processor is a handy dandy tool for the event photographers who are Bridge/PS workflow users as opposed to folks like me that use Lightroom for events. The Lightroom Export Manager is somewhat similar, and probably fine for most however I think the ACR and Image Processor does have some power lifts (LUT at 50%! Get outa here! That’s a cool trick) though LR can also send photos to scripts for final processing. LR can also create presets of managed workflows utilizing 3rd party tools as well. They each have some interesting capability.
your work is amazing and easy to follow tutorials. Looking forward to you guest coaching at On1 Plus.
I’ve always just used droplets which don’t even require Photoshop be open. And I sometimes share them depending on the project I’m working on…. the caveat being that the droplet may not be compatible with another person’s Photoshop version. It can be a huge time saver Dropbox and droplets.
This was GREAT! I never knew about this feature in Photoshop. Thank you very much, as always, Blake.
PS: I also was amused by the little fast-motion vignette of your head rotations and facial gymnastics while the script was running 🙂 I wonder how many others picked up on that.
Again, thanks for all you do,
Vinny
Haha! I was wondering who would be watching that 🙂 sometimes I get bored and have to make it lively.
Thank you Blake,
I have always wanted to learn to use this function properly.
Thanks for the nice clean lesson and for the free inputs.
No problem! It’s an awesome, yet scarcely used, feature.
you have a brilliant way of teaching
Thanks, Peter, I do appreciate it!
Hi Blake – great about the script building, I learn something new every day. Question (possibly newbieish): When you say “close ACR” – How do you get into ACR to preprocess without going through photoshop? It’s not a standalone??
Hey Victoria,
ACR is like Lightroom and only works on RAW files as RAW processing engine for PS. However, you can make TIFFs and JPEGs open in it as well. In Photoshop CC it can also be used as a filter but it is not a standalone product, it lives inside of Photoshop.
Thanks, Blake! When I make multiple variations of my photos, I was spending a lot of time converting and saving to JPG individually. Using scripts; amazing! It wasn’t something I knew how to do. You make it so easy to understand!