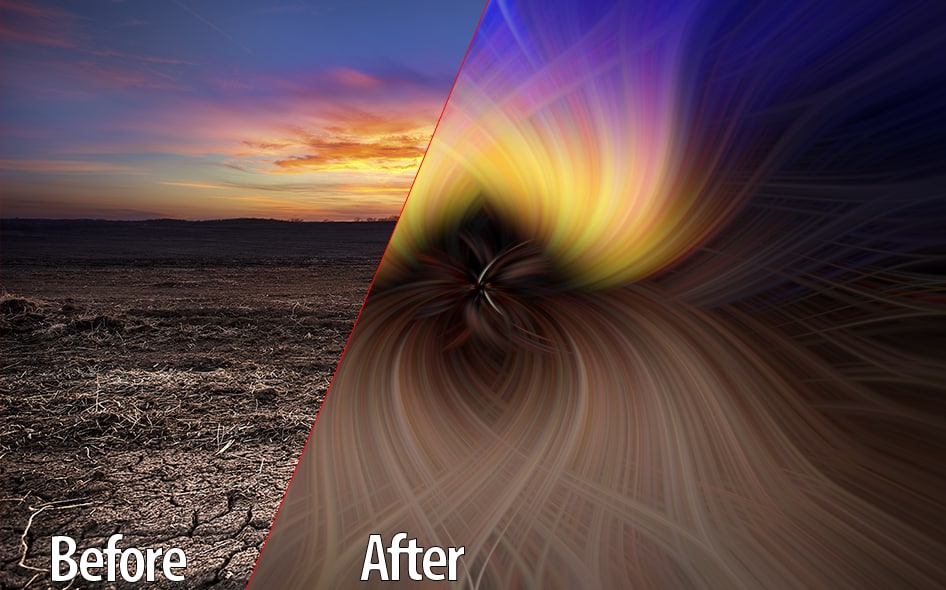
The Spiral Flower Graphic Effect
This is something new to me, the Spiral Flower effect, but not totally new to the wonderful world of Photoshop. It was originally published on this site a few years back (December 2011) and that individual learned it here (published in November 2011). I learned of it via the Photoshop and Lightroom Group on Facebook (on Wednesday August 5th) 🙂
I go into that whole lineage to show you that these techniques in Photoshop, no matter what technique it is, seem to have an origination somewhere else. Someone once told me, “No matter what you learn in Photoshop, while I appreciate you quoting me it is not necessary, because I probably picked it up somewhere else.”
While I do agree with that to some extent it is nice to give the originating author some respect so the technique stays with them.

So this Spiral Flower technique is pretty simple to do and can make some incredible images! Here is the list of steps (modified from the originating author):
- Start with any photo
- Filter > Pixelate > Mezzotint > Medium lines (optional as seen in the tutorial below)
- Filter > Blur > Radial blur (slider = 100, blur method = zoom, quality = best)
- Repeat step 3 up to 5 times, as desired
- Duplicate layer
- Remain on original layer. Filter > Distort > Twirl (angle value = +80 or as desired)
- Select new layer. Filter > Distort > Twirl (angle value = -80 or opposite of step 6 angle value)
- Alter new layer’s blending mode to lighten
- Place layers into Group
- Modify accordingly
I did make a series of Actions to go with this tutorial to make it much easier on you. Just be sure to do some self exploration 🙂
Download the Actions

Flower Spiral (Original)
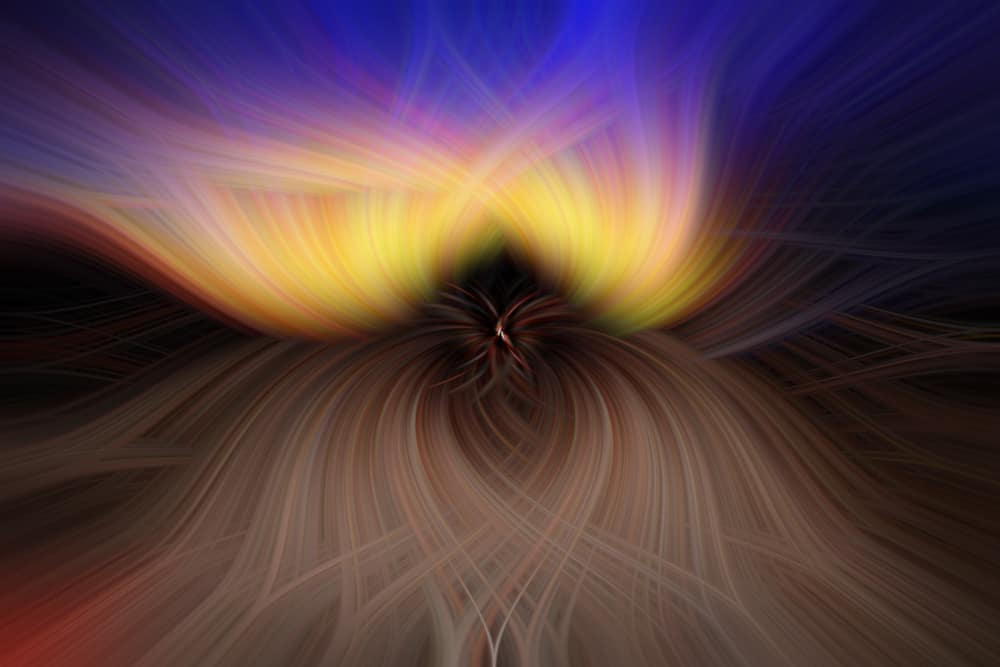
The original Spiral Flower

Spiral Flower Flipped
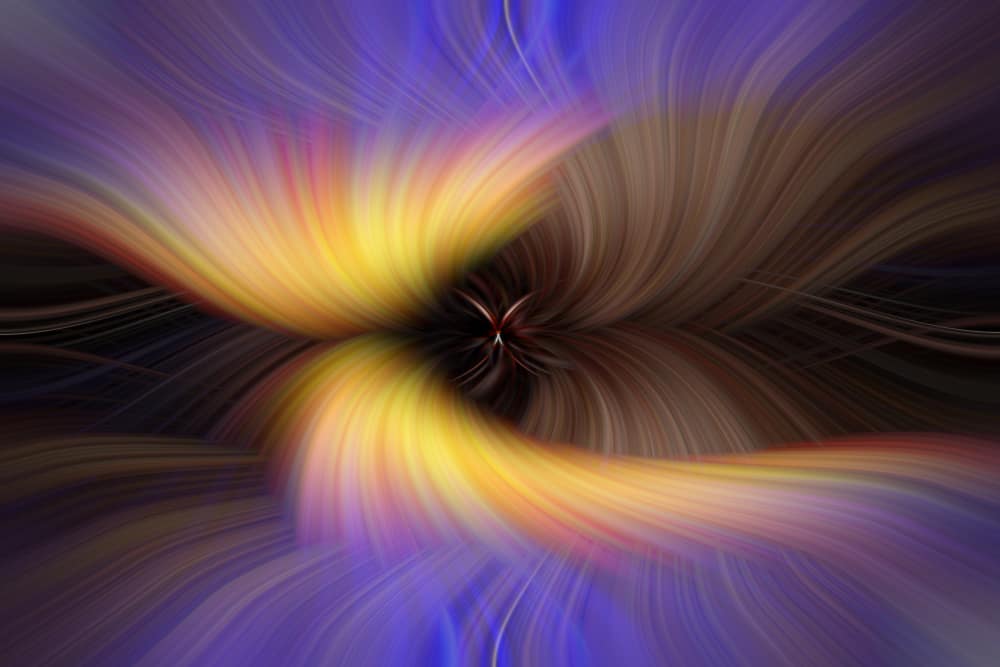
A variation on the original, this has been flipped and rotated horizontal and vertical.

Spiral Flower Subtle
A subtle Spiral Flower addition. Add a Mask for really cool effects on landscapes.


That was a blast over at the CS and LR website,learned a lot from the group and created some amazing twirls.thanks for sharing your action.
Super,Super!!!!!
This is great and the key word is FUN, something we type “A”, HDR Photoshop aficionados tend to forget more often than not. Many thanks for sharing this and for the actions.
Vinny 🙂
We’ve been making these Twirls (as we call them) for years on the old Elements Village Forum, which sadly closed earlier this year due to its old unstable software. But out of the ashes has arisen the Elements Village Suburbs Facebook group, where we are still making them now. We first learned how to make them from this tutorial:
http://www.tipsnfreeware.com/photoshop-tutorial-colorful-twirl-effect/
This was so clever and as you said, a break from the technical side. Very impressed and thank you for sharing.
Great fun tip, I will be giving this a go soon. But one question, nothing to do with the process, but how do you get the Green spot at the centre of your adjustment brush and under the mouse arrow?
This looks good for visibility of the tools.
John
Blake….another great action…just used it and it is easy and fun…william
This is great. I’ve had a busy week at work and have images I need to work on but just couldn’t get in the mood. This was fun and was just the break I needed.
Fun effect. Thanks for including the actions. Shared on Facebook, Twitter and Pinterest. Thank you Blake!
Blake ….. you’ve learned a lot, and deep down you remained (thankfully) that little boy
Hi Blake… Just watched another photographer, Mark Johnson, make the same action. The only wrinkle was his finishing steps to add pop to color and brightness with a Curves Adjustment Layer and a Hue Saturation Adjustment Layer. Plugged your action and used these last two steps and liked the aesthetic adjustments. PS, note his pricing matrix. It might be an idea to consider for you and Jake as you evolve the platform.
Thank you so much!!