
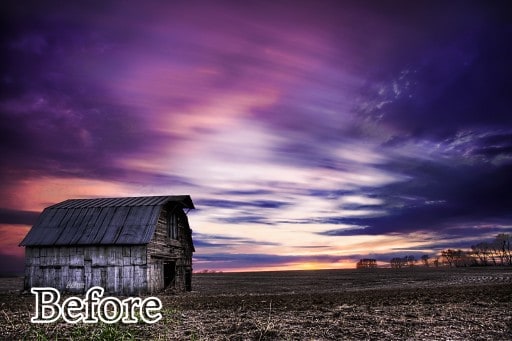
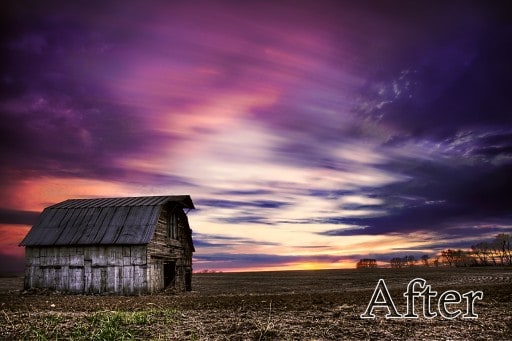
When it comes to output sharpening and detail extraction in your photographs you have many options on the market. However, there is one Plug-In in particular that I think is the bee’s knees, Topaz Detail 3. I have done several tutorials that use Detail 3 and I try to incorporate it in every webinar I do for Topaz Labs.
This tutorial today is a much more in-depth look at Detail 3. I bust out some crazy layer tricks at the end!
Topaz Detail 3 is on sale for 50% off through April 30th with Coupon Code: aprdetail


Like this tutorial? Want Full Workflow tutorials? Try HDRInsider
![]()

f.64 Academy and f.64 Elite are the brainchildren of Blake Rudis. While he is a landscape photographer, he is most passionate about post-processing images in Photoshop and mentoring others.
For Blake, it's all about the art and process synergy. He dives deep into complex topics and makes them easy to understand through his outside-the-box thinking so that you can use these tricks in your workflow today!
For Blake, it's all about the art and process synergy. He dives deep into complex topics and makes them easy to understand through his outside-the-box thinking so that you can use these tricks in your workflow today!


Another great tutorial, Blake. Many thanks for all your guidance.
Vinny
Thanks Vinny! I am just glad I could help.