
When picking a seat on an airplane I will always take the window! Not only is it the most comfortable spot to sleep, but you can get some awesome shots out that little porthole window.
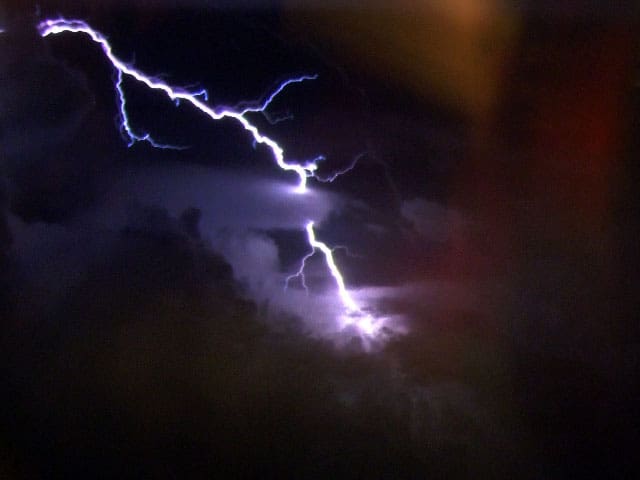
One time I was flying from California to Delaware and I saw lightning off in the distance. I really didn’t know what I was doing with the camera at the time, but I knew that in order to capture it I had to have a long exposure. I pressed the camera against the window with Bulb setting in place and held the shutter until I saw a flash of light. I was able to snag an awesome shot of lightning passing through the clouds. It was that experience that really had me intrigued by photography.
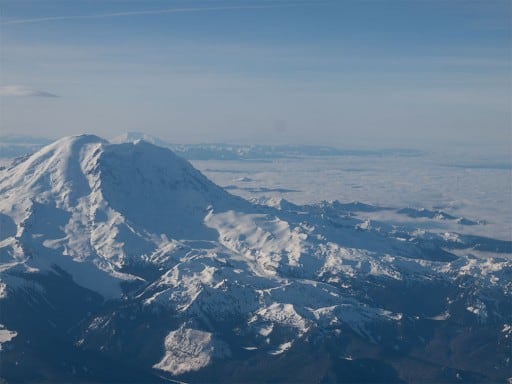
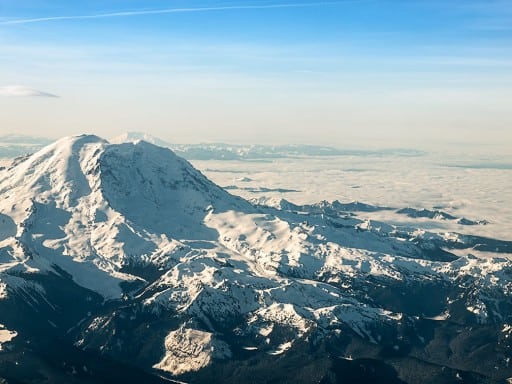
 I recently traveled from Missouri to Alaska and had a similarly awesome experience. Seattle was covered in fog but was barely poking through the cloud layer. While we were on our approach I took several pictures of the city peaking through. Off in the distance was Mt Rainier which I shot several times as we passed it earlier. The panoramic view was incredible! I snagged a few pictures of it and quickly put my camera away before I could get yelled at by the encroaching Flight Attendant.
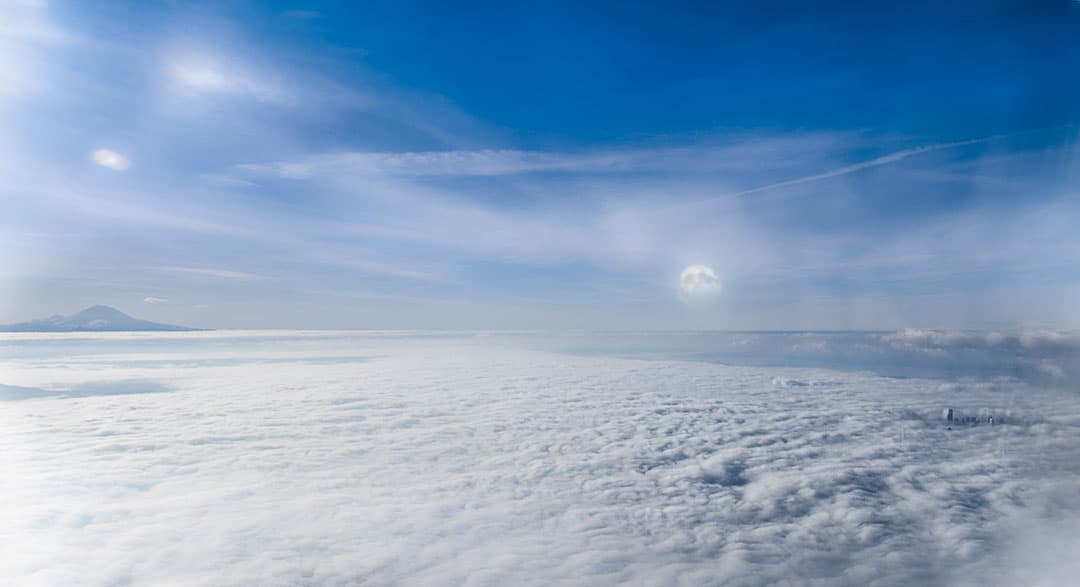
The Moon was added for effect. What? It could happen right?
Taking photos from an airplane window is pretty cool, however, the resulting photographs can be very difficult to enjoy without a few helpful tips.
Tips for Making Awesome In-Flight Pictures:
- Let’s talk about the obvious first. Pick a window seat! No one wants to be rudely reached over while you snap a picture with your elbow in their in-flight cocktail. It is nerve-wracking and has happened to me on more than one occasion. It makes me wonder if they even zoomed or if they got the profile of my large nose in their photo as well. Regardless, you can alleviate any discomfort on your end as well as your fellow travelers by picking the window seat to begin with!
- Aperture Setting: Try to pick a narrow enough aperture to capture the scene without making it a long exposure. On bright sunny days like the one above, an Aperture of f/11.0 was perfect. It allowed me to capture the entire scene without making the exposure too long. If you must choose a small aperture, make sure your focus is on your main focal point to ensure you get it in crisp focus.
- Shutter Speed: I would refrain from going any lower than 1/200th of a second on a sunny day. Remember, the plane is moving. While it may appear to be moving very slow, it is moving fast enough to make a photograph blurry if the exposure goes too long. 1/200th is a perfect insurance policy on a sunny day!
- ISO: The ISO for the above images was 200, that allowed me to capture a solid image without too much noise. Many newer cameras have awesome sensors that allow you to go to very high ISO’s without creating too much noise. I suggest using an ISO that will yield the fastest shutter speed without the introduction of too much noise.
- Brace the Camera: I place my lens directly against the window to avoid a glare. This method also helps stabilize the camera.
- Post Process the Photo: Pictures taken from an airplane window need some special attention once they have been uploaded to your computer. You have to remember, you are taking a picture through 2 extremely thick panes of glass. The contrast in your photo will pretty much be non existent and the resulting photos will be extremely flat!If you are using Lightroom or Adobe Camera Raw, be sure to manipulate the Contrast,Blacks, Shadows, Whites, and Highlights a lot to bring out that contrast that was lacking.If you are using Photoshop, open a new Curves adjustment layer and put a strong S on it, pulling down the darks and lifting up the whites.

For Blake, it's all about the art and process synergy. He dives deep into complex topics and makes them easy to understand through his outside-the-box thinking so that you can use these tricks in your workflow today!


Thank you…inspired me allot
Good stuff, that’s what it is all about…inspiration! Take care!