How to fix ANY mixed lighting white balance issues in ACR and Lightroom
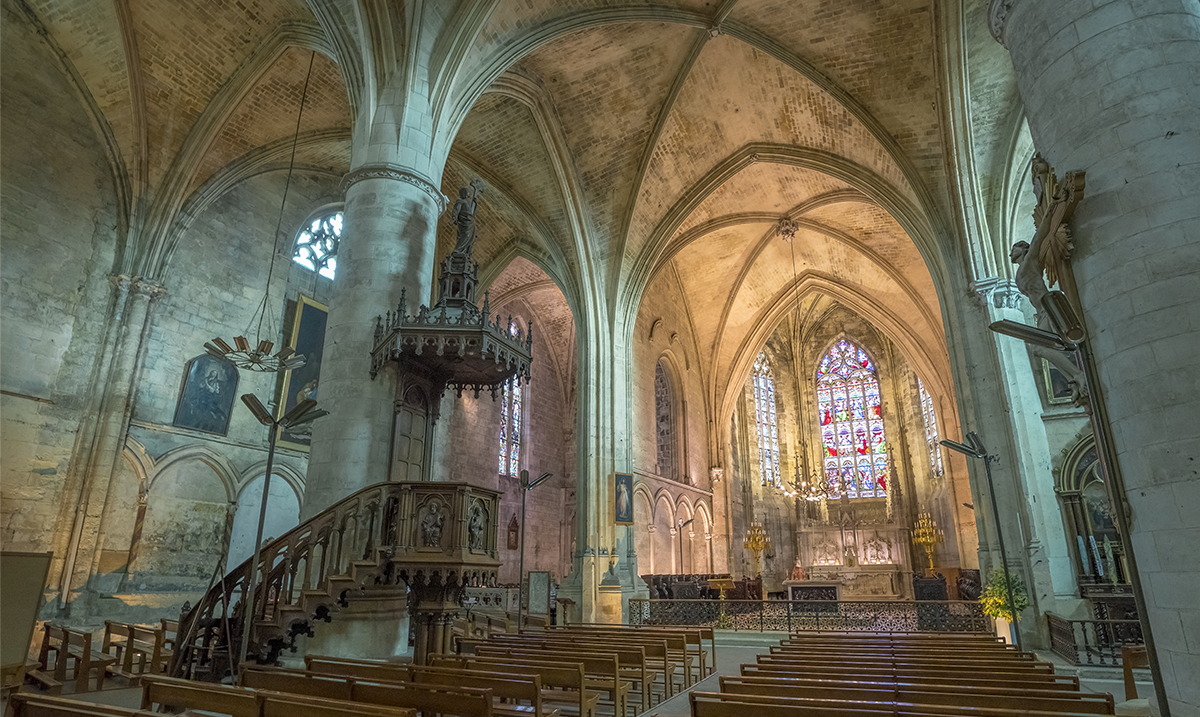
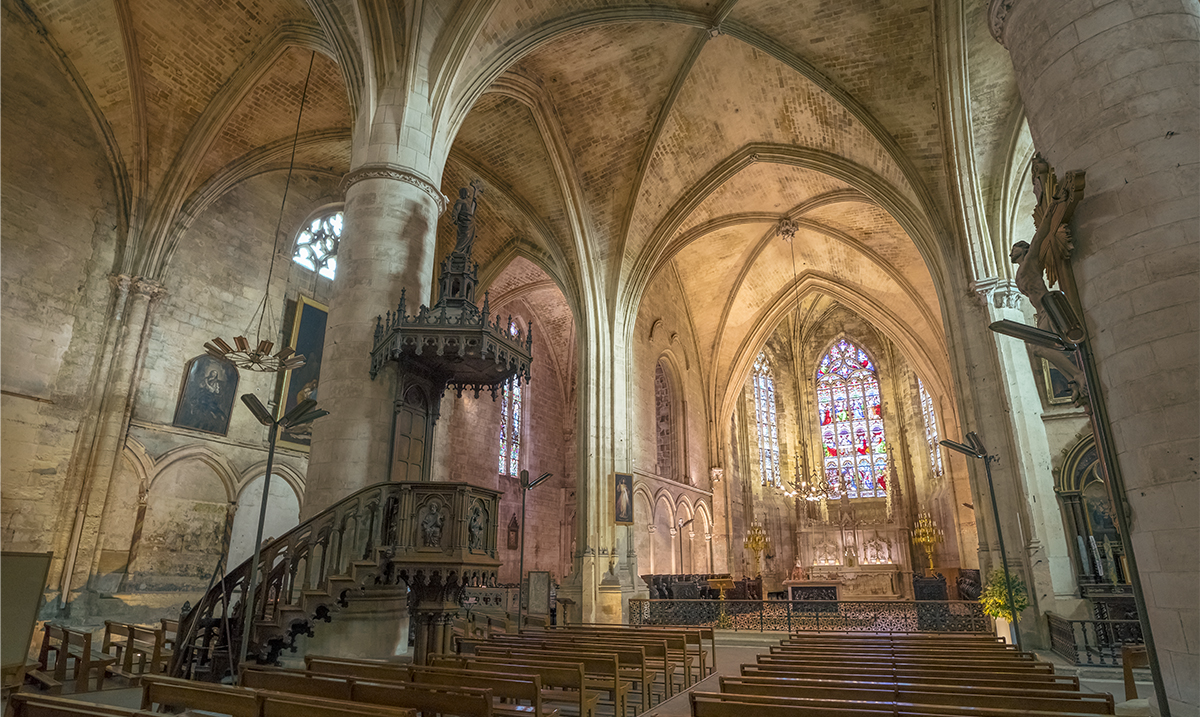
One thing I enjoy is Interior Architecture Photography. It is a very gratifying feeling when you photograph a huge church or cathedral and nail the composition. But what happens when your White Balance is all kinds of thrown off due to mixed lighting temperatures?
Here is the scenario. You walk into a church, and it looks awesome. The ceiling is overpowering, the smells are reminiscent of the days of old, and the ambiance is just awe-inspiring. You put the camera to your face, you snap the shot, and you get so engrossed in the act and location that you don’t take into consideration the horribly mixed color temperatures coming from all different types of light sources.
When you get back to your computer to edit those images, however, you spot it. You see just how bad the white balance is and you have no way of fixing it because no matter how far you push your tint and temperature you just can’t correctly color balance the image. You cry yourself to sleep and hope that one day someone will make a video tutorial on how to fix it…
Good news 🙂 That’s your tutorial today!
But first, why does this happen? Well, your camera can only capture one instance of White Balance at any given time. It is not like our brain. Our brains, regardless of your predisposition of some people, are very intuitive! Our brain can look around a room and calculate color in ways our camera can’t. When it sees varying color temperatures, it averages them for us without us even knowing.
Our camera, however, is not that intuitive. It cannot average the color temperatures that are emitted from various light sources, so it has to balance for one. In a church, you may have many different light sources. From candles to LED Fluorescent or incandescent bulbs, to Natural Light and natural light passing through stained glass. There are just too many variables for our camera to properly white balance the room.
So we have to get creative in our approach to correcting the white balance problem. In Adobe Camera Raw or Lightroom, you can use the Adjustment Brush, more specifically, the color in the Adjustment Brush to fix the color temperature issues you see in your images.
In today’s tutorial, I am going to show you how to use the Adjustment Brush in combination with the Color Range Mask to make accurate white balance corrections. The best part? It all happens on the Raw level!
The Interior Architecture Course


Simple and effective! Thanks, Blake.
Agreed
Absolutely fantastic! Tremendously powerful….and fun!
Thank you VERY much,
Vinny
Muchas gracias, senor Rudis!
Really, really good tutorial, Blake. I can see many applications for this beyond color balance. Thanks for all the stuff you provide…Bruce
Fantastic!!
Great tutorial, Blake! Can’t wait to try it.
What a great learning tutorials you give us.
Thank you so much
This is such a helpful tip, Blake. Thanks million! (Just one thing…could you possibly go just a tad slower so my brain can get in sync? Just saying)
Wow, I never would have thought of this approach. Great tip and video, Blake.
Thanks!
Agreed! Great tip, well explained
Fantastic! Thanks so much for sharing 🙂
Can you get the same level of control in Lightroom? Such as selecting only the blue areas?
Blake Thank you for your tips they are very helpful
Blake, thanks for another great tutorial! I have several photos that could benefit from this technique.
Fantastic! Can you get the same level of control in capture one pro?
Thanks! I’m not sure. I don’t use C1. Maybe, all you can do is experiment.
Thanks! This was really helpful. I can uses for this beyond architecture.