A Color Grading Companion – The Vivid Light Blend Mode
There are 27 blend modes in Adobe Photoshop and if you are anything like the “me before I learned them all“, you are only using three, maybe four to their maximum potential. One of those you may be missing out on is the Vivid Light Blend Mode. It is a powerhouse for color grading, but on the surface, it looks far from it!
Eight Blend Modes don’t function like the rest of their friends in the bunch.

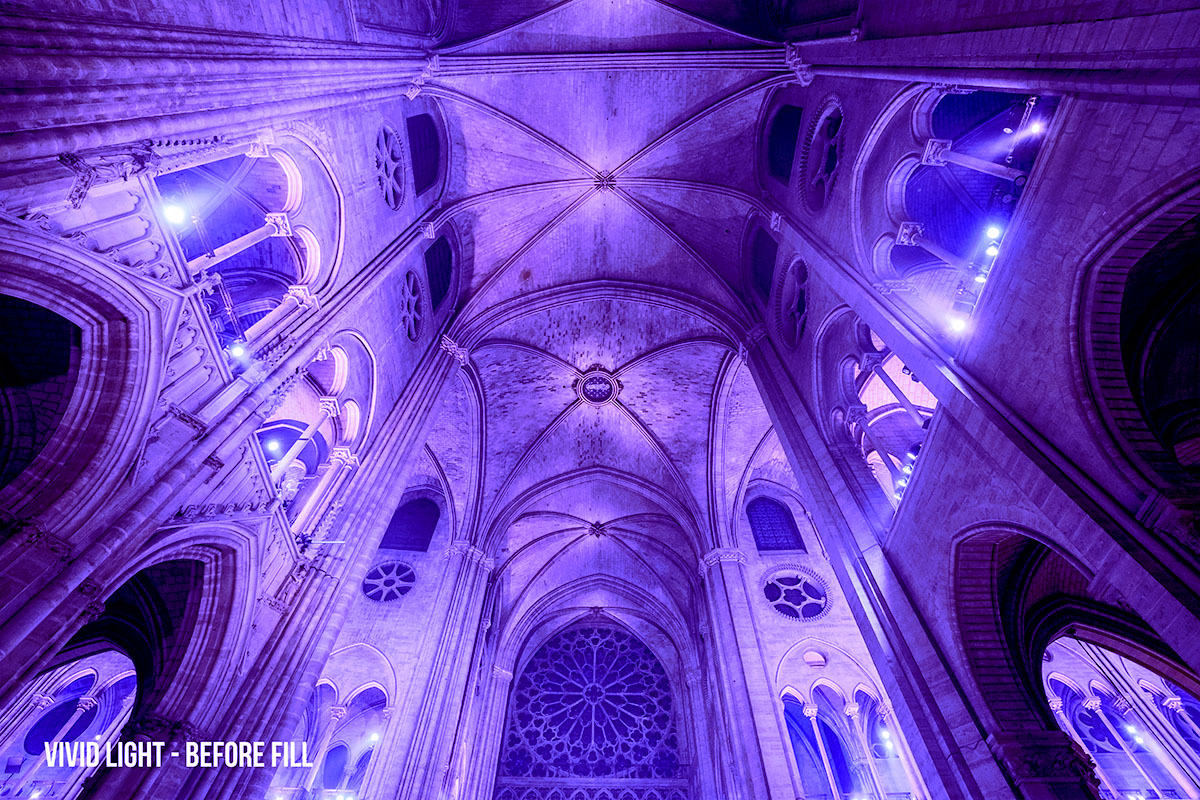
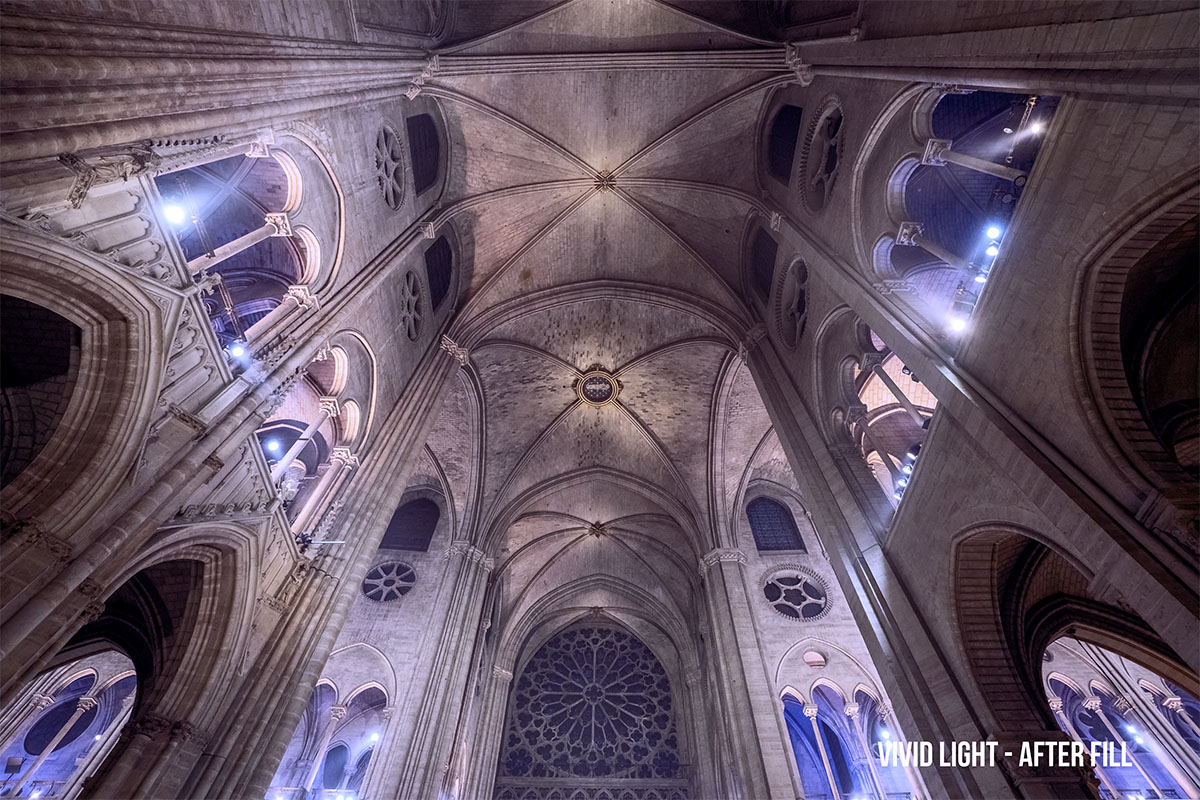
These eight Blend Modes rely heavily on the Fill slider. Each blend mode is a sort of calculation happening in the background after you select it. While they all have different calculations, they are essentially pre-programmed to turn pixels on and off, add, subtract, multiply or divide pixels, or told to call upon other blend modes. The Vivid Light Blend mode is a mixture of Color Burn and Color Dodge and interacts with your image differently based on the selected layer.
Because Vivid Light uses Color Burn and Color Dodge as its base, it makes for some beautiful color graded images.
Here are some quick tips for using the Vivid Light Blend Mode:
- Always use it with Fill. Opacity won’t do much unless it is used in conjunction with Fill.
- Start with Fill to get the look you want and use Opacity to control the intensity
- Because Vivid Light relies heavily on the selected layer, be sure to experiment with different hues of the color you are applying, they will make different effects that either lean more toward the color dodge or the color burn.
- If your image already has a lot of deep contrast in it, I would forgo the Vivid Light Blend mode and experiment with another because it will make it very contrasty.
- Don’t forget to use Masks and Blend If to gain even more control over the effect.
Want to learn about all the blend modes in Photoshop?
Head on over to f.64 Elite to take a look at my brand new full-featured course on blend modes.


Great insight into how Vivid Light actually works.
Pretty crazy little blend mode, huh?
I had no clue that the Vivid light has such potentials.Thanks Blake.
Sweet! Glad I could show you something new today 🙂
Excelent.
You always have NEW possibilites. Congratulation
Thanks, Guillermo!
Blake: As always, you continue to enlighten us and to add tools to our arsenal. Many thanks for another excellent and very useful tutorial!
Thanks so much for the feedback and it is always my pleasure 🙂
Never knew, now I can play around with a new technique!
Woot!
Amazing, as usual. Thanks, Blake
Thanks, Mary 🙂
Best Ever!!!!!
Thanks!
Many thanks Blake. This has added another arrow to my PS quiver.
your instructional tips are awesome, useful and clearly presented. Thank you
🙂 Aw, thanks a bunch! That means a lot to me. Took a long time to perfect it… and LOTS of editing 🙂
You never cease to amaze! Fantastic tip.
Thanks Blake, great as ever. Coming back from the Danube river in Vienna with a bunch of photos I will try this new opportunities.
Wow, just wow. Just love all the knowledge you share. I continue to “up my game” thanks to you!
? my pleasure! I’m most glad I can help!
Great tutorial. Looking forward to trying this out! Thank you.
You’re a genius, Blake!!! Thanks for sharing this unknown technique which certainly will help me to get better results in the post processing!!!
This is really great. I never use this blend mode but can see its usefulness now. Time to go play around a little.
Thanks!
amazing !!!
the only time i used FILL was for a watermark 🙂
this slider doesn’t exist in ON1…
marc
LIKE!!!
Well that was brilliant, now I have to find the time to go over the other 27 blend modes