Photoshop Hacking: Dodging and Buring!
Every once in a while, I find a new way to do things. I am always experimenting in Photoshop. Sometimes I try new techniques and other times I work to revolutionize on old techniques. That happened recently with Dodging and Burning the other day and I had an epiphany!
Dodging and Burning is a critical step in my workflow in Photoshop, but sometimes I find the interface of Photoshop to be distracting. With all the tools, tabs, features, functions, and windows, it can look more like a lab than a place to make art. And that is precisely what I am doing in Photoshop when I dodge and burn. I make artistic decisions and sculpt the light in my photo.
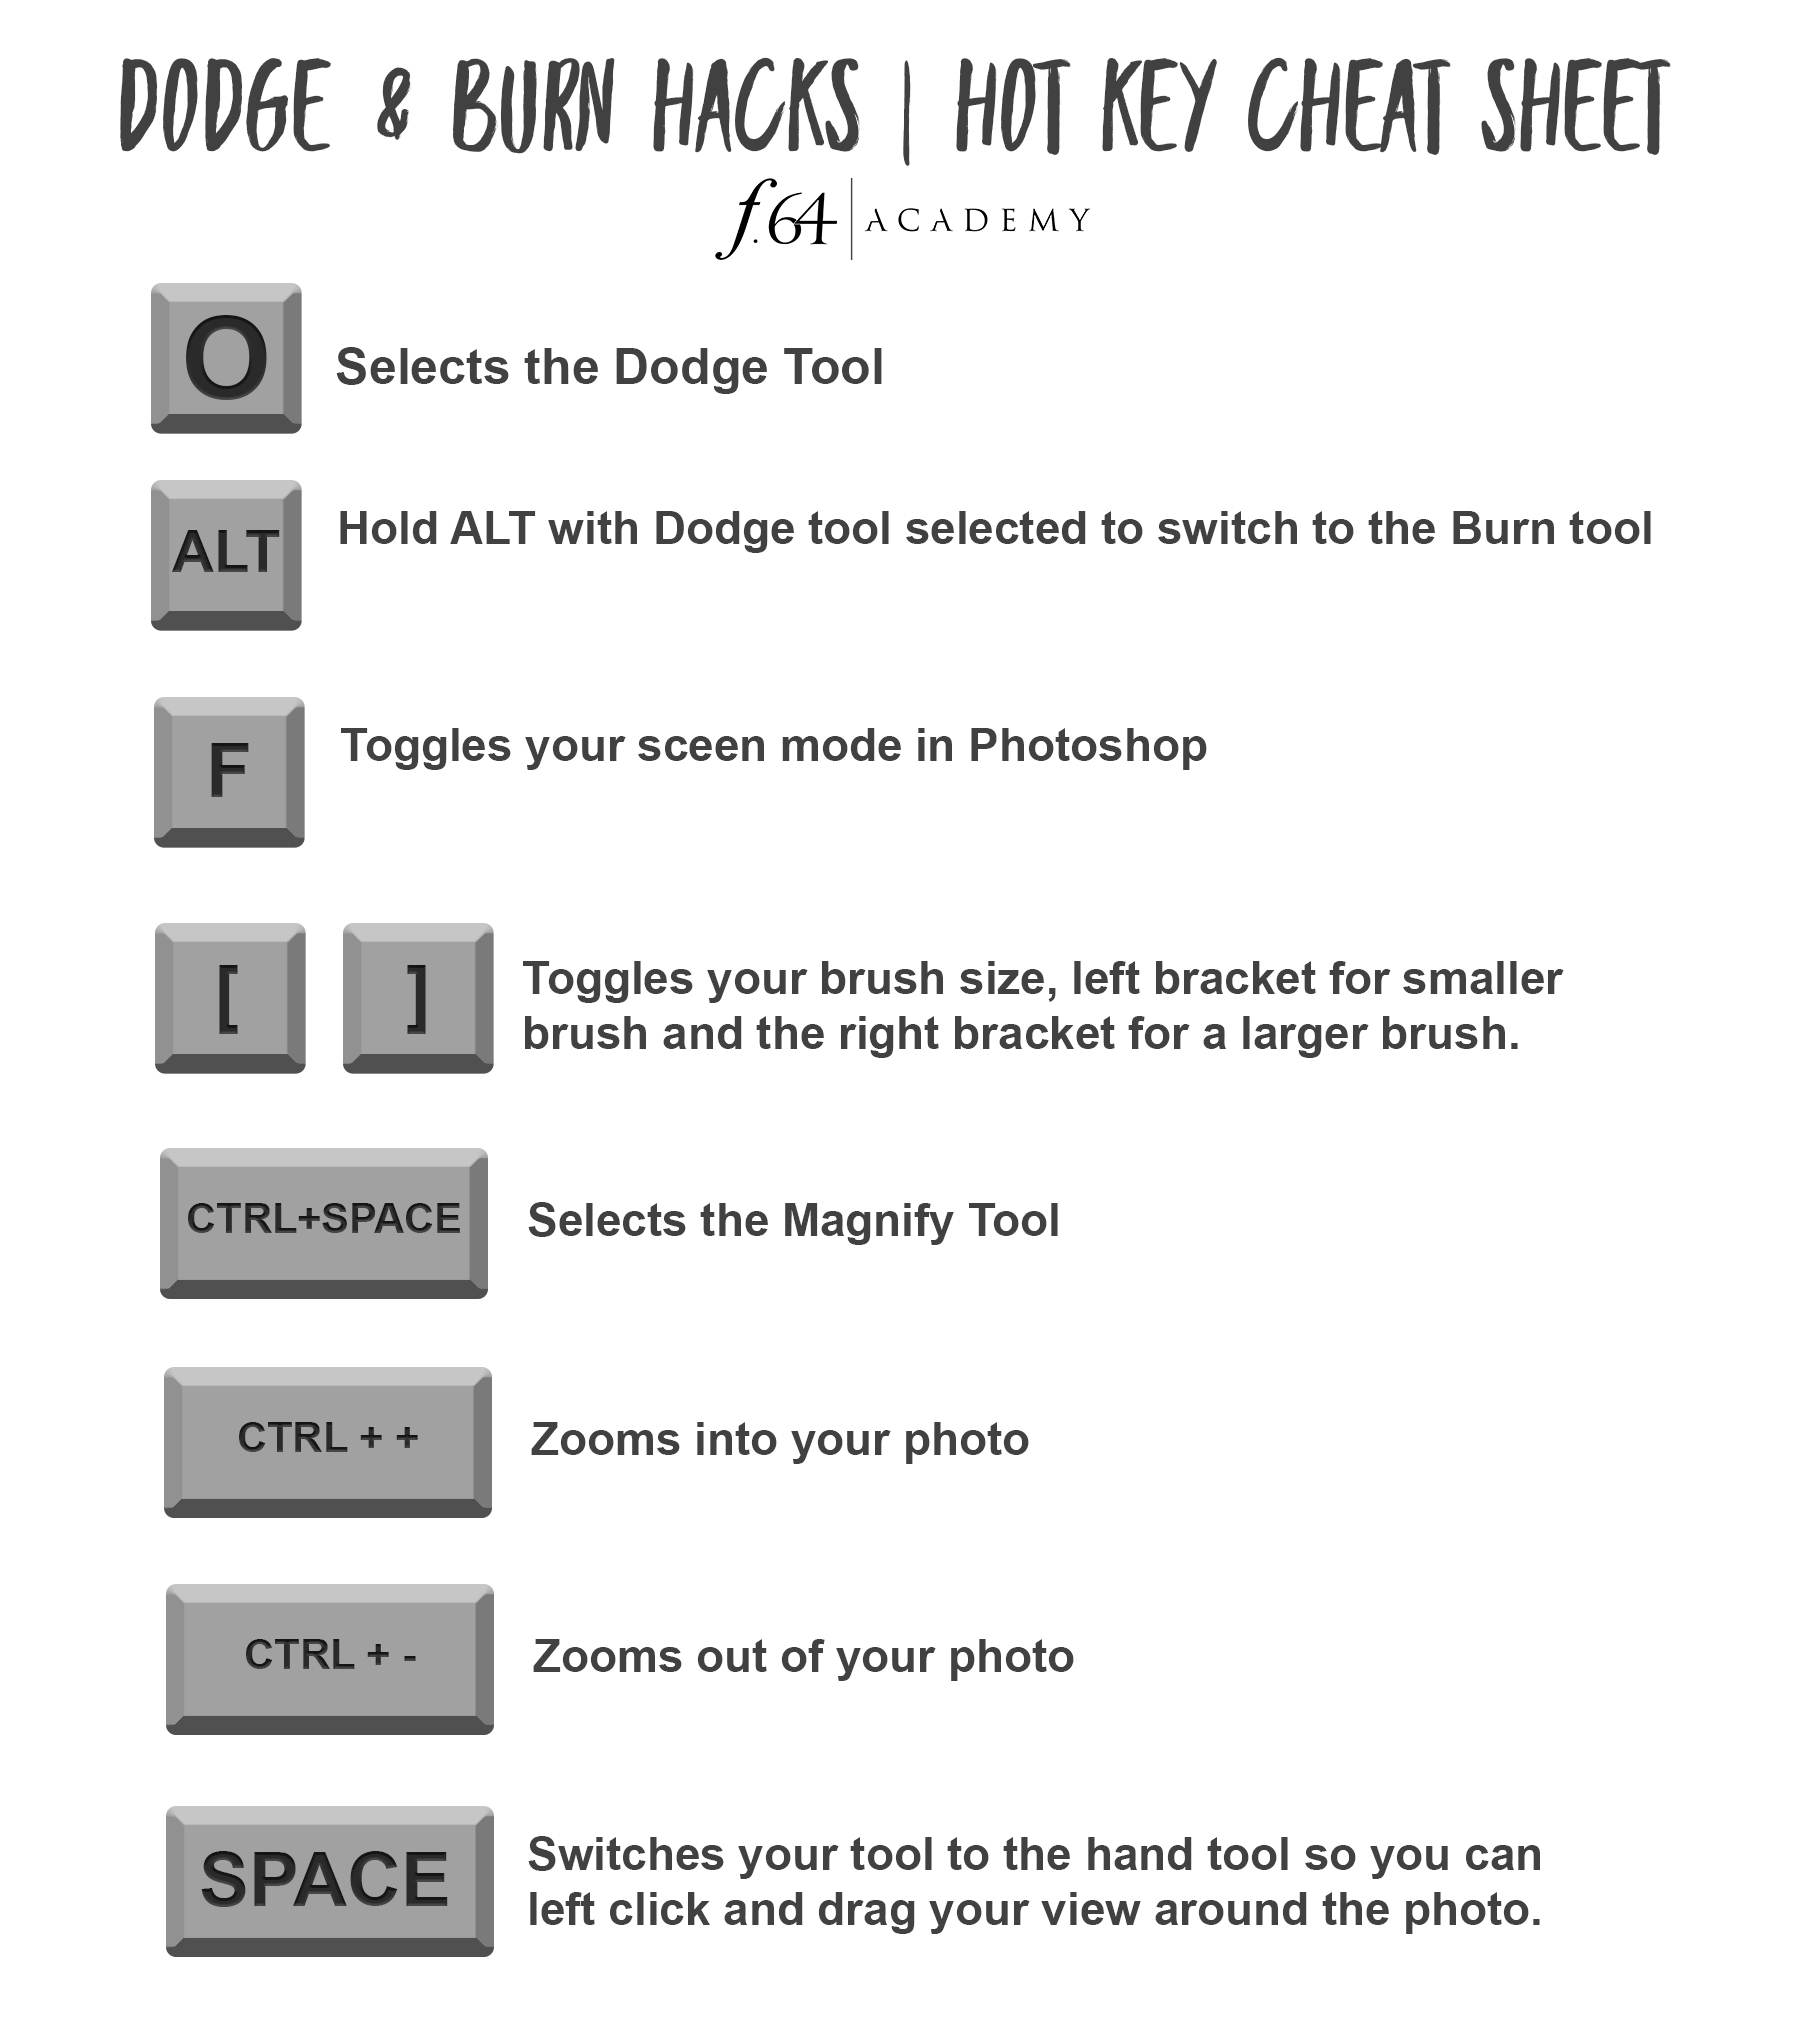
In today’s tutorial I am going to show you how I use hot keys to make Photoshop a mouch more presentable space to work in. I am also going to show you some important hot keys so you can work on your photo without touching any other tool than the Dodge tool! You are going to love it 🙂

The Dodge & Burn Panel
You will learn the following:
► A refresher of the origin of Dodging and Burning
► The three primary methods for Dodging and Burning
► How to add color and Dodge or Burn at the same time
► How to create custom textured brushes for dodging and burning
► How to install and use the Dodge and Burn Pro Panel for Photoshop CC


Thanks Blake, as usual great tips.
Will this work in Photoshop Elements 19?
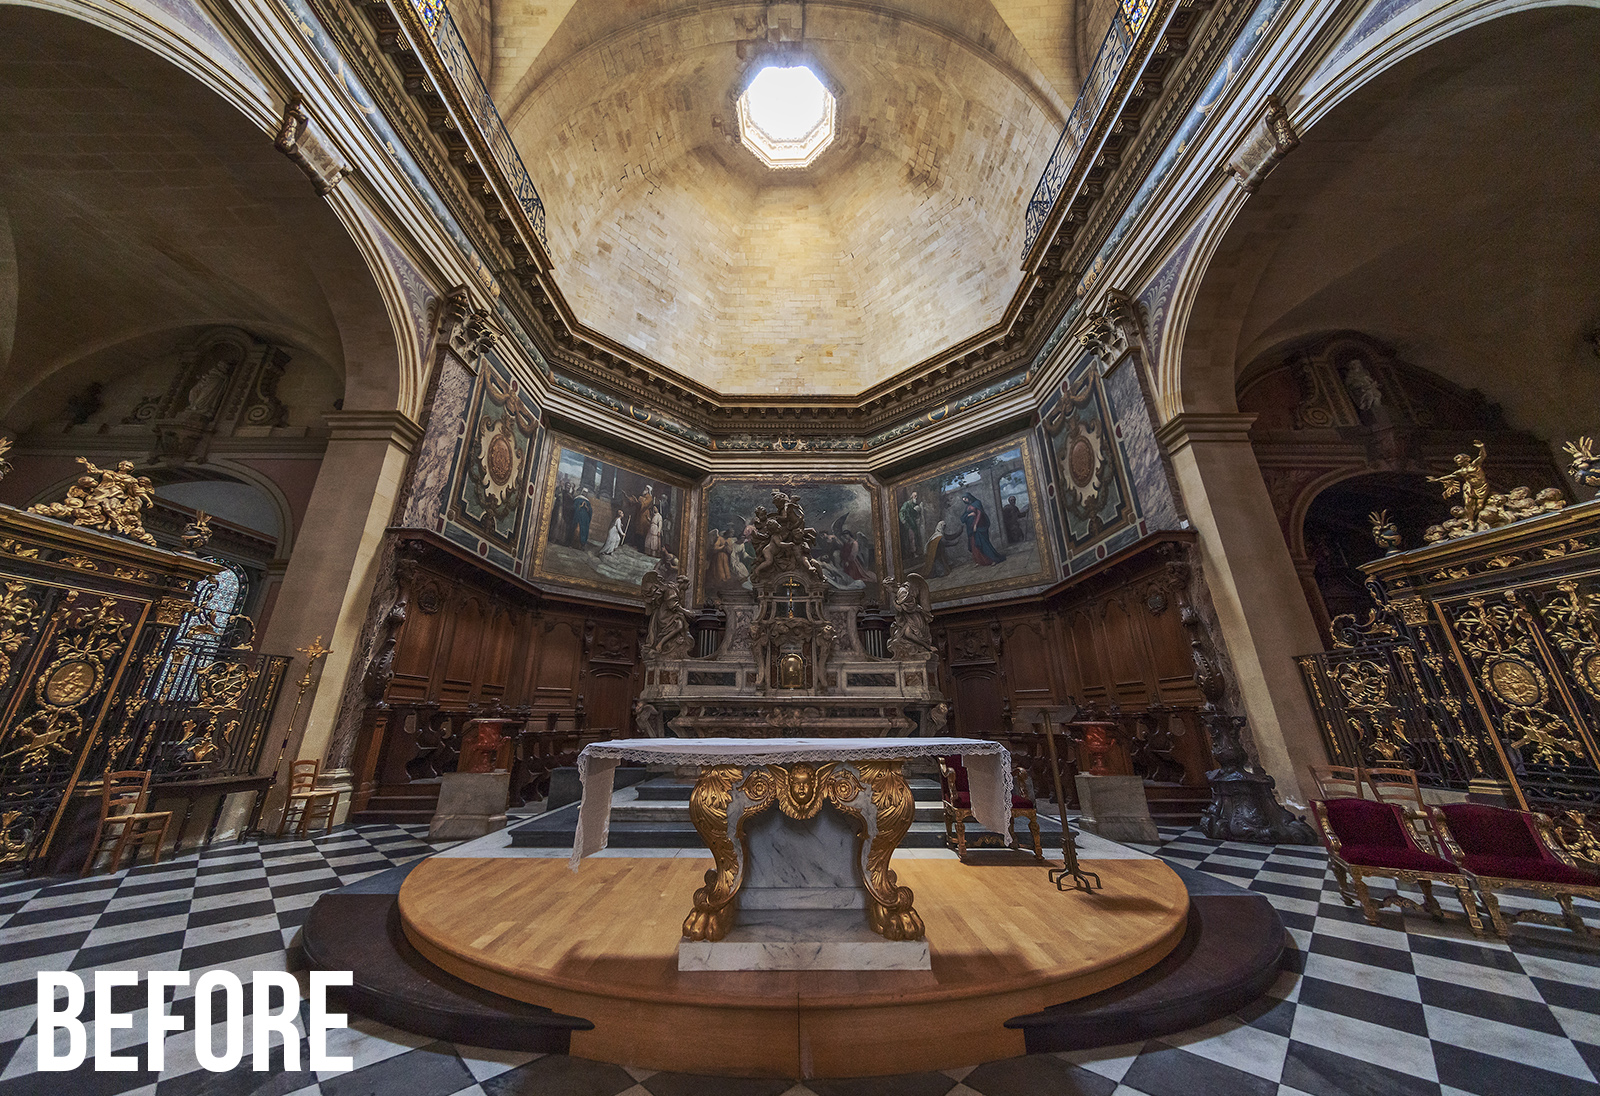
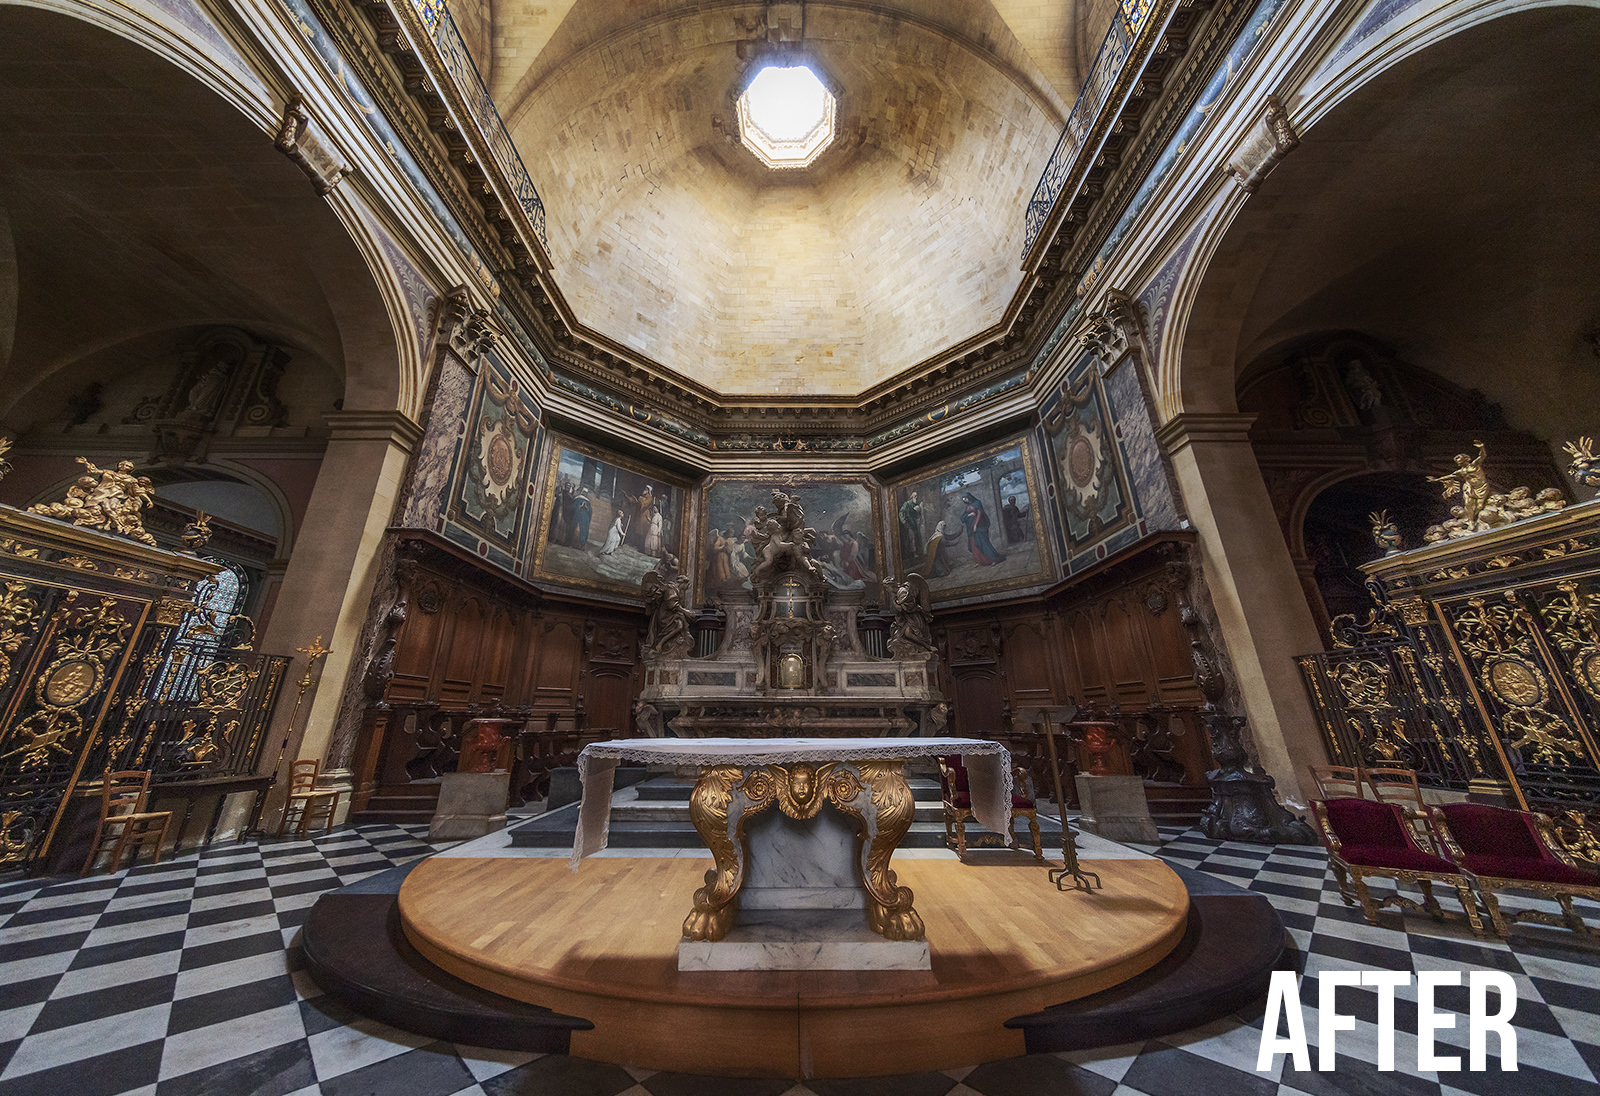
I hope your before and after labels are reversed in the slider above.
I like the before better… it shows more details.
The details have remained the same, all that has changed is the contrast.
No, lol, they are correct. I prefer the after. Others will prefer the before. However, regardless of what you prefer is not the point. The tutorial and the contents of what I am teaching are what you should be paying attention to.
I agree with you, the technique is important, especially because people will dodge and burn their own photos (not this church) and how they like it.
Regarding this specific photo, I know you did it faster than you would normally do, but that golden baby face and dodging on the gold on the right and left is a little too much 🙂 Best regards and excellent tutorials
another good hotkey is the “R” key,for rotating the image while editing,helps with the stroke especially when dodging and burning some images.
Good stuff Blake. Just to make the hot keys easier, When I want to zoom in or out from the image in photoshop and either using a mouse or tablet, I press the ‘Z’ key on the keyboard and slide the cursor left or right depending if I need to zoom in or out.
Nice! I’ll look at z too ?
Vwey brighr!!!
Great tute!
I hold Alt/Option on my Mac along with the mouse Scroll wheel to zoom in and out too. Not sure if that translates directly on Windows or not. But it’s a big time saver for me when you add the Space bar for move like you listed above.
Also that Panel is the bomb!
Blake –
Another shortcut: Ctrl+Shift+N to bring up a 50% grey layer. Up to users to decide if they prefer this or New Layer/Shift F5.
And once in the grey layer, interesting to see you using the Dodge and Burn tools rather than the Brush tools with black or white and varying Opacity.
I do have to admit I like one layer for Dodge and another for Burn. Apologies, I’ll work hard to get over this…
As usual, great tutorial. Didn’t know about using the ‘F’ key, so will definitely be using that. Didn’t realise, or had forgotten, about putting a curves clipping layer over top of d&b layer.
I usually make two 50% grey layers but think I’ll go back to one and put everything into practice and practice until hot key method becomes second nature.
Keep up your phenomenal work my post-processing hero.