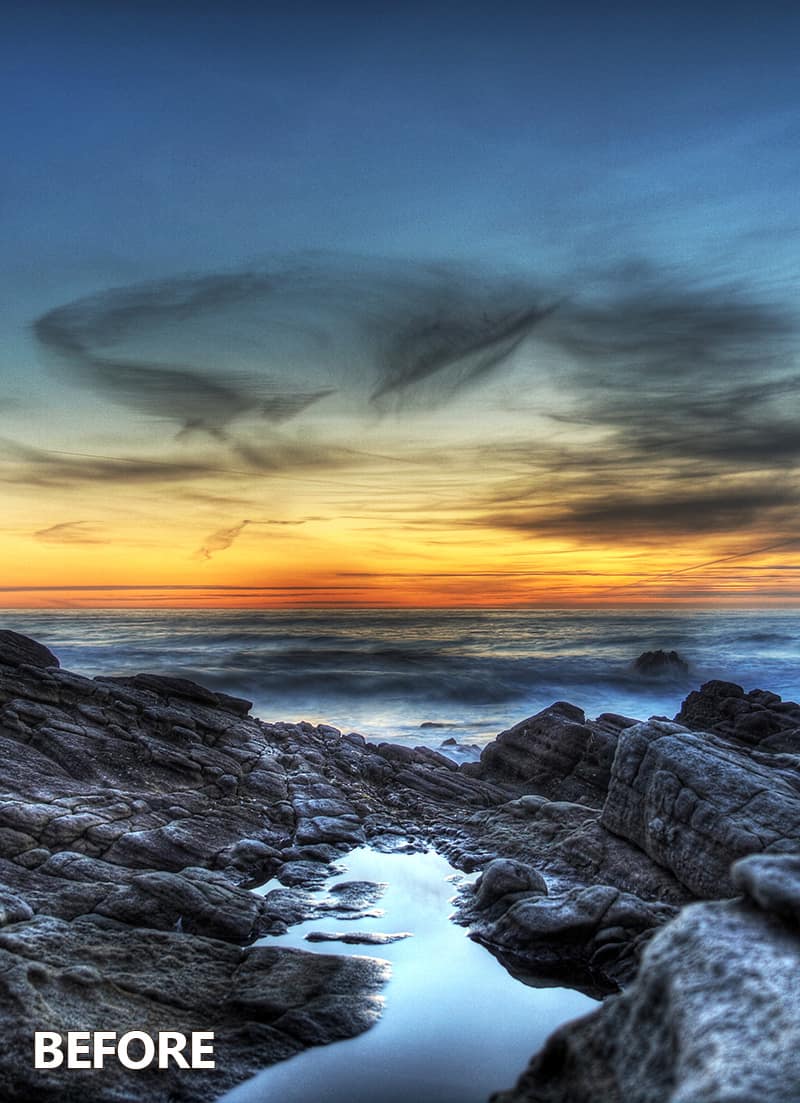
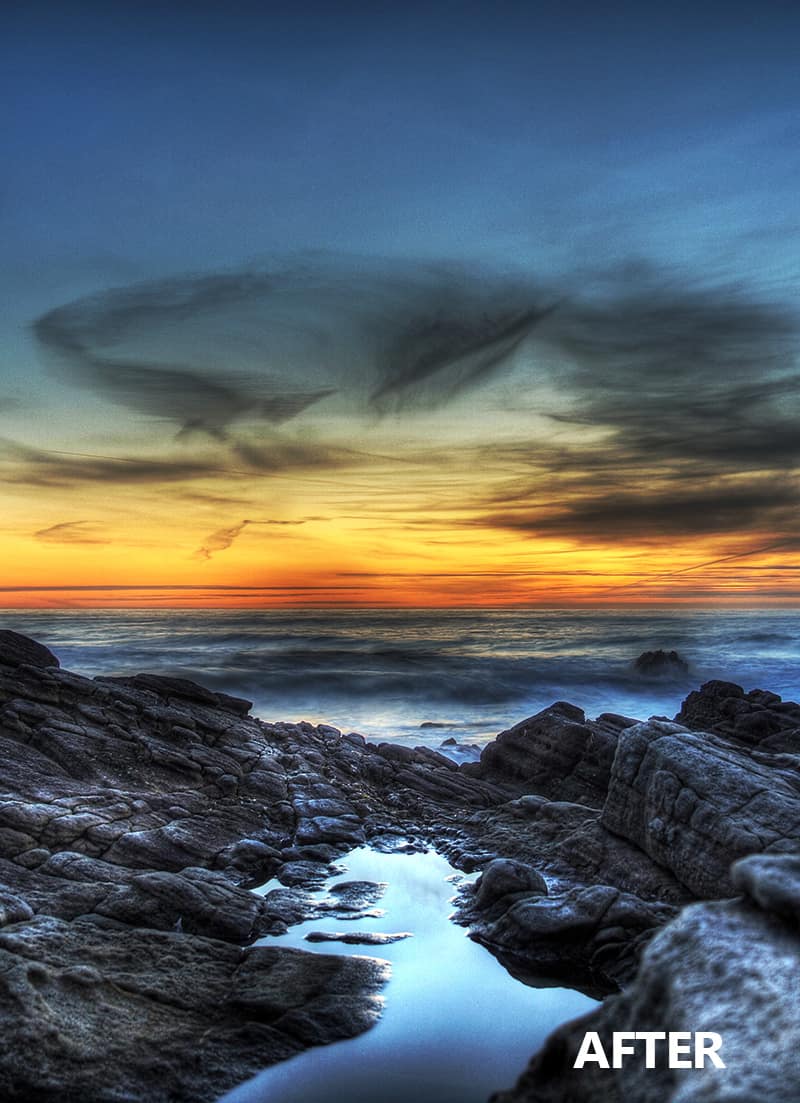
Automated Color Correction? Yes, there are FREE Actions at the end!
Yes it is true, there is a way to auto color correct your images. The idea is simple, but pretty complex all at the same time… kinda like marriage 🙂 (If you are reading this, I love you babe)
During the Topaz Webinar on Tuesday I showed how I auto-correct the color in my images. It uses the reverse Complementary Color Concepts that I discuss in great detail in the Color Zone System. To put it quickly, you find the overall color in your photo, what every color mixed together would be, you then invert that color and apply either the Soft Light Blend mode at 80% or the Color Blend mode at 20%. Each technique will give you a slightly different look, consider them kinda like a checks and balance system.


Then there was the happy accident I ran across, which is more like an auto Saturation boost with a hint of automated Burning, it is pretty interesting. This one, you have to use subtly or it can get out of control and over clipped in the Shadows.


This is very cool, Blake. And it saves a lot of time. I added these actions to my growing list that you generously provide.
Many thanks.
Vinny
Glad you like it, Vinny! I added it to my list as well, although I have so many lists I find it hard to keep up!
Automated Color Correction;
This will be a big time saver, can”t wait to try them.
I really enjoy your posts. Thanks. Joe
I am glad you stop by frequently!
These are a time saver, and more importantly, an eye opener. I use them a lot, I would say they are about 80% accurate on all images right off the bat with no adjustments. However, there are times when more work is needed.
Thanks so much, Blake ~ really appreciate it! Mary
No problem, Mary! Have a great weekend!
Thanks for the video and the actions. I have downloaded your actions once before but have forgotten the procedure to do so. Could you remind me how to do this? I also watch all the Topaz webinars that you present and appreciate the information you share on their products.
No problem! I am glad you like them, positive feedback keeps my fire burning!
To install the Actions:
1. Download the .zip
2. Open the .zip file
3. Double click the .atn file (this should auto open Photoshop and install them in the actions folder)
4. In Ps, press alt+F9 (Option on MAC), that will open the Actions Dialog, you should see the newest Actions installed on the bottom.
If you need anything else, please let me know! everydayhdr@gmail.com
Will this action package work with Photoshop Elements 12? IF so, how do I get it into Elements? Thanks. I enjoyed the webinar.
No, they only work in Photoshop I believe… you could try it, but I don’t own Elements to test it. Sorry!
Before downloading I would like to know if these work in LightRoom. Thanks
Sorry, they will not work in LR as LR does not allow Layering.
Step by step, bit by bit I am learning. Thanks for sharing your knowledge and enthusiasm. Great teaching technique :)– Pam
i never really did any HDR processing , i learned about you from the Topaz webinar , i liked the color correction you introduced . this video added to that . thank you , learned something new .
Awesome! Thanks for stopping by and checking it out!
Thanks for sharing so many good ideas Blake. Still learning the post production process but these actions will definitely help out when I am in a hurry. Off to Thailand at the end of the month. Plan on shooting a lot of HDR to use with Color Zone
Wow! Thailand! Have fun!
Thanks so much Blake these are awesome as usual from you. 🙂
No problem! Thanks 🙂
Hi Blake
Thanks again for your easy to follow Tutorial.
However I do have a problem, when I run the actions I get the message
” command ” make ” not available “.
Do have any idea how to cure this please.
Thank you once again for all your informative tutorials, I especially find
the colour zone ones interesting.
Regards
Malcolm
Hmm, did you happen to use it on a flattened image? Or does the photo have multiple layers? The Action was written for a flattened document with no current layers.
Thank you for these actions. I think they are going to help my processing verey much. I have noticed that some of my images are off and I tried different things (Hue/Saturation) but could not get the way I wanted the colors to be and with these actions, so far it seems to get me to where I want the colors to be in my photos. Thanks again.
You are welcome, Don. They work about 80% of the time with no more added work, sometimes a mask is needed to get the ideal conditions though. Glad you like them.
Hi Blake,
Thank-you so much for video and sharing the actions much appreciated, found that they also work with Elements 11.
They do work with Elements? That is awesome! Glad to hear. Thanks for trying it out and sharing with us.
Thanks so much, Blake!! Can’t wait to try them!!
You are welcome!
Another great video. This is so helpful and I’m sure I will be using it a lot!
Glad I could help!
Blake, Thank You again for sharing your Awesome talent! I just downloaded these actions and will be trying them out today.
using the color correction concept to even better “correct” my infrared images…along with the channel mixer of course
I still have to use a custom camera profile in ACR that I built for the converted D7100 with the DNG profile editor, but the CC concept you have identified makes the conversions look even better by removing color cast
thanks
Jerry
Blake I saw the video and downloaded the actions excited about the time I would save by using them however my version of PS (CS 5) apparently doesn’t have the “average” filter. Is there a plugin or do you have a work around for it? I tried to turn the gausian blur all the way up but that doesn’t work.
My apologies, I was not aware that CS5 did not have an Average Filter. I guess I should install that and look at it to see if I can develop something that would work. Standby!
Ok, I just figured it out.
Take your duplicated image, go to:
Image > Adjustments > Posterize > Set it to 4
Now go to Filter > Gaussian Blur > Set it as high as possible (1000 I think)
That will give you a round about average color.
Now Invert that layer and set the Blending Options and Opacity accordingly.
Hi Blake, greetings from France 🙂
Not only the DZS and CZS that I bought are great tools for grading my pictures, but your tutorials and now this color correction action pack is really helping, especially when balancing my infrared photos. As you know WB and CWB is important in white light photography, it is even more crucial when doing IR or even multi-spectral photography that I particularly love. Of course, creating many camera’s profiles from DNG to adjust the WB in PS or LR is there, but your actions are quite useful to apply the final touch that will make the difference! Thank you again for sharing that with us.
Best regards,
Tonee.
Hello from France! Way over the pond 🙂
You are right on point with your statements. This is a great finishing technique that just helps to clean it all up. I never considered it for IR photography. I haven’t gotten into that yet, that is great to hear!
One more thing about the CZS: i’ve used it to color grade my IR photos. I am BIG time in to IR. I like BW IR but I’m more touched by faux-color IR I must say. And it could get quite tricky to get there. That’s also what I like about it. Reminds me of back in those days when we developed our photos with chemicals etc. When you shoot color IR, most of the time you don’t know what’s the final result going to look alike. Well…you kind of expect it. But magic comes during post. Then the CSZ kicks in. I even customized the actions to add bit more controls to color hue/sat within the zones. It’s a great tool to get deep into the pixels 😉
I just recently found out about your wonderful blog and teaching but when I click on this download it tries to put it into PSE which I don’t even use. Any help on how to get it into PS CC 2014
Hmm that’s weird! You can always open the actions palette and drag and drop the .atn in there. That should do it!
Thanks Blake, I just figured out that I could drag it from my downloads folder into my PS CC icon in my dock. It shows up in my actions menu now!
Is it a free download?
This won’t work for me or for my sister, we are both clicking sign up over and over and it doesn’t do anything like it usually does
Dear Blake,
Greeting from Myanmar!!! I cannot find the action on the link you give. Please tell me what should I do to download that action.
with respect
thiha