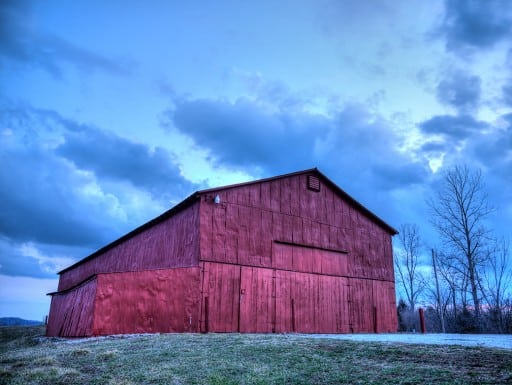
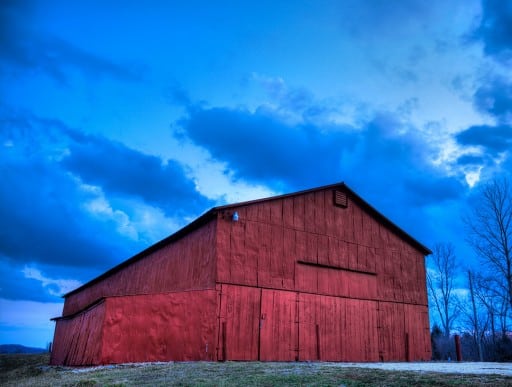
I recently shot a picture of a barn at sunset. I brought it into Photomatix and tone mapped it and all was going well, but I had one distinct problem. The sky was very blue and the barn was very red. Talk about two completely opposite ends of the White Balance and Color Temperature spectrum! I was trying to make the sky a tad bluer, but it made my barn magenta. It was a red barn, I wanted it red!
Enter the Adjustment Brush! In this video tutorial I will show you how I used the Adjustment Brush in Adobe Camera Raw to save a picture from a Color Temperature Nightmare!
***Some other adjustments will be discussed as well, Hue and Saturation, as well as cropping***


Absolutely fantastic. I have not used the adjustment brush enough but from now on it will be the first area I check – thank you