
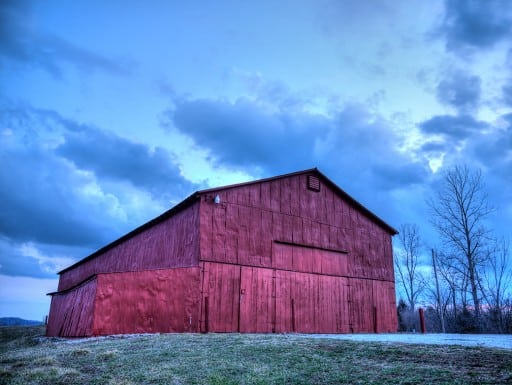
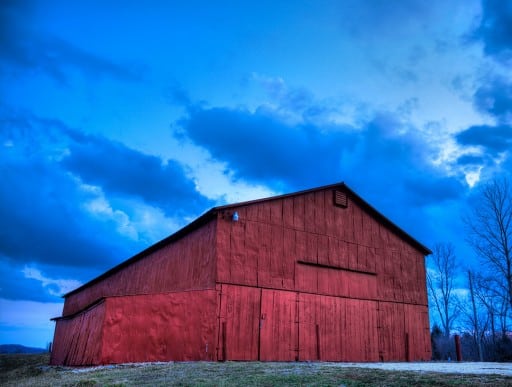
I recently shot a picture of a barn at sunset. I brought it into Photomatix and tone mapped it and all was going well, but I had one distinct problem. The sky was very blue and the barn was very red. Talk about two completely opposite ends of the White Balance and Color Temperature spectrum! I was trying to make the sky a tad bluer, but it made my barn magenta. It was a red barn, I wanted it red!
Enter the Adjustment Brush! In this video tutorial I will show you how I used the Adjustment Brush in Adobe Camera Raw to save a picture from a Color Temperature Nightmare!
***Some other adjustments will be discussed as well, Hue and Saturation, as well as cropping***

f.64 Academy and f.64 Elite are the brainchildren of Blake Rudis. While he is a landscape photographer, he is most passionate about post-processing images in Photoshop and mentoring others.
For Blake, it's all about the art and process synergy. He dives deep into complex topics and makes them easy to understand through his outside-the-box thinking so that you can use these tricks in your workflow today!
For Blake, it's all about the art and process synergy. He dives deep into complex topics and makes them easy to understand through his outside-the-box thinking so that you can use these tricks in your workflow today!


Absolutely fantastic. I have not used the adjustment brush enough but from now on it will be the first area I check – thank you