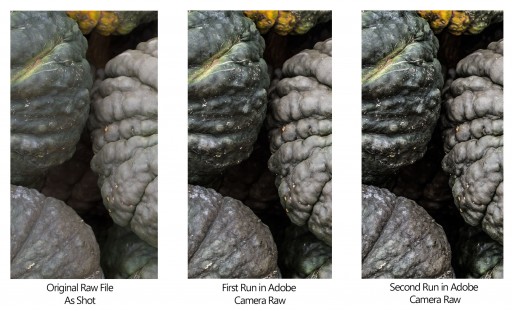
I was experimenting last week with Adobe Camera Raw and found a pretty handy trick that allowed me to double process any image in Adobe Camera Raw.  This is a pretty neat way to take your single exposure RAW files to the next level to really exploit that dynamic range.  With this technique you can squeeze every ounce of dynamic range out of any RAW file but still maintain your original edits to the original RAW file by first saving it as a TIFF and re-opening it an Camera Raw.

Check out the comparison below:


Blake Rudis
f.64 Academy and f.64 Elite are the brainchildren of Blake Rudis. While he is a landscape photographer, he is most passionate about post-processing images in Photoshop and mentoring others.

For Blake, it's all about the art and process synergy. He dives deep into complex topics and makes them easy to understand through his outside-the-box thinking so that you can use these tricks in your workflow today!
Blake Rudis on EmailBlake Rudis on FacebookBlake Rudis on InstagramBlake Rudis on PinterestBlake Rudis on TwitterBlake Rudis on Youtube