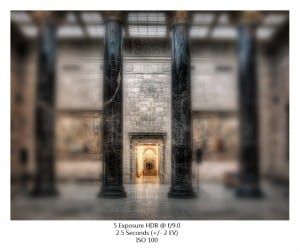
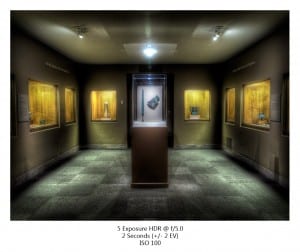
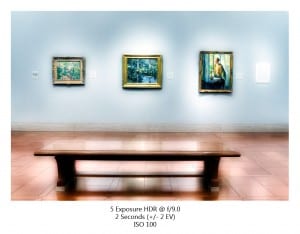
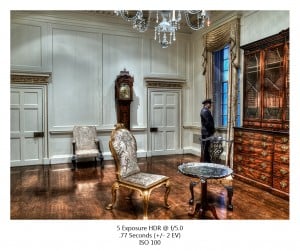
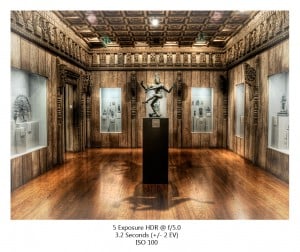
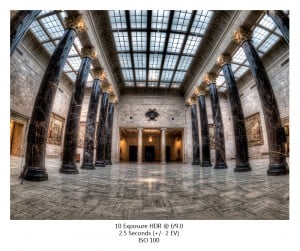
 After processing my pictures from the Nelson Atkins Museum a couple of weeks ago I could see that I really needed to use my tripod there to really make great HDR’s. In order to take my exposures in the museum I had to increase my ISO to 640 just to get a decent shot at f/2.8. I am sure you have heard me gripe about the ISO on my E-30 multiple times, there is a reason it goes down to ISO 100, because anything higher means a nightmare of noise! My HDR products weren’t that bad, but I knew I could get better with a lower ISO and a tripod.
I contacted the Museum and was granted 1 hour of visitor free access to the Museum. I was in hog HDR heaven! I only wish that it could be 8 hours! I was able to use my tripod and set my ISO to 100 and take my time with each room, well as much time as I could afford with 1 hour.
Along with my Actions Package, I modified a few steps in my post processing this week and love the outcome. I will show you a couple of new techniques I acquired this Friday for the Free Tutorial. Last weeks Dual Processing of HDR Images went over very well, but I think this week will be as useful if not more! Also check out the new Texture Package up for grabs in the HDR Store, I will be showing a quick review and ease of use guide on Wednesday.
Tip For The Week:
 When shooting panoramic shots of interiors, ensure that your tripod head is level as you pan. I had a horrible time correcting the Pano’s I took of the rooms in the Atkins Museum partially because I shot them with a Wide Angle Lens at its lowest focal length, another problem with interior panoramas. Since Wide Angle Lenses tend to distort the image you are composing in order to fit it all in one shot, as you pan the distortion changes, as the distortion changes so does the perspective. When I ran the Automated image stitching in Photoshop I had to choose the Spherical option to ensure the perspectives changed as the images were stitched together. What resulted were horizontal and vertical lines that would not correct with any means I know of (Lens Correction, Perspective Transform, Skew, Warp, I even tried the bulge filter).
Bottom Line: Unless you are really going for warped perspectives, change the focal length of your wide angle lens to ensure it is not warping the perspective too much, or avoid it all together and shoot with a fixed lens. Also ensure the tripod head is level as you change positions during panning.

