Add Depth and a Story when you Texture a Photo
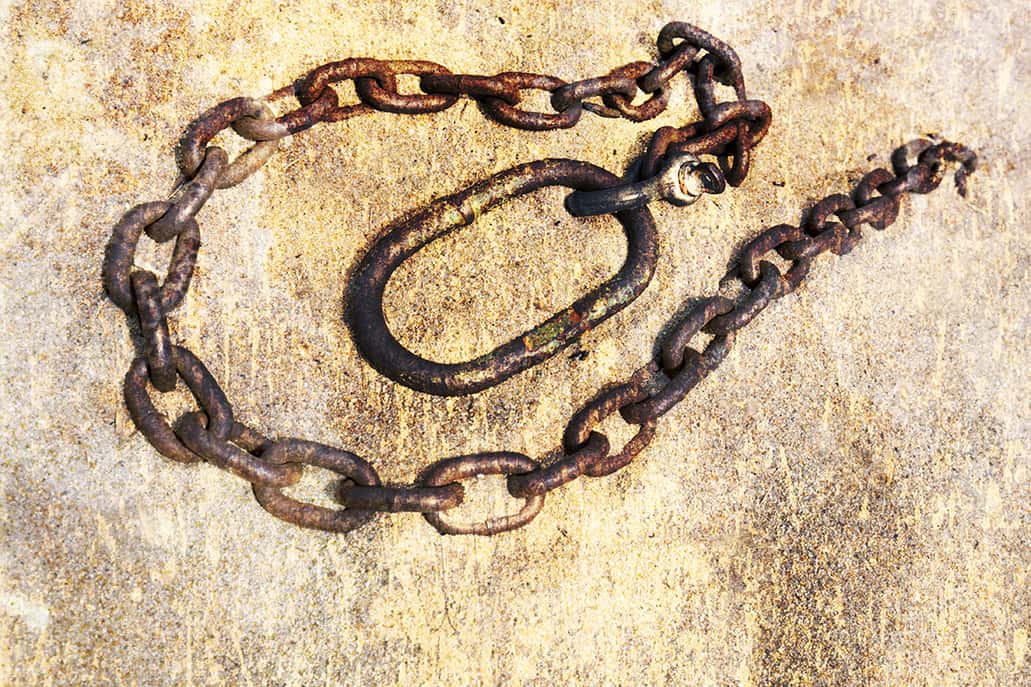
A great way to add a story and depth to your image is to texture a photo. I do this often with photos that could use something extra to make them more dynamic. Kind of like the photo in the video you see today. A rusted chain can tell a story by itself pretty well. It shows age, strength, and restriction. However, a bit of texture on the photo can take that idea to the next level.

In today’s tutorial we are going to look at 4 methods you can use to texture a photo:
- Simple Blending Option: Drag and drop your texture on the photo and change the blend mode to either Soft Light or Overlay. From there adjust the Opacity accordingly.
- High Pass Texture Technique: Similar to the first method, but you create a High Pass Layer with an amount of 150 pixels. Also be sure to desaturate that layer with CTRL+Shift+U to ensure you do not receive any residual color on the photo from the texture layer.
- Blending Options | Blend If: Here you use any of the above methods and use the Blend If options to protect certain aspects of the photo like Highlights, Shadows, or individual Color Channels.
- Stacking: Use any (or all) of the above methods to stack multiple texture layers to continue to build the depth and/or story.
Always remember you are not limited to these 4 basic methods. Also consider Masking, Apply Image, and Filters.
Along with this tutorial is a Texture Package you can download (this is the same package from January of 2015):
Like the style of this tutorial? You will LOVE HDR Insider! Full-Length HDR Workflows, Critiques & More!
[hcshort id=”9″]


Excellent. It always amazes me how there are always multiple ways to skin a cat in Photoshop.
Thanks for all you do,
Vinny
So these directions are for PS? What about PSE?
Another great tutorial. So many different ways to do things in Photoshop. You must be experimenting all the time.
Thanks for your great work. Best of luck with the move.
Love your videos, learning a lot, getting a little better with photo shop and topaz filters Thanks for all the time you send on doing these for us.
Love using textures! They are very useful with close-up floral images, especially if you shoot one flower against a solid background that has similar hues of the flower. In PSE, I add a Mask, and use the Brush Tool to remove areas in the flower I want less texture.
Here’s a great site for a huge variety of textures: Flypaper Textures (http://flypapertextures.com)
I also have PSE and some of these techniques work and, due to Elements’ limitations, some don’t (e.g. ‘Blend if’). But hey, them’s the breaks for using the ‘poor man’s’ version of PS.
Thanks for another great tute, Blake and Cheers from DownUnda.