
An Animated Gif in Photoshop is so much fun to make!
While they may seem like a daunting task it is rather easy to make an animated GIF in Photoshop. You have probably seen animated GIFs around. They were big in the late 90’s when the Dancing Baby appeared all over the web and even on television with the show “Ally McBeal”, I can still remember those episodes! Moving into the early 2000’s they kind of faded out and were seen less and less around the web.
Now with the advent of a site called Giphy, we are seeing more and more of these Animated GIF’s pop up all over the web and more specifically Facebook. My wife and I routinely send GIF messages to one another to flirt while I am at work. Of course, I choose the most appropriate ones 😉
Animated GIFs don’t have to be for fun, though. We can use them on our Websites and Facebook Pages in a more artistic manner to give the viewer a small animated video to go along with their viewing experience. You can see this in the examples at the bottom of the page where I used them to make moving images of the ocean.
It is relatively easy to make an Animated GIF in Photoshop; you just have to know the procedure. In today’s tutorial, we will make a “practical” animated Gif that you can use on websites. The procedure looks like this:
- Open all images in Adobe Bridge or Lightroom
- Create a Stack or Group and edit them with the same settings in Lightroom or Adobe Camera Raw
- Open the entire Stack or Group in Photoshop using “Load Files Into Photoshop Layers”
- Create a Timeline by navigating to Window – Timeline
- Select Create Frame Animation
- Go into the Timeline Options and select “Make Frames From Layers”
- Organize your layers accordingly so they play in the correct order
- Attribute the appropriate amount of seconds to each frame (we chose .35 seconds per frame in the video)
- Press CTRL + SHIFT + ALT + S (CMD + OPTION + SHIFT + S on Mac) to go into the Save For Web Dialog
- Use either of the settings found below to save your image. Refer to the examples to see the difference dithering will make
As of right now you must embed the link and Facebook will fetch it from the hosted site.
Enjoy the tutorial and have fun with those would be throw away images!
Diffusion Dither
Take a look at the Gif below along with the coinciding settings for saving. With a Diffusion Dither selected you get a more natural looking image free of splotches of color. This does add to the image size. This GIF is ~527 KB.
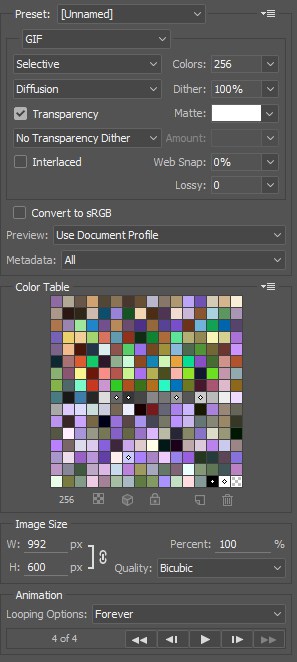
No Dither
With No Dither selected you can see splotches of color that are not rendered like the original photos. This cuts down on image size if that is important to you. This GIF is ~383 KB almost half the size of the dithered Animated Gif.

The Experience of the Scene
Here this Animated GIF has been created from several shots of the same scene. Normally these shots would be throw away images as they did not capture the shot I was looking for. However, they have been used as a moving picture to show you the experience of the ocean while I was shooting.
Repeated Backwards
In this Example the Layers were duplicated and repeated backwards in the layers palette prior to making the Animated GIF. It appears as if the ocean is in continuous motion rather than starting over from its beginning position.

For Blake, it's all about the art and process synergy. He dives deep into complex topics and makes them easy to understand through his outside-the-box thinking so that you can use these tricks in your workflow today!


Funny, but the timing of your covering this couldn’t be more appropriate. I’ve been considering this type of displaying for the past week. My thought was more in the line of showing one image with different kinds of treatments applied.
That is a great use for it. Just remember that each layer has to be a frame with no Masks otherwise, it won’t work correctly. Each layer should look like a flattened carbon copy of itself.
Nice explanation of a fun option. I did one that showed how I had edited an image, step-by-step. It was pretty cool.
One thing though. You say that you would need to apply adjustments to each layer individually (if I understood you correctly).
However, I believe, if you add the adjustment layer at the top of the stack, (after you have added the frames to the frame animation), it should now affect all the layers below. You can even add adjustment layers anywhere in the stack to affect only the layers below.
Great video as usual.
Hi Blake
Really liked this video of how to make animated gifs. Always wondered how this was done and your video was clear and will allow me to try this.
Thaks
I loved it. Have had a short sequence of something I have wanted to make into a movie for years. Now I know how. Can’t wait to try it out.
Thank you so much for giving us written instructions!!!!!!!!
Cherylyn
Fantastic will be looking through me photos to see if I can make 1 or will have to go out and take some new photos
Awesome! Those can be a lot of fun, especially when you put them on your website for demonstration images (if you have a website). Otherwise, they can be fun to share on social media.