
Last week my wife and I went to the Lake of the Ozarks. While there we took a stroll over to the Bridal Cave, thank goodness for Grandparents! It would have been nice to take the wee man with us, but I fear it would have scared him.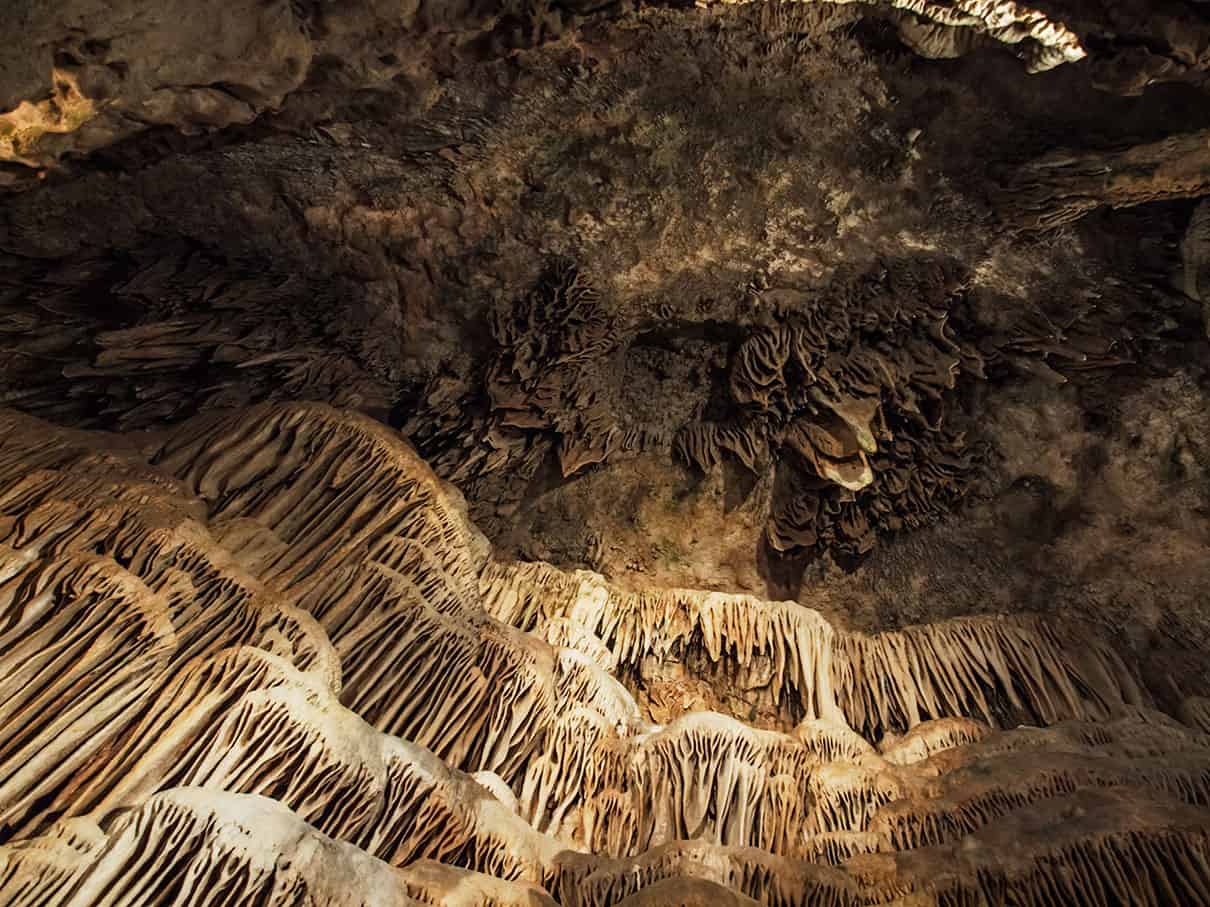
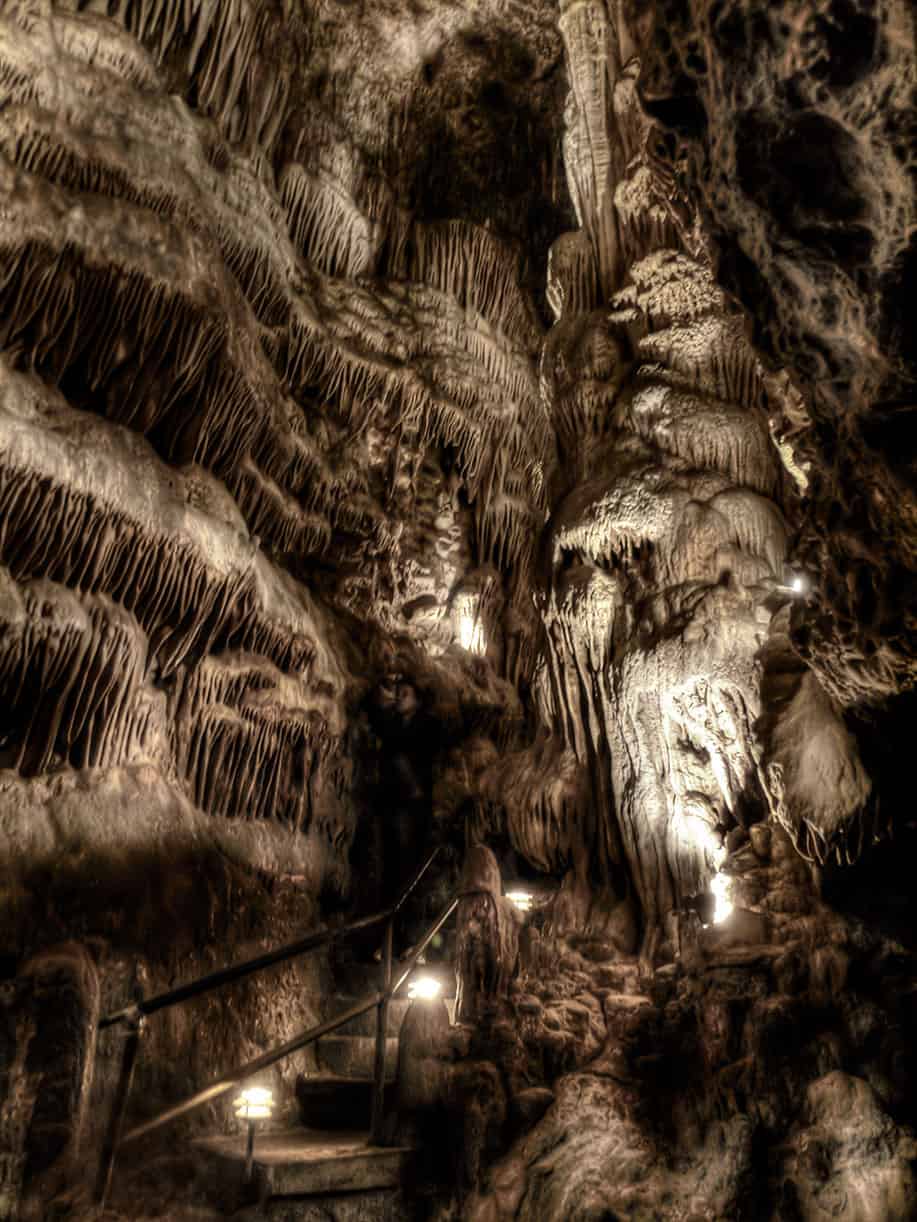
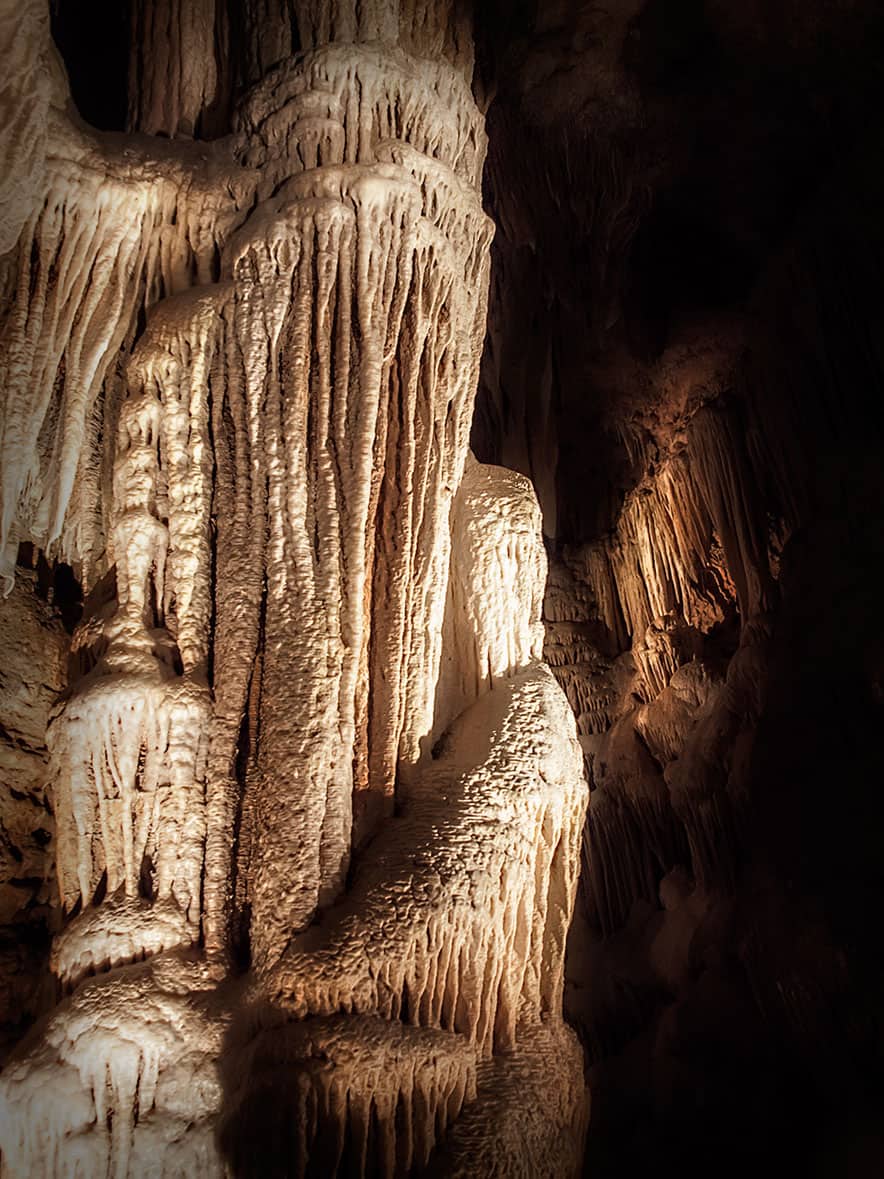
We had a great tour through the cave. I really enjoy the phenomenon that occurs in caves. The forming of stalagmites, stalactites , soda straws, cave bacon, and one of my favorites, cave popcorn. I don’t know what it is about caves but the child in me comes out as I stare around the room at the wonders that have been created within it. To think all of that stuff forms from water droplets.
I am glad I was able to photograph the inside of this cave, some cave tours do not allow cameras at all! Their fear is that people will be using the flash which could invite unwanted algae growth, well that is what I was told by one individual anyway. At Bridal Cave you are free to fire away, flash or no flash!

If you have ever tried to photograph cave interiors it can be pretty tricky. However, you are in luck! I have some tips and tricks for you that will save you the next time you head to the caves!
How to successfully Photograph Cave Interiors:
- CALL THE CAVE: Call ahead of time to find out if photography is allowed in the cave you are trying to photograph. You will not have to worry about this if the cave you are photographing is free to explore. If it is tour guided they may have certain rules or restrictions prohibiting the use of cameras.
- NO POP UP FLASH: Try with all of your might and everything that is in your camera’s power to avoid using a pop up flash. What!!! No Flash!!! Yes, no flash. The reason why I say that is those stubborn pop up flashes do one thing and one thing only, they wash out all of that depth goodness by blasting the shadows into oblivion. Instead of using a flash read tips 2,3,4,5 &8.
- INCREASE YOUR ISO: Increase the ISO to a setting your camera will be comfortable with. Pick an ISO that you know will not produce too much grain but will allow you to snag a bunch of pics without the need for a tri-pod. Many cave tours do not allow tripods of any kind. My Olympus E-30 is not the best on the ISO sensitivity end, I can usually get by with an ISO of 4-800, but anything beyond that produces some very grainy images that are nearly useless for my liking.
- CONSIDER A LOW APERTURE: Place your camera in Aperture priority mode and select a very low aperture, as low as your lens will allow. This will help keep the shutter speed moving fast enough to snag some pics without the need for a tripod or flash.
- BRACE YOURSELF: Many cave tours do not allow you to touch the walls of the cave so they provide handrails. These hand rails can be very handy for bracing the camera. You can make yourself a pretty sturdy tripod by spreading your legs a bit and resting the swell of your back against a hand rail. Control your breathing and snap the pics on your exhales. You can also place the camera base, just under the lens, against the hand rail to steady it.
- STAND IN THE BACK: Try to stay in the back of the tour, you will be the last to show up at the spots that you are exploring but you will be able to snag all of the pics you need as the group is moving forward. Try not to be a nuisance by holding everyone up. Take in the scene while the tour guide is speaking, get an analysis of what you want to shoot, then when the group starts moving, fire away!
- HDR & CAVES: It can be very difficult to shoot multiple exposures for HDR in the caves. I limit my bracketing to exposures that are taken while either myself or the camera is braced. It is just too difficult to try and hold the camera steady when shutter speeds could get as low as 1/2 of a second on the +1 and 2 EV’s.
- THINK AHEAD: Consider taking all of your exposures with Exposure Compensation set to -1 or -2 EVs. It will help increase the shutter speed by 2 – 4 times. Later you can recover that information very easily with Lightroom or Camera Raw.

For Blake, it's all about the art and process synergy. He dives deep into complex topics and makes them easy to understand through his outside-the-box thinking so that you can use these tricks in your workflow today!


