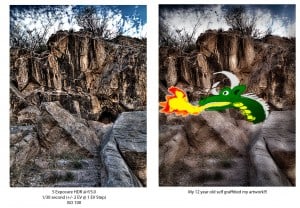
I am still post processing the pictures from Arizona. After visiting Tombstone, I took a trip out to the Coronado National Memorial. This National Park is completely underrated, I really wish I had more time to hike here, but it was a work trip after all. We did a quick .6 mile trail that led to a cave. My inner child was stoked about the cave the whole hike. I guess I spent too much time day dreaming about dragons, dinosaurs, and the unknown as a boy. While my 29 year old psyche disregarded the idea of a dragon living in the cave, my 12 year old self was still stoked about the possibility.
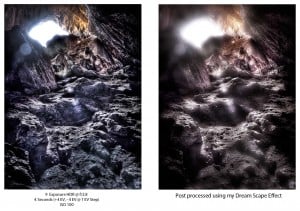
We reached the cave entrance and crawled down only to find we were unprepared for the spelunking adventure. Both my co-worker and myself, only had our cell phones with us for light. Here we were expecting a very small cave, however, this one was about 2 foot ball fields in length. We went in about 200 feet or so before we couldn’t see much, the LED lights on cell phones are pretty powerful, but not powerful enough to illuminate an entire cave. We turned around shortly after I started thinking about the possibility of mountain lions or panthers in there! As we made our way out of the cave I propped up the tri-pod and set myself up for a 5 exposure HDR. I carefully checked the playback of the last exposure (the lightest one) and realized I needed a little more light. So I set the exposure compensation for + 3EV, and repeated the process for -3 EV to ensure I got the full range of exposures. I ended up with 9 usable exposures that weren’t too blown out or too clipped.
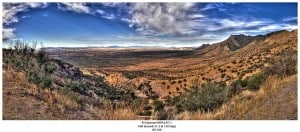
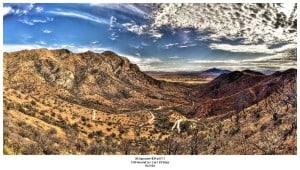
After hiking the cave trail we took a drive to the top of the Memorial that overlooked Mexico and the Montezuma Pass. This was an amazing spot for panoramic views, luckily the clouds were on my side. There is nothing worse than an awesome HDR photo opp with pale blue boring sky.
TIPS FOR THE WEEK:
- When you are shooting a difficult area like a cave, be sure to take multiple bracketed exposures outside the range of your camera AEB setting (Auto Exposure Bracketing). I took 9 exposures to get this shot from +4 all the way down to -4, at 1 EV step increments.
- Challenge yourself to take your images just one step further in post. I was looking at this one straight out of Photomatix, while I loved it I could tell it needed more work. I reached into my HDR bag of tricks and put my Dream Scape effect on it. I was nearly thrown out of my seat when I saw the result!
[important]This Friday I will be doing a tutorial on my normal HDR workflow, from Photomatix to Post Processing. I just purchased a bad ass new condensor microphone and cannot wait to finally give my viewers the tutorial quality they deserve![/important]


Great content like this isn’t easy to find online. You have given the world a wonderful article with many good points to consider. I agree with a lot of your views and enjoyed this article
Thanks a ton, I really enjoy feedback such as yours. I try to make everything I do free to my viewers, it is difficult to get ahead of the game when everyone tends to hold in their secrets.