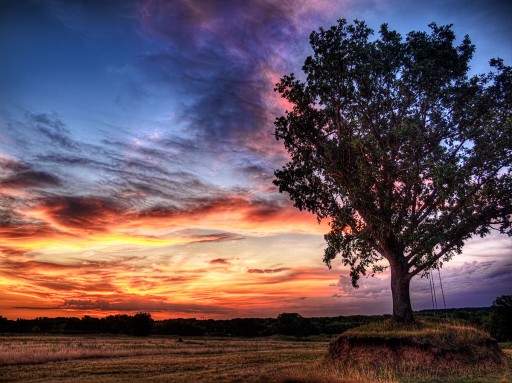
Sunrise Tips are listed at the bottom of the post!
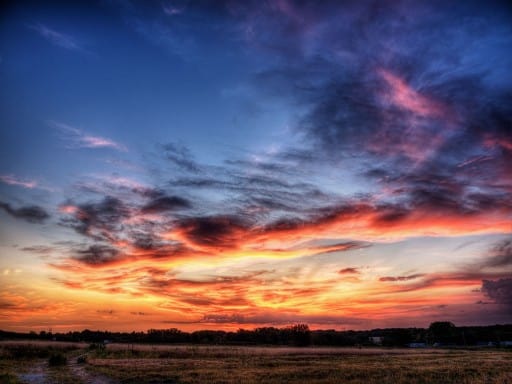 I really wish that sunrise were something that happened at the same time everyday. Well, I know it starts at the same basic time, the beginning of the day, but I wish it were scheduled. For instance, during the Summer on my drive to work, the sun is rising as I leave my house (usually around 5:54 AM). This is an awesome opportunity for me to leave a bit earlier and capture some shots of my favorite locals along the way. However, in the Winter the sunrises much later around 8 AM, therefore my opportunity to photograph it’s glory is smothered in about an hour and a half of work that I have already completed.
Unfortunately, as the Summer has been wearing thin, I am unable to photograph the Sunrise on my way into work as it rises later and later. This sunrise was the last one I was able to capture before my window of opportunity vanished. I will take it, gladly!
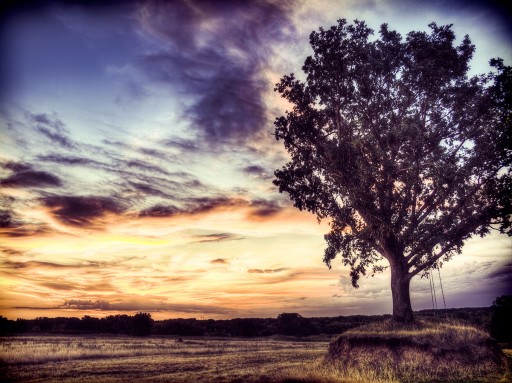
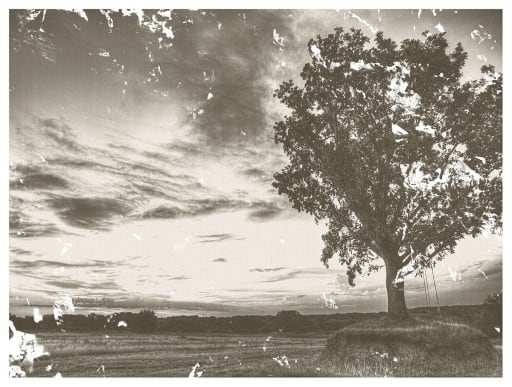
During the post processing of this sunrise I did the usual, run it through many different Actions (like the ones in the Tidbits of Awesomeness Actions Package, shameless plug…). I love this experimenting process, but unfortunately it tears me up at the same time. With so many options I cannot decide which I like best, the Original (First), the Cross Process (Middle), or the vintage (Last)? Unfortunately, the latter two have been jaded by horrible one button apps like Instacrap, I mean Instagram…
More Photo Tips For Sunrises:
- Try to make it out to the location 45 minutes prior to the Sunrise. I use an App called Terratime which allows me the ability to see when the sun will be rising and setting on any given day. The great thing, it has always been spot on! Getting to your location 45 minutes prior to the sunrise gives you the opportunity to get setup, analyze your surroundings, and watch the sunrise action take place.
- Try to find something to put in front of the sunrise. I chose this tree, which was only about 10 feet away from the spot I took the image at the beginning of the post. Take a look at the differences, while the sunrise is beautiful in both, the tree gives you something to brace yourself on and really puts the power of the sunrise into perspective.
- I would suggest being tripod mounted so you can shoot the sunrise at slower apertures (f/8.0-f/22) this will allow you to take advantage of the wide open depth of field. I handheld this series of brackets which forced me into a corner at f/2.8 to get the most out of the available light. If I were not on my way to work and had time to setup, you better believe I would have been tripod mounted and at F/8.0 or greater!
- When I shoot sunrises for HDR I tend to meter for the sky to ensure I get the proper exposure for the sky as my 0 EV shot. The 0 EV exposure is the building block for the tone mapping process, I always try to meter for my focal point with that first shot.
- In an earlier postI gave a quick tip on how you can really pull out a lot of drama in your sunset shots during post processing. It works just as well for sunrises:
- Duplicate the layer, ctrl+J (cmd+J MAC)
- Change the blending option to Soft Light
- Watch how the Soft Light Blend Option sends the photo to another dimension of sunrise/set awesomeness!
- You may need to adjust the Opacity to your liking.
- Also make sure you mask out those areas that you don’t want to be effected by the soft light, preferably everything but the sky.
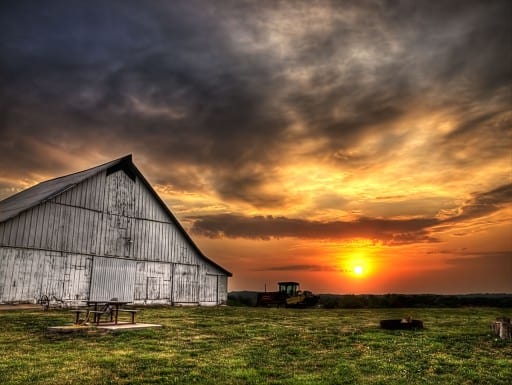
A different sunrise, but look at the barn placement. If at all possible, try and put something in front of the sunrise to give it a sense of place. It took me forever to move this barn by myself, but once I did all that sweat paid off!

