
I was working on the bicentennial image last weekend and came a cross yet another use for the High Pass filter. Have you ever layered an image on top of another, changed the blending mode to say Hard Light, and watched all of your contrast and detail from the image below disappear? Try making a High Pass from the layer below and place it on top of the middle layer, thus creating a High Pass Sandwich. Check it out:

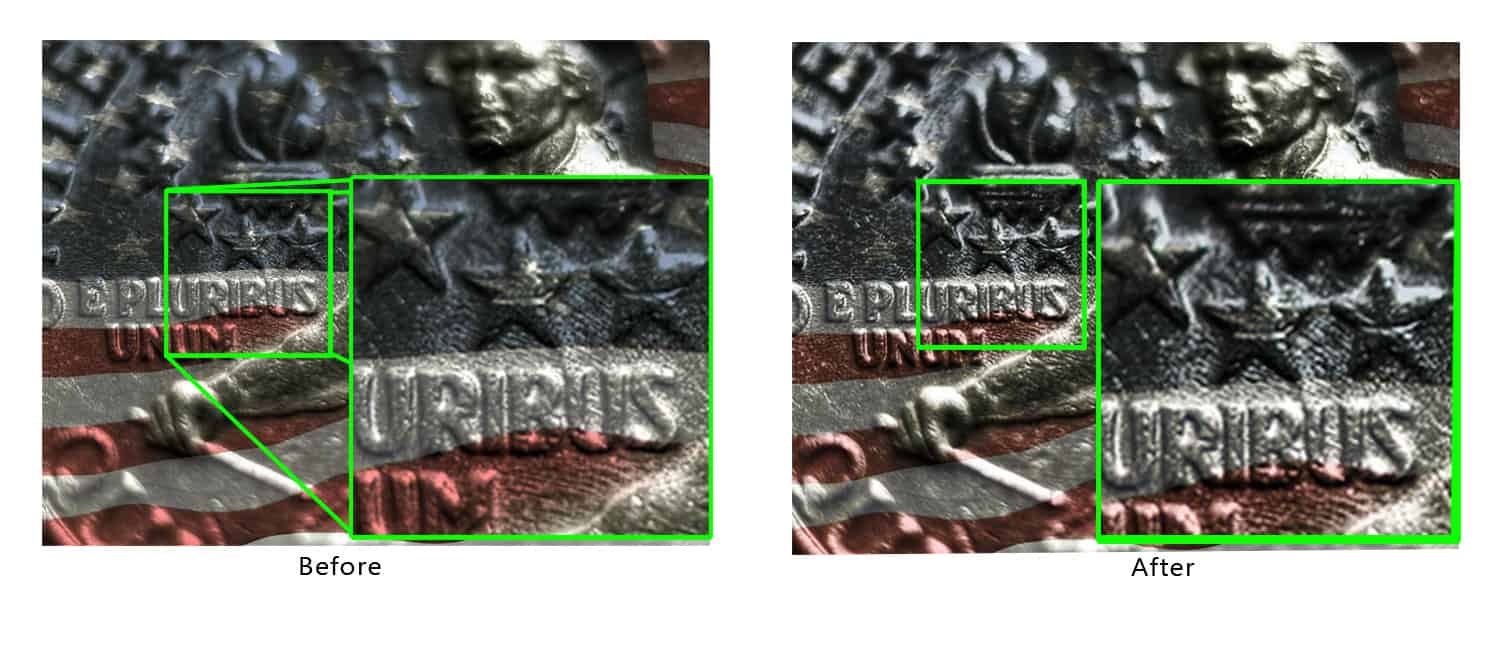
Check out the before and after. Look closely, the details are popped out slightly, not blaring, but just enough to make the underlying layer more prominent. These very minute details are extremely important when compositing images. You can always tone down the effect by bringing the Opacity and Fill down on the High Passed layer.


For Blake, it's all about the art and process synergy. He dives deep into complex topics and makes them easy to understand through his outside-the-box thinking so that you can use these tricks in your workflow today!


That’s a great technique.
Thank you Eric, I use it all the time to pull an image back together. Glad you like it.