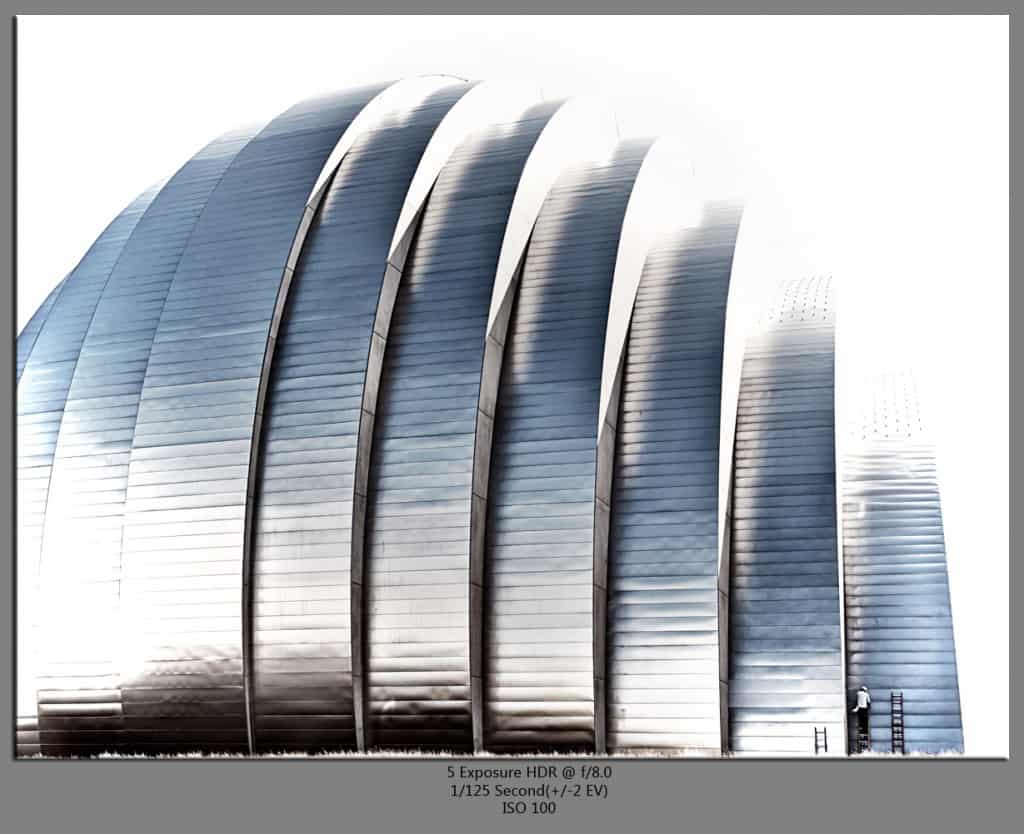
 You know, there are a lot of people who take pride in capturing the perfect shot in camera and doing nothing to it in post, purists as they call themselves. They meticulously frame the shot, get the composition just perfect, adjust the exposure and white balance to a T and then snap the shot. They get home and they hold that little shot in their pure hands and think wow, I did this…
That is exciting, it really is and I feel very happy with myself when I do the same. However, no matter how well you compose this shot you see here, there are still some blatant distractions. That is where Photoshop comes in and that is where the purists are missing out on an extremely important element in digital photography, distraction removal.
I didn’t care too much for the antenna on the top of the building or the light pole obstructing the architecture, and the building in the lower left hand corner distracted me from the image as a whole. So what did I do, I cloned them out. Is it cheating? In my opinion no, I envisioned the scene without them there as I was awestruck by the architecture of the Kauffman Center in Kansas City. It wasn’t until I got home that I saw the distractions and thought to myself, “Were those there when I shot this, I didn’t see them?”
When it comes down to it, I am the artist in the situation and I can decide what I want my viewers to see. I want the viewers to see this shot as I envisioned it, without distractions. I also heightened up the contrast a bit and added a Silver Effect to it (see below the picture for the low down on how to do it).
Tip For The Week: Silver Note
I call this quick effect Silver Note.
- In PS CS5, create a new layer above the image you are working on (Ctrl+Shift+N)
- Fill the layer with white (Shift+F5) and select white as your fill color.
- Set the blend mode to Hue in the layers palette (for the white layer). You should be seeing a greyscale image now.
- Go to the Opacity and set it to 80%, and set the Fill to 90%.
- Now create a new Contrast/Brightness Adjustment Layer and set the contrast to 100.
- Tweak it to your liking after that, but use the above steps as a solid base for your Silver Note.


