
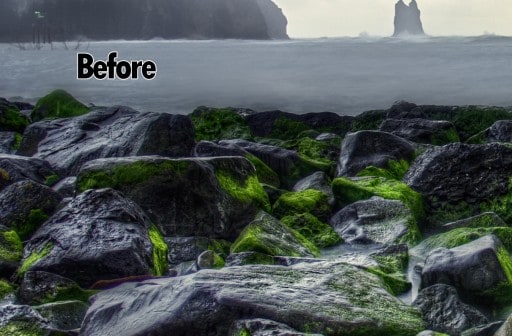
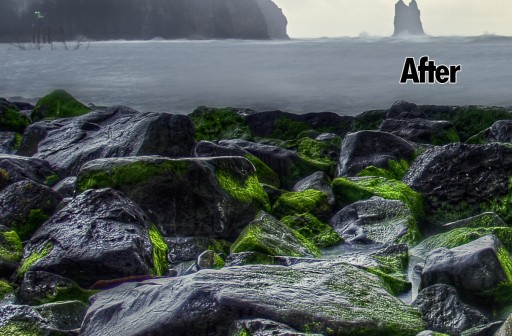
Sharpening is the last, most critical step, you take prior to saving your image. Many people sharpen the entire photo and call it good. But did you know you can make more compelling images if you selectively sharpen only the areas you want the viewer to spend the most time on?
In this quick tip I will show you just how quick and powerful selective Sharpening can be! It utilizes the incredible selection methods in Photoshop to only grab your mid-tones and sharpen them using an Unsharp Mask layer.
It is quick, easy, and most important effective!
Like this tutorial? Want to see how this photograph was processed from beginning to end? Try HDRInsider
![]()

f.64 Academy and f.64 Elite are the brainchildren of Blake Rudis. While he is a landscape photographer, he is most passionate about post-processing images in Photoshop and mentoring others.
For Blake, it's all about the art and process synergy. He dives deep into complex topics and makes them easy to understand through his outside-the-box thinking so that you can use these tricks in your workflow today!
For Blake, it's all about the art and process synergy. He dives deep into complex topics and makes them easy to understand through his outside-the-box thinking so that you can use these tricks in your workflow today!


Hi I like your video but would not Smart sharpen be better
It could. It really comes down to personal preference and where you think it is necessary. There are so many ways to sharpen. It comes down to your comfort level really.