
A few weeks ago we were visiting the Lake of the Ozarks. The whole family was asleep, taking the routine nap, Michael always sleeps better with Mommy close (he is a Mommy’s Girl)! I really wanted to get outside and do some shooting but it was raining.
My current camera is not weather sealed so I was a bit worried about going outside in a downpour with my camera. However, I had to get out there and photograph the raindrops hitting the lake. It looked beautiful in a monotonous kind of way. Kind of like a paper bag blowing in the wind.
I looked around the kitchen for something or things I could use to create a makeshift rain coat for my camera. I looked in the infamous miscellaneous drawer and, as if by fate, I found a rubber band, a shopping bag and a pair of scissors. My inner McGyver came out and the following DIY project is what I came up with!
How To Protect Your Camera From the Rain EverydayHDR Style!
What you will need:
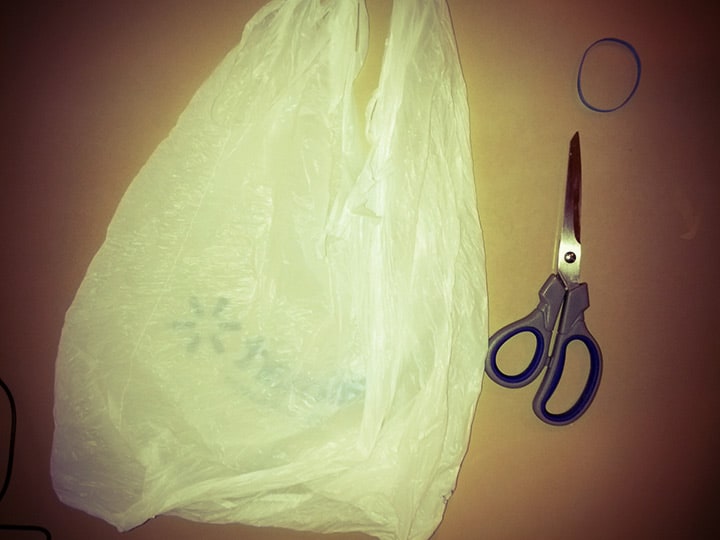
- Rubber Band
- Shopping Bag
- Scissors
This is really quite simple, very far from rocket science or mail box repairs.
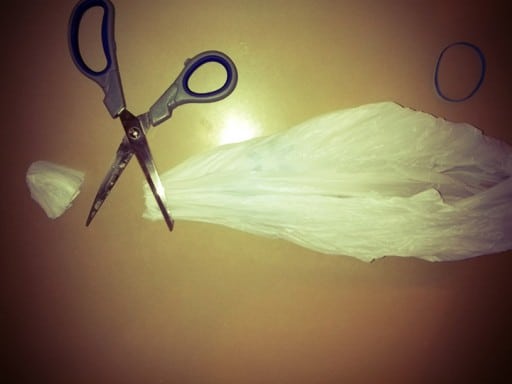
- Roll up the closed end of the shopping bag shopping bag.
- Cut the tip of your roll with the scissors.
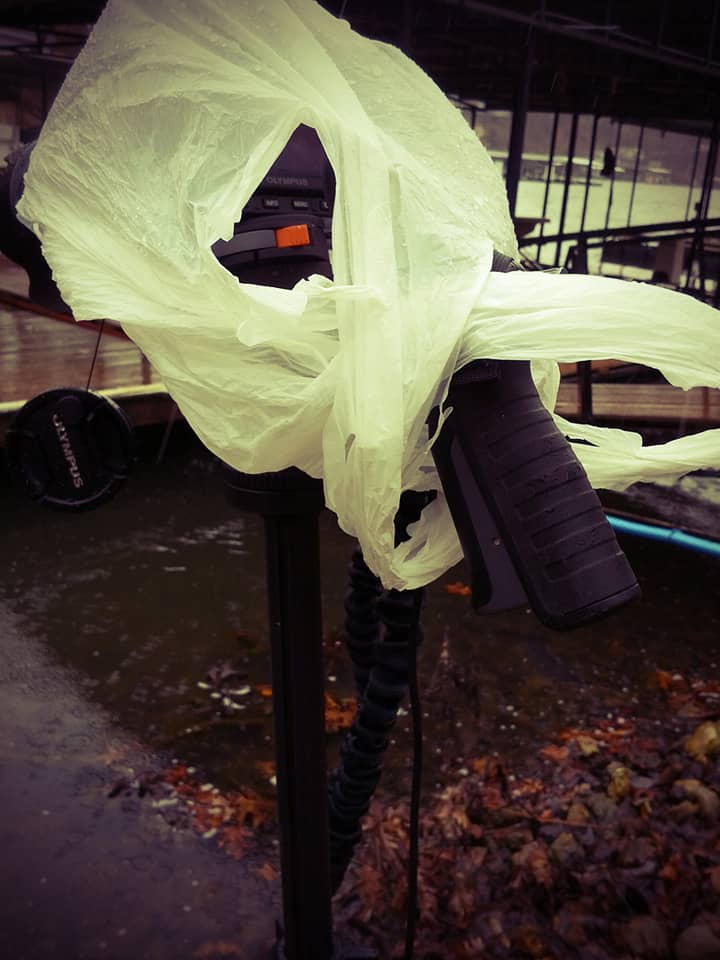
- Place the lens hood on the camera and place the bag with the newly cut hole over the lens hood. Wrap the Rubber band around the bag.(The picture below shows it around the lens itself in case you do not have a lens hood. However, the lens hood wrap is the best for the most protection)
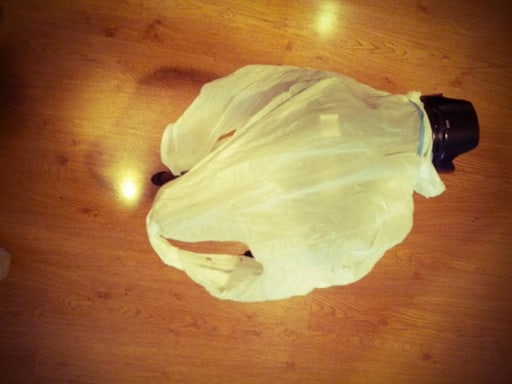
- Now you can peak through the open end of the bag and have access to all of your controls to include the zooming of the lens.
- Take your camera out into the elements and give it a shot, no pun intended!
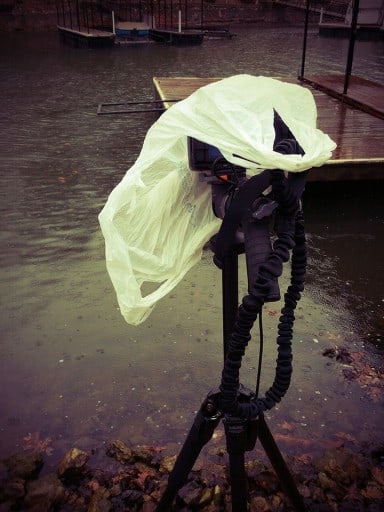
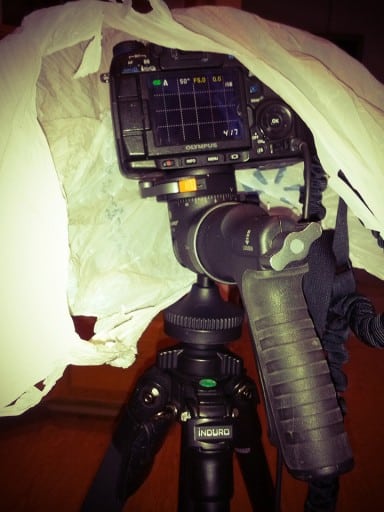
- For added protection you can wrap the handles of the bag around a protruding piece of your tripod.


You can now take pictures in the rain without the fear of your camera being destroyed. I was outside shooting with this configuration for about 20 minutes or so and did not have an ounce of water on the lens body or camera body. Every once in a while I had to wipe the lens off to get the rain drops off of it, but other than that it worked like a charm! Imagine if you used the same technique but with a black outdoor yard bag, you could climb on in with it!
You could also be prepared for the rain by rolling on over to Amazon and picking up some rain sleeves. However, if I had those I would not had had to use my big old brain to figure this one out would I?
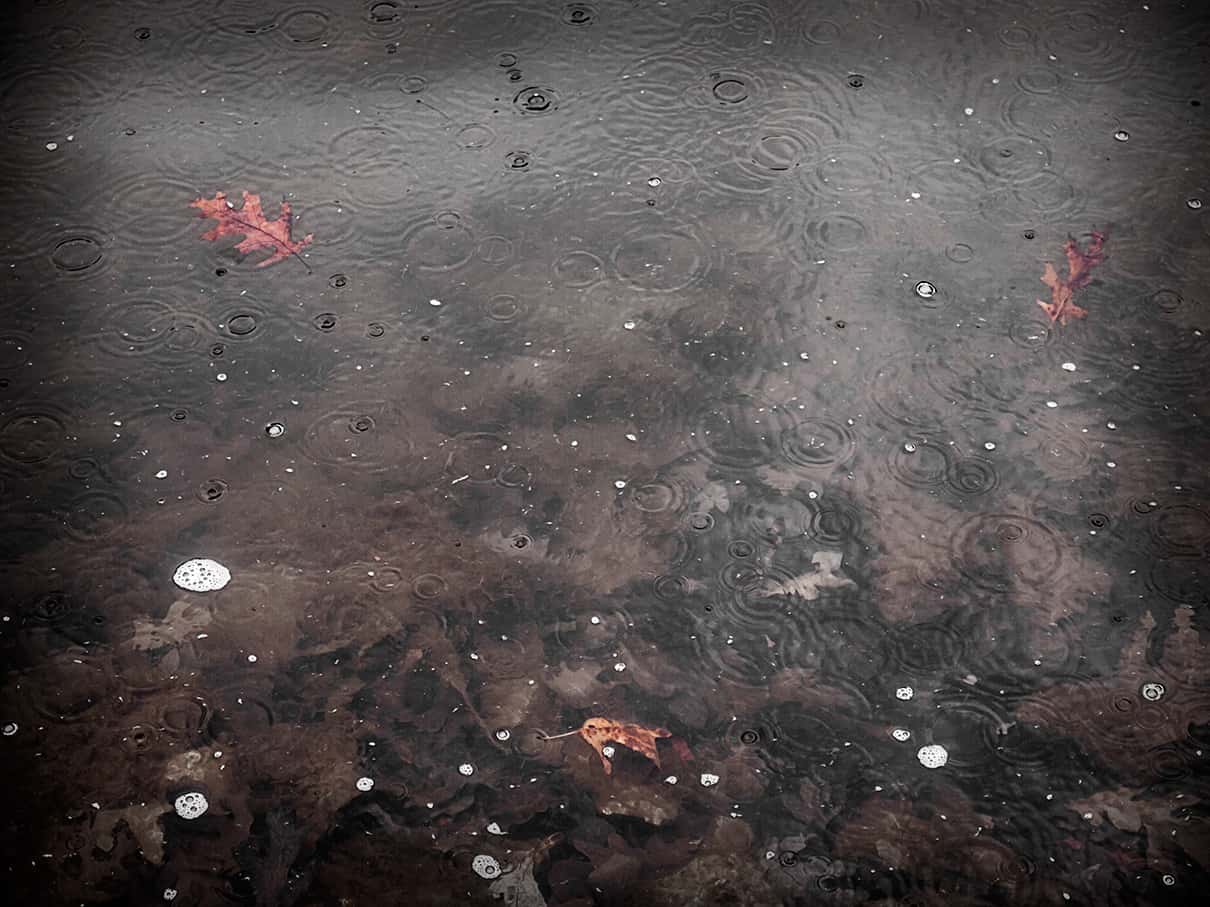
[notice]Here is a tip for photographing rain. Put your camera in Shutter Priority Mode and select a fast shutter, 1/500th or higher. This will help freeze the action of the raindrops![/notice]

For Blake, it's all about the art and process synergy. He dives deep into complex topics and makes them easy to understand through his outside-the-box thinking so that you can use these tricks in your workflow today!


I have done the same technique with a 2.5 gallon zip storage bag. Cut one corner of the bag off on an angle that will fit over the lens of the camera….. I keep one of the prepared zip storage bags folded in my camera bag and in my backpack in case of a rain emergency. I can also place the camera inside the bag and zip it closed to help protect it. Came in handy out on the Gulf beach after a hurricane with lots of rain, wind and blowing sand when I was going for photos of the storm clouds and rough water. thanks for your tips and tutorials.
That is a great idea! I keep a plastic bag in my camera bag at all times. I have a black trash bag all wound up with a rubber band in case I need the cover like you see here.