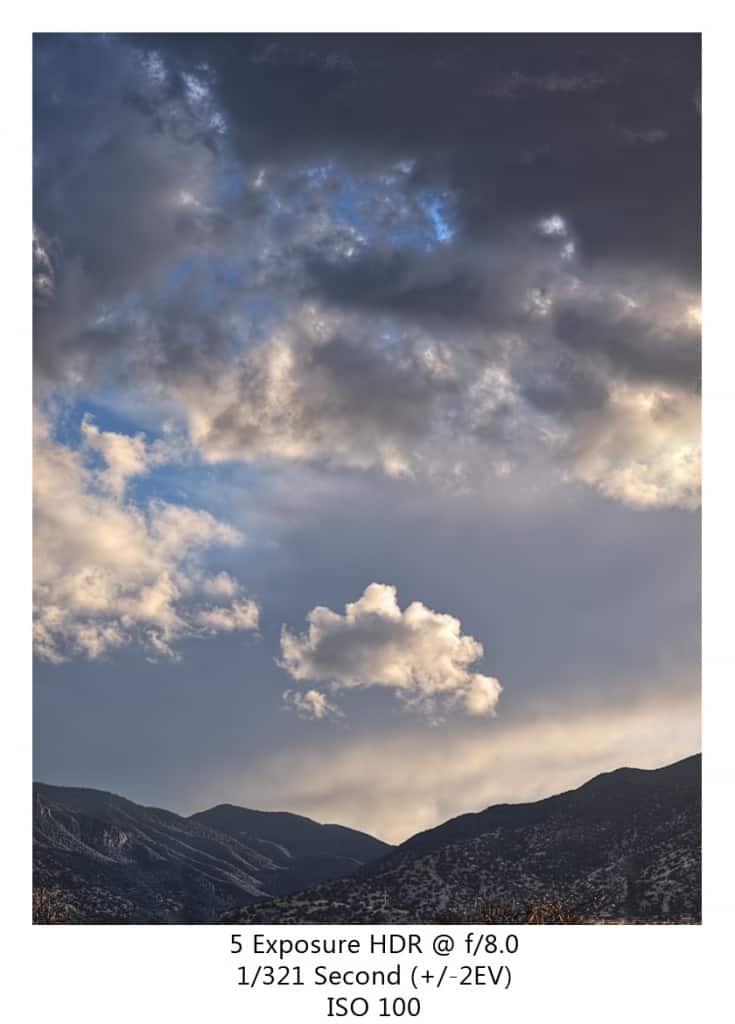
 Being singled out is usually not very fun as it comes with some negative connotation, like the kid in grade school singled out as the stinky one. In photography it is almost the opposite, not that being the stinky one is cool, but being singled out can really pull the viewer into an image. Many times I will deliberately pull the viewer into the image with vignettes of various types, but this image is a little different. With this image I saw that cloud all by itself when I looked out into the scene. The mountains and surrounding clouds added to the image, but I was drawn to that lone cloud being framed by it’s environment. As soon as I snapped the shot I knew that I would be singling that cloud out in post. I liked the frame as I stated before, but I really wanted to make that cloud stand out as I had envisioned it in the field. The simplicity of this one fascinates me.
Tip For The Week:
To really single out your focal point in Photoshop CS 5:
- Make a Duplicate layer of the image you would like to modify
- Use the Gaussian Blur, Lens Blur, Motion Blur, or whatever blur tickles your fancy, on the duplicate layer.
- Select the focal point area you would like to exaggerate with your favorite selection tool.
- With the selection made, create a layer mask on the duplicate image.
You now have a pretty good starting point for you singling out, now modify your mask to ensure it looks alright and call it a day!


