
Do I really need a Big Stopper filter?
I questioned myself countless times before I ended up biting the just under $400 bullet after all the necessities. I continued to question myself even after I made the purchase when the confirmation email came from Amazon. I even questioned myself when I was about to open the package, “Should I open it or send it back?” Buyer’s remorse was settling in full swing!
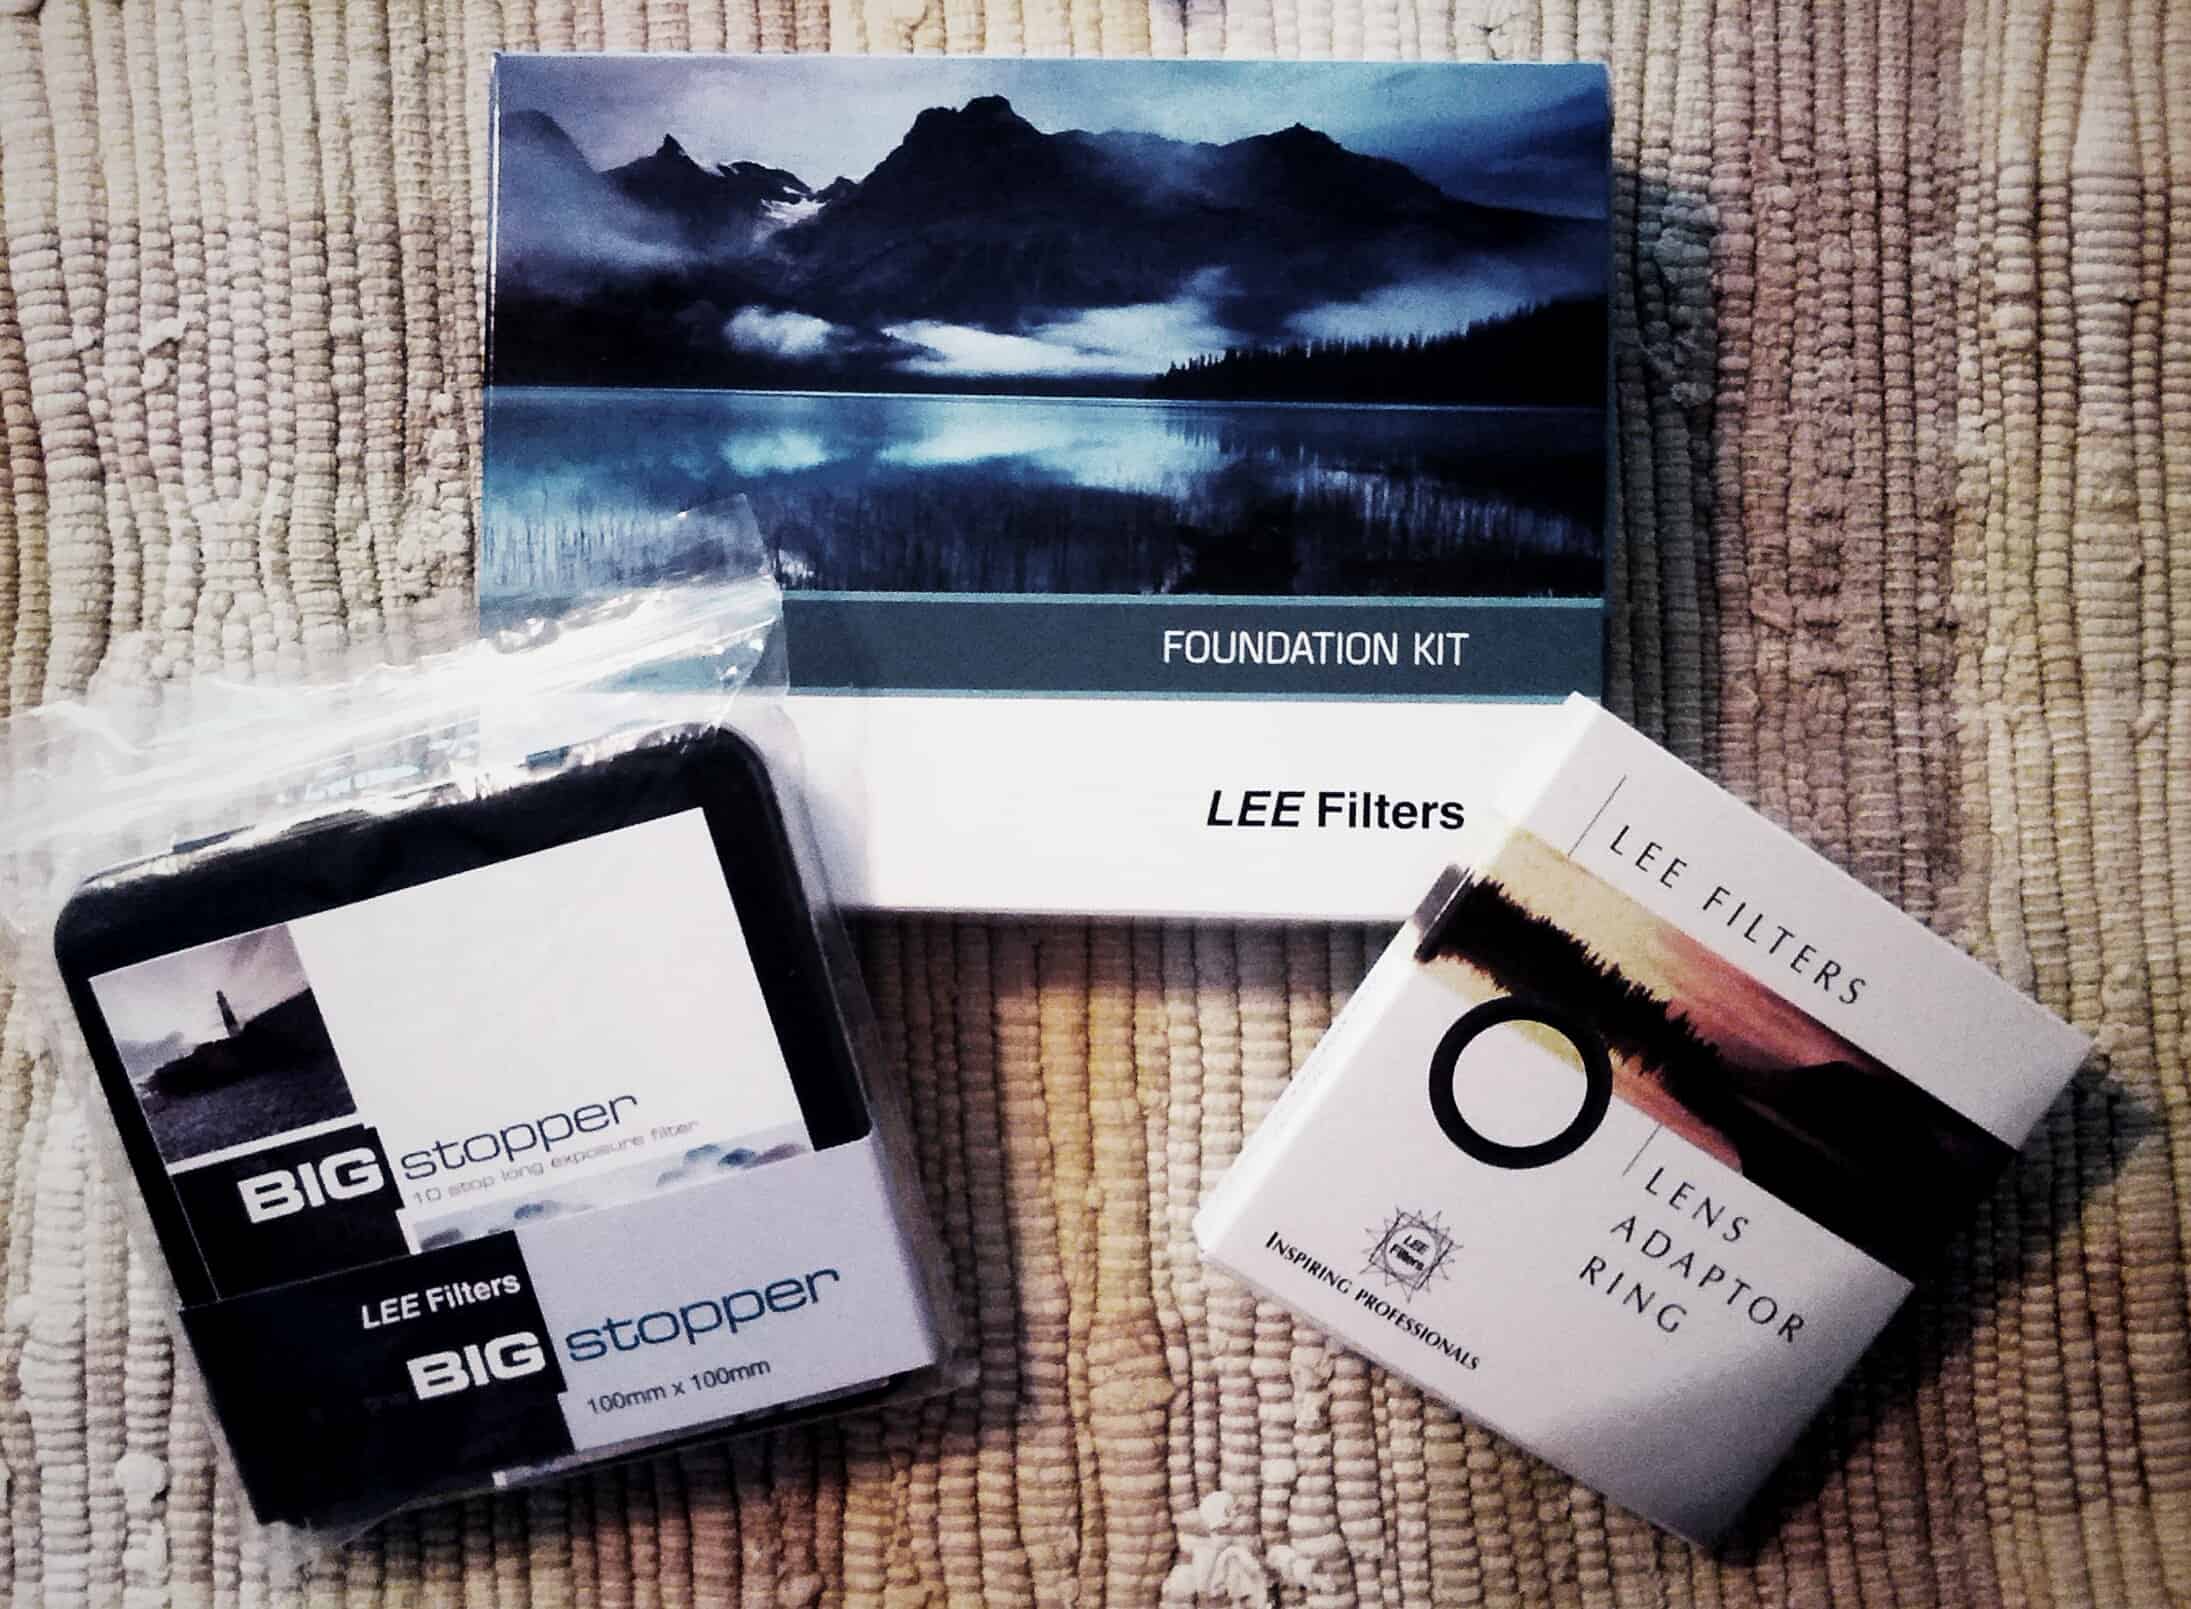
Inevitably, I opened the boxes for the Big Stopper, The Foundation Kit and the 77mm lens adapter and started to put it all together. It went together quite quickly and the construction materials were quite nice. Buyer’s remorse was starting to fade, especially after I saw it on the front of my camera {insert manly grunt from the Home Improvement television show of the 90’s}.
My wife was out grocery shopping when I put it all together. She had purchased several things but had mistakenly forgotten to grab a bag of apples for me (I eat about 3 a day). I shrugged it off, “no problem Babe, I’ll get them after dinner”.
After dinner I was on my way out the door when I saw the Big Stopper, and 17mm lens sitting comfortably next to Camran (the Canon 6D). “What the heck, maybe sunset will be nice”, I said to myself as I grabbed the whole lot along with my tripod and shutter release as I headed out the door. On the way to the store I saw the start of an awesome sunset. Thank goodness I grabbed all of my gear!
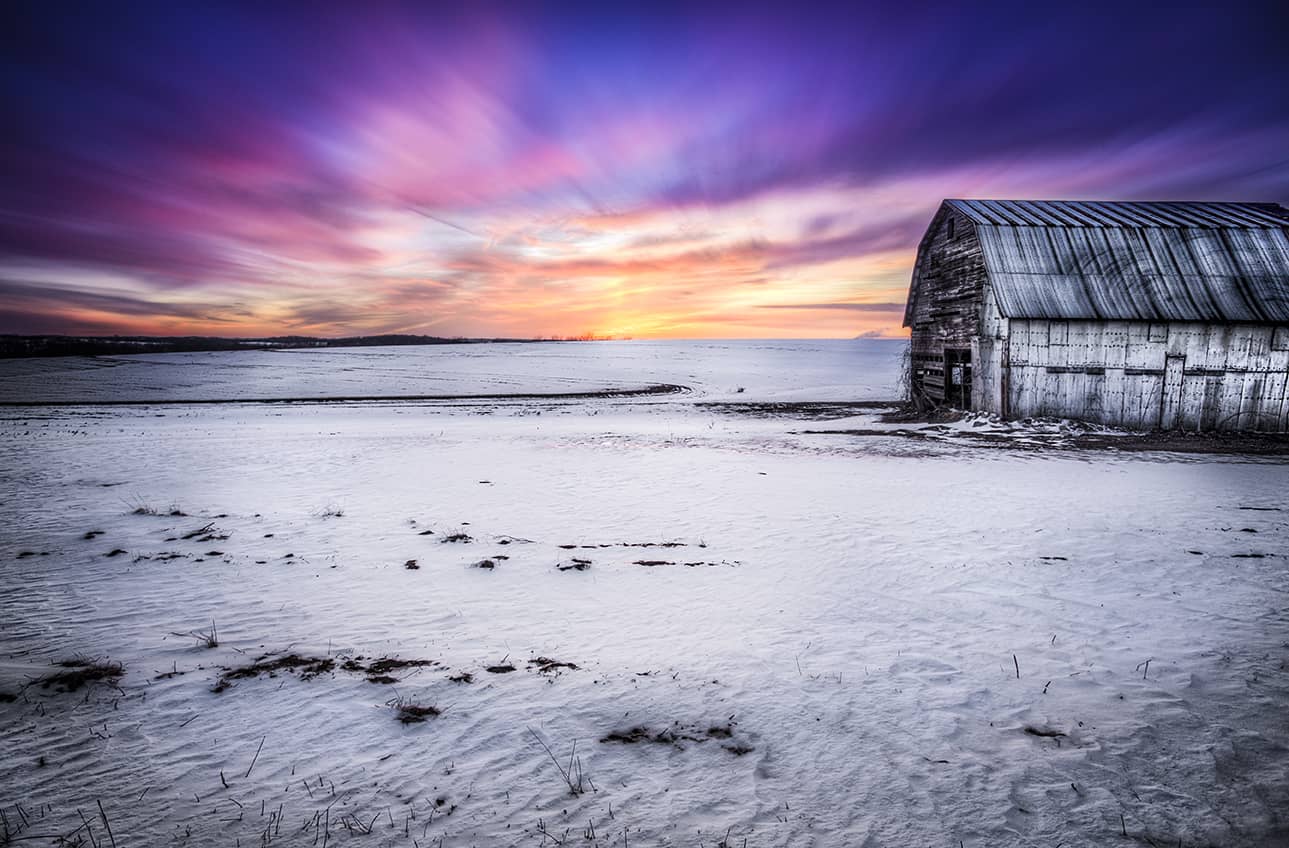
Luckily, I have found a spot that is about 4 minutes from my house that has a barn on both sides of the street. On one side I can catch the sunset, on the other the sunrise. The barns have that old rustic look that makes them perfect for an HDR capture. I immediately headed there after grabbing my bags of apples.
The sun was setting fast so I only had about 5 minutes to setup my tripod and figure out how to use this new “Big Stopper”. I setup the tripod, placed the camera on it, and hooked up the shutter release cable. Now the tough part, how in the heck does this Big Stopper work, mind you I had 5 minutes to figure it out before the sun was gone.
Minute 1…
I figured out that the 77mm adapter could not go on with the lens hood attached. I removed the lens hood and screwed on the adapter. Figuring out how to attach the Foundation Kit was a breeze after the adapter was on.
Minute 2…
I had it all setup, I took an exposure reading for the sky, 1/60th with the Big Stopper off, I took a 3 shot HDR just to have it in case the Big Stopper failed me. I fumbled with the resin filter for a bit, did I mention it was 9 degrees outside and I had gloves on and an inappropriate coat for the weather? Once the filter was in place I grabbed the exposure card that came with the Big Stopper, 16 seconds was the projected shutter speed. I changed my Shutter speed accordingly and took the first shot.
Minute 3…
The 16 second exposure really failed me, it was entirely too dark. I set the camera to 60 seconds and tried again. While the shutter was open I walked around for a bit to try and warm up.
Minute 4…
- It was a bit better but still dark. I thought to myself, “You can just hike up the exposure a bit in Camera Raw”. While that statement is true, I continually find myself using software as a handicap. So I took another exposure with the idea in mind that I needed about 3-4 times the amount of light that was in the previous exposure. I put my camera on the Bulb setting and locked the remote shutter in place. I had my heart set on 180 seconds.
Minute 4-7…
I looked at the LCD screen on my camera as the image was being recorded, 121, 122, 123, “Is that going to be too long?” I battled with myself as I thought about another 60 seconds going by.
151, 152, 153, “If it is overexposed, oh well, at least I tried.”
168, 169, 170, “Alright this is way too long, 180 may be too over exposed, stop it now” 171.
The frame showed up on my LCD screen and I nearly had a stroke from my heart sinking into my stomach, “Holy crap! If it looks this good on the LCD screen it is going to be beautiful on the big screen!” I ran back to the car and rushed home to process them.
When I walked through the door my wife said, “Did you get lost?” The super market is barely 4 miles away.
“No, the strangest thing happened, I had to go all the way to the farm to get the apples!”
So, do I really need the Big Stopper?
After seeing the results of this image, yes, yes, yes! I can’t wait to photograph more sunsets and sunrises. Not to mention waterfalls, streams, and the ocean. Bring on the motion, this thing is bad ass!
The big advantage of the Lee System over screw on filters
The Lee Filter system is a 4 inch by 4 inch filter that requires a holder and an adapter for the lens you are using. Many other filters, like an ND filter, Circular Polarizer and UV filters simply screw onto the front of the lens. There is a time and a place for both as I do own many UV filters for my various lenses. However, for an ND filter, especially the 10 Stop Lee Big Stopper, it is paramount to have a non threaded filter system.
With any 10 stop ND filter it is nearly impossible for your camera to Focus and meter with it on. This forces you to focus and meter with the filter off, then put the filter on. If you have a screw on ND filter, you may accidentally throw your lens out of focus while you screw it on. This is especially true if you are using a zoom lens. Not only could you throw off the focus, but you could accidentally adjust the focal length while you are at it.
With the Lee system you can focus and meter and simply slide the filter in front of the lens. The likelihood of throwing off your focusing and/or focal length is significantly lower. Another method is to leave the filter in the Foundation kit, but remove the foundation kit from the lens adapter.
While this advantage comes with a price, a rather hefty one, the extra cash is well worth it. When it comes to the Big Stopper vs the Screw On Filters, it is kinda like owning a tripod for HDR and not owning one. If you don’t have one you can always “make it work” but your photo’s quality will suffer drastically. For a long time I tried to “make it work” with my screw on filters. All it took was one 20 minute outing to figure out what I had been missing all this time!

For Blake, it's all about the art and process synergy. He dives deep into complex topics and makes them easy to understand through his outside-the-box thinking so that you can use these tricks in your workflow today!


Xume makes a magnetic adapter that’s brilliant. It lets you simply snap screw-in filters on and off. Only catch is it vignettes a bit on wide angles. $50, not $400.
Great timing on this article. I took some long exposures with my new super wide angle lens. I manually focused the lens, Calculated my exposure time and then screwed my #10 filter. I was a little concerned that I might have messed up my focus and/or focal length. When I processed my photos I was disappointed to see that the end of the pier I was photographing was out of focus. I will look at the Lee system.
My 5d mk iii allows to focus with live view even when my b&w 10 stop nd is on.
I could see that during the day in bright sunlight, but in the evening around sunset, I don’t see how that would be accurate. I prefer to live-view focus my photos prior to putting on the stopper for accuracy purposes. My results are much better now!
…ouch! 400 smackers, huh? I am in the process of saving up for a 24-70 2.8 (which will be a while) so this will have to go on the Amazon wish list!
P.S. Great job on the webinar tonight Blake!!
With Great Respect, Tal Pipkin
Yeah, I took a hit, but a training video may be in the works with it… we’ll see 🙂
I am glad you could attend, it was a whirlwind of a time. I always have to take about 4 hours to come down from the adrenaline rush, and then I think to myself… should I have split that into 2 webinars??? A lot of the comments read “info overload” pshhht they must not be Insider members!
Thanks for posting this! I’m taking scrupulous notes.
But what I want to know is what sort of HDR images one can get taking multiple bracketed photos WITH the big stopper. I know a lot of people opine that it would be redundant. Either one shoots HDR or one shoots with a ND filter. Am I just inviting disappointing results by trying to use both? Or would it give you the best dynamic range imaginable?
Any insight or experiences you could share would be greatly appreciated!
You can take multiple images with the Big Stopper, however with the big stopper you would have some very LOONG exposures and there would be more movement in the long ones as opposed to the short ones, which would yield a lot of ghosting in the Tone Mapping Process. I have a technique that I am going to make a training package for because it is much more extensive than a comment! However, in the mean time, consider making single RAW exposure HDR images, or extracting multiple exposures from one RAW file. Here is a tutorial for it: http://f64academy.com /~f64academy/creating-multiple-exposures-from-a-single-file/
Right on! Thanks Blake!
My pleasure! I love this thing!
Hi Blake
I just bought the set of Lee GND filter, the kit with adaptor and the Big stopper…I was guilty as all get out when i walked out the shop (i live in Australia) on Mornington Peninsula surrounded by water, beaches with cliffs and piers , and lots of limestone rocks in the water, so I thin I will get my use out of the big stopper. Yesterday was THE day for the first attempt at using it. It rained and blew a gale…well it is winter, and camera would get covered in spray and salt..so it was cancelled, today it just rained , no nice clouds…so yet to get a result, but after looking at your barn shot I am inspired,..
Pat
Oh man! That stinks! I bet you will get some awesome shots when you use it. It is such a great piece to have in the arsenal. I don’t leave home without it and make every excuse to use it!
This site is awesome.
Why thank you 🙂 I work pretty hard at it and seeing this comment gives me more reason to work harder! I appreciate it 🙂
I had the same feelings. I am still doubting if it is worth the purchase. Costed me 436$ for the entire kit on amazon. I am waiting eagerly to try it in yosemite valley. Looks like the exposure card did not help you at all. Now I am more skeptical of my purchase..
Oh no, don’t be skeptical. With Long Exposure Photography there are a lot of variables and it really is trial and error. I love the Big Stopper and find it essential. Give it a shot.
Thanks Blake… I will try out. It only means that I really need to work hard and get the right exposure estimation 🙂
It’s a LOT easier than it seems. I stopped using guides and cards. I take a timed exposure, if sunset, usually 15 seconds to start. If it is too dark, double it to 30, too light half it to 7 seconds. You will be surprised how much faster you can do it yourself than trying to battle with apps that can’t make logical thought.
Do you recommend going with the Big Stopper over the Little Stopper initially? A ten stop reduction seems like a tough place to start with ND filters. Wouldn’t the 6-stop Little Stopper make more sense for an initial purchase?
I am investing in the set today for my D4 and 14-24 f2.8 I have investigated this at length given the nearly $1,000 (USD) investment. I am purchasing the Polarizer, Big Stopper, SW150 Mark II system, and the 77mm adapter so I can use everything on my other Nikkor lenses.
I was going to buy the Little Stpper but I figure I can get more versatility from the BIg Stopper given the wide range of ISO adaptability in my D4.
Taking the whole setup on a 10 day trek to the Wind River Range in Wyoming mid-May !