
Forging Your Photographs
By forging your photographs I do not mean copyright infringement in any way! Let’s just clear that air before we start!
What I mean is real, hardcore, labor intensive forging. A belt buckle starts out as a piece of metal and is forged into the functional object that it is. A sword starts as a hard edged sliver of metal, but through the forging and tempering process that hard edged sliver becomes and sharp and efficient cutting edge. There is no difference between the forging process metal goes through and the forging process your photographs should go through to achieve greatness.
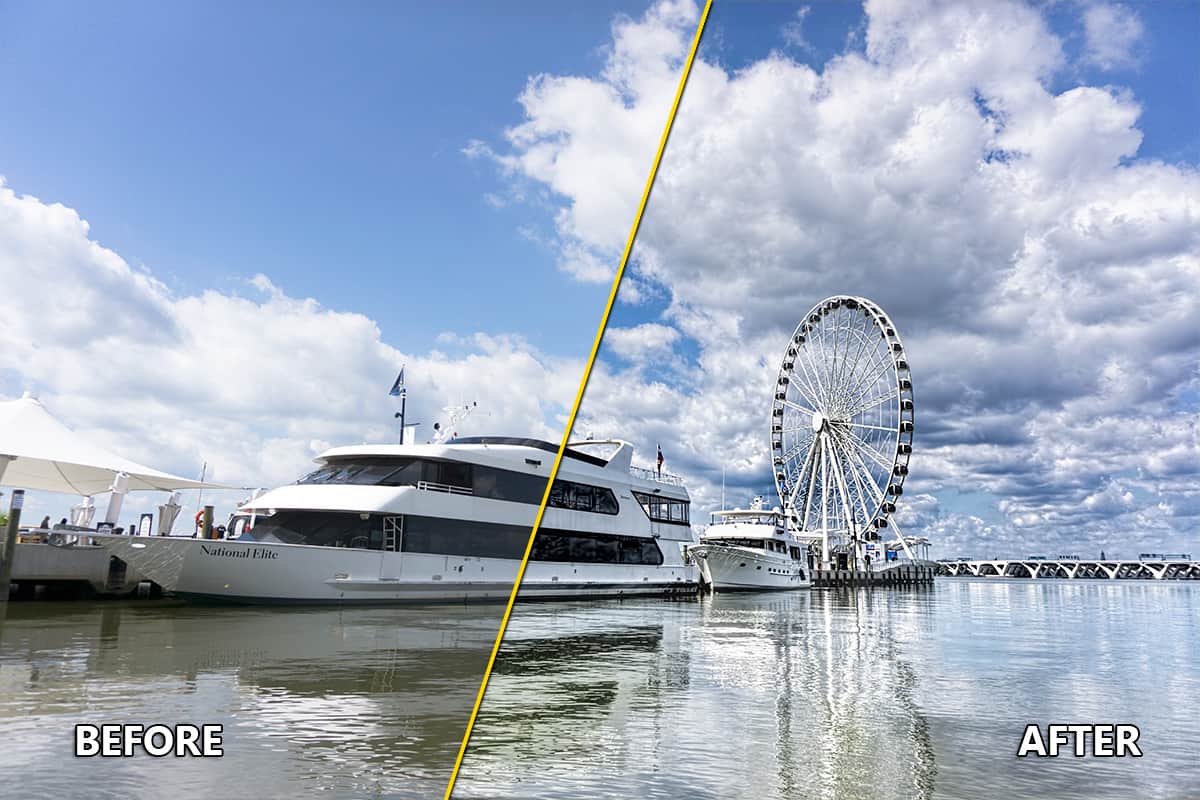
In this Webinar with Topaz Labs I will show you how to turn a simple-boring RAW file into a forged photograph worth talking about! A few things you need to know about this image. It was a RAW file taken from a Sony a6000. The a6000 is a beast of a camera, but it pales in comparison to the Canon 6D. This webinar will show you that it is not necessarily about the camera, but the steps one goes through to forge the RAW file into the final work of art.
Topaz Labs is offering 25% off their entire store (even the bundle) with coupon code (Expires 13 October 14):
blakeweb11
To go along with all the awesome content in this webinar I have an Actions Package that you are free to use at your leisure. In the actions Package you will find the following Actions:
- Auto Forge – This Action will run everything I did during the webinar on the Smart Object. The effects may not be desirable on all images. You may need to use some masking to clean it up. (You must own Topaz Adjust 5, Clarity, DeNoise and Detail for this action to function properly).
- Temperature Level – This is a quick way to even out the color temperature in any photograph. (You only need Photoshop for this Action to function properly.)
- Impression Sequence – This Action will duplicate your project and create two impression layers. The first layer is a simple Impasto II layer, the second is a more detailed Monet filter. Use the mask and the black paint brush next to the second layer to bring back parts of the 1st Impression layer. (You must own Impression for this action to function properly).
Click the Download button below to download the Actions package that goes along with this Webinar and begin forging your images today!

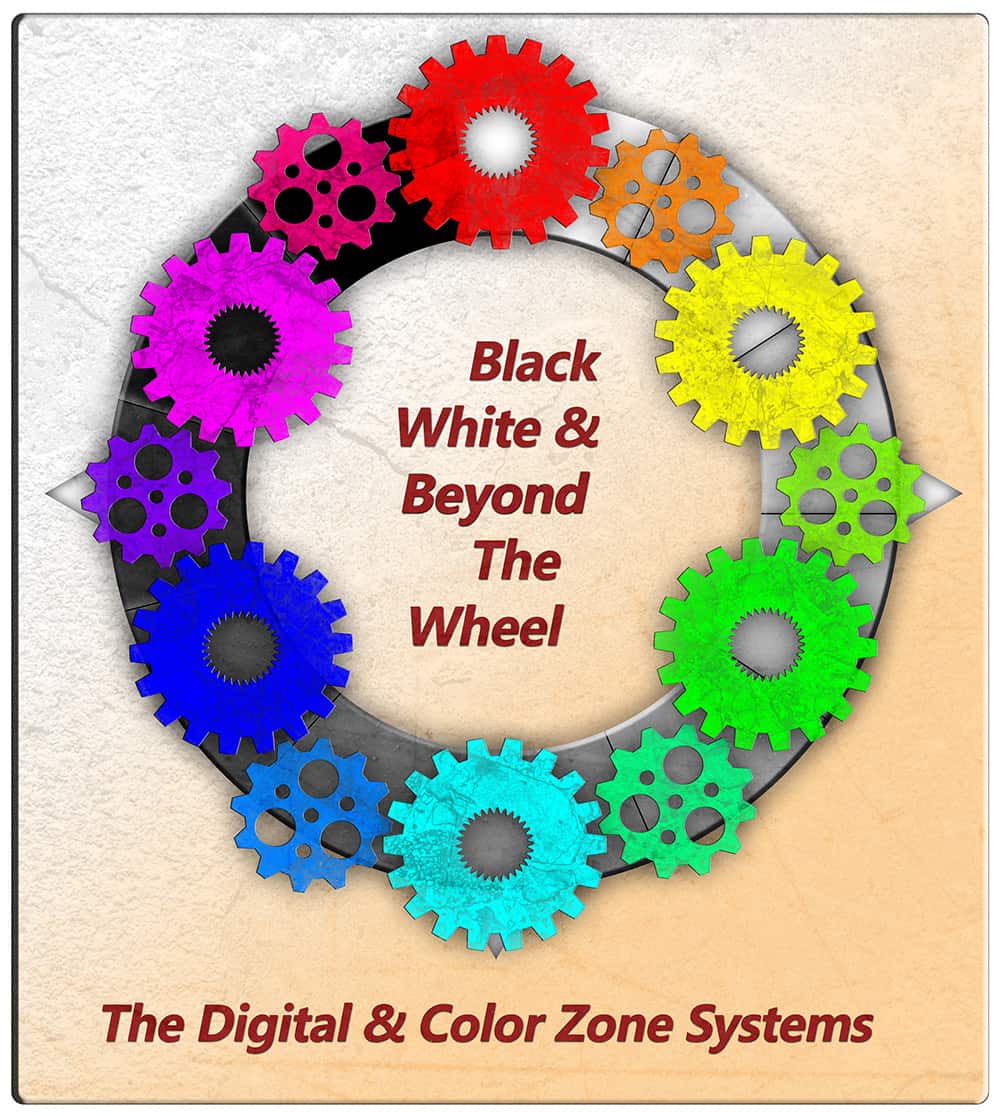
When I ‘forge’ my images, I use the Digital Zone System and the Color Zone System to tackle all of the tone and color in my photo prior to working with plugins or creating any artistic effects. The systems were designed independently, but together they are an unstoppable force! They each come with training, lots of training! If you liked what you saw in this webinar there are 7+ Hours of solid Photoshop training with the Zone Systems!
Click here to learn more!
[hcshort id=”5″]

For Blake, it's all about the art and process synergy. He dives deep into complex topics and makes them easy to understand through his outside-the-box thinking so that you can use these tricks in your workflow today!


Great photo forging webinar today. Thanks for the actions.
Thanks for attending! You are welcome for the actions… It’s the least I could do!
Hello Blake,
Maybe I am blind? I can not see this webinar. Only the actions-download.
Where is the link for looking that webinar?
Ha! Not blind! When they post it to YouTube I will embed it here.
Hi Blake,
Another interesting and informative webinar.
You’re becoming quite the “Topaz guy”, huh? I’d love to see some additional webinar content on the Zone Systems if you ever get caught up with the Topaz engagements.
It looks like they have you booked every couple weeks or so. Is that going to be an on-going commitment?
Take care,
Randy
Hey Randy,
Thanks for the feedback! I have been doing Webinars with Topaz for several years. They have been sporadic in the past as I had to work around a full-time job. Now that I am pursuing my Online Photo Education services full-time, I can make my own schedule!
We booked up several webinars in the Summer through October. My last one for that commitment is October 21st. That will not be the end of my Topaz Webinars of course. I will take a webinar with them any chance I get. I have such a great time showing off their software!
Thanks for your actions! Would you mind showing or telling where and how to insert the actions?
Surely Shirley! (Okay that was bad) Once you download the Action open the .zip file. There should be a .atn file in there. Double click it. It should open Photoshop automatically. If it does not, open PS.
In Photoshop press the hot key – ALT+F9 (Opion F9 on Mac). This is the Actions panel. The actions should be on the bottom of the actions panel now. When you open up the folder for this set of Actions you can simply press play for the Action to work.
Blake… I don’t see any embedding or the webinar on the Topaz youtube channel…what am I missing ??
Sometimes it takes them a while to post it.
Hi Blake,
A small correction, this is the National Harbor at Oxon Hill, Maryland and not in Baltimore. Although Baltimore is quite jealous of our ferris wheel.
ooops! Sorry! It is a beautiful Ferris Wheel!
This was an excellent tutorial. Your pace was just right which made it easy to follow, the sound and video were also good. I will have to watch it a few times to get it all down. Thank you!
Thank you for the feedback! I do appreciate you checking it out!
This is one powerful webinar packed full of great tips. From how to use PS SmartObject layers with Topaz, to mixing design elements. I’m especially impressed with the tip regarding averaging the temperature using soft light.
Regarding PS SmartOjects: I see the need for using SmartOjbects when you do not want to destroy a photo, for example if your using Free Transform, as you many want to return to the original after manipulation.
However, I don’t see the purpose in using it with Topaz plug ins, as each time you make a Topaz adjustment the software returns you to PS with that adjustment on it’s own layer.
Later if you decide to change say, Topaz Adjust, couldn’t you go back to that layer and make the changes?
Blake you really are well prepared and good presenter. Your tutorials and Zone-System have given me a lot of new ideas and inspired me.